THE TIMELESS CHARM OF STEAMPUNK
Recently, I had the enviable choice of upgrading an existing guitar with new hardware and electronics, or building an entirely new guitar. As the existing guitar had already endured a number of upgrades and modifications over the years, it was doubtful it would survive yet another round of experimental surgery. So, a new guitar it would be. And its theme: STEAMPUNK.
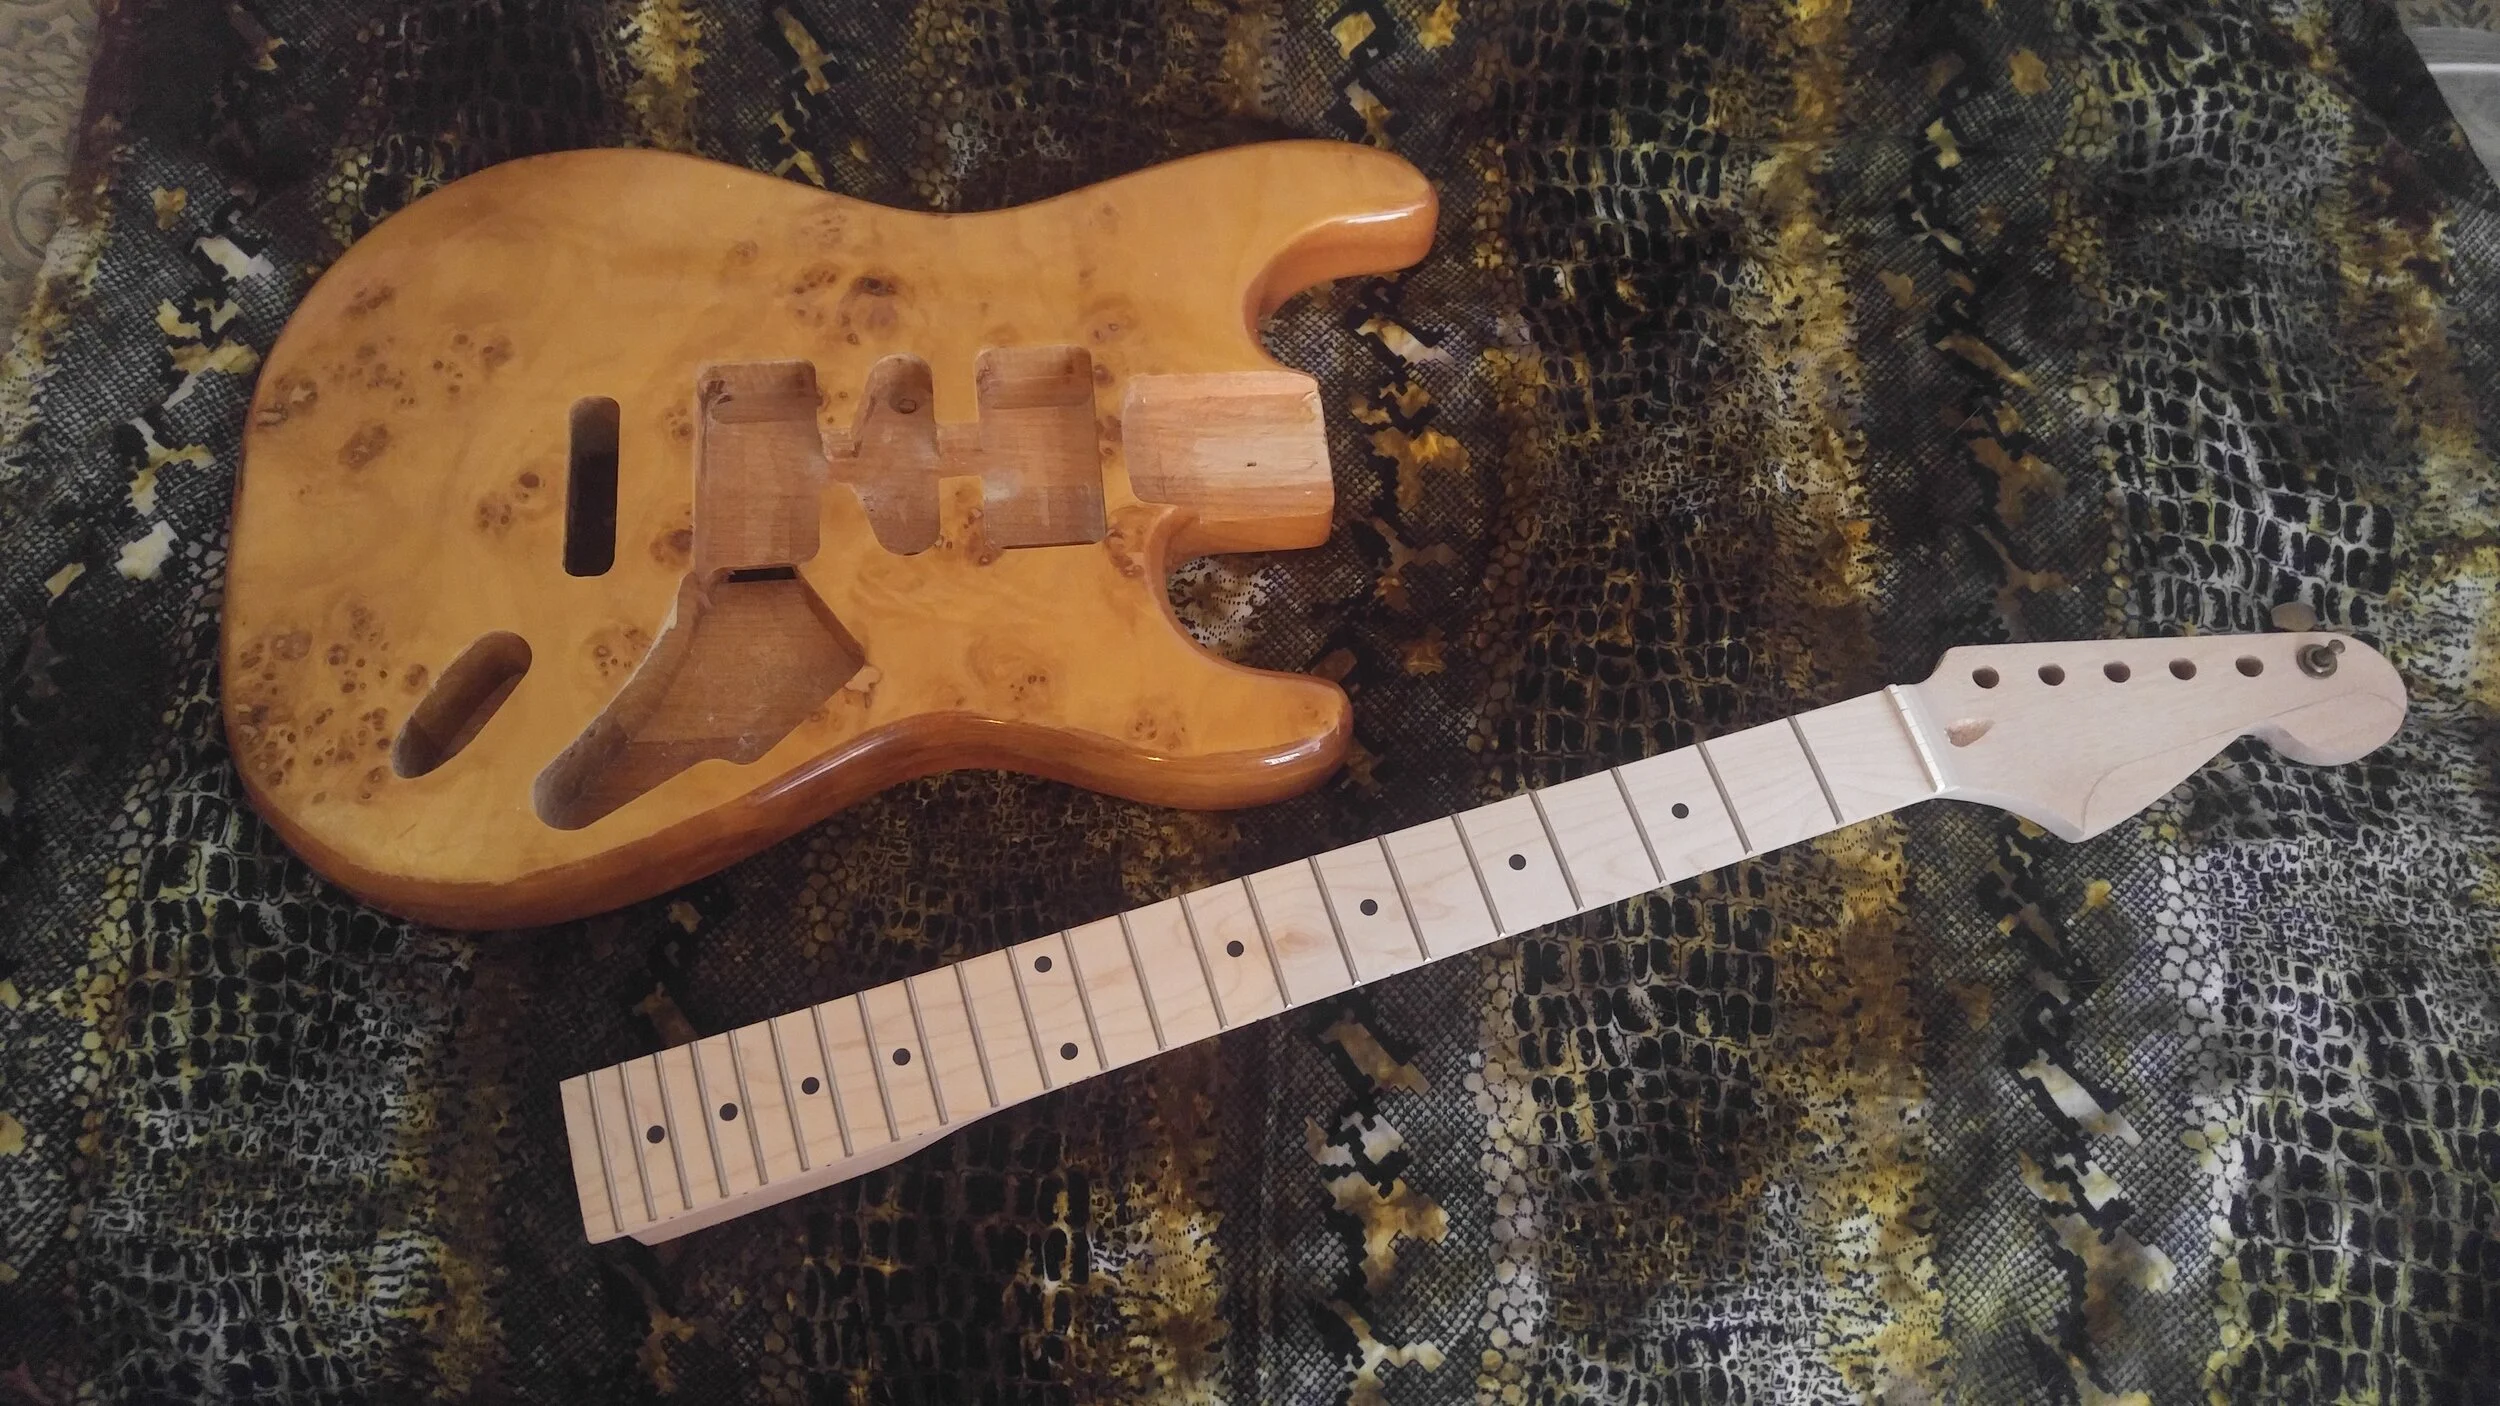
Tabula rasa. Mahogany body blank, pre-routed with lacquer finish. And raw unfinished mahogany neck, with maple fingerboard.
Once the body and neck arrived, themed hardware and electronics soon followed. And, for the neck, custom stains to help match the body.

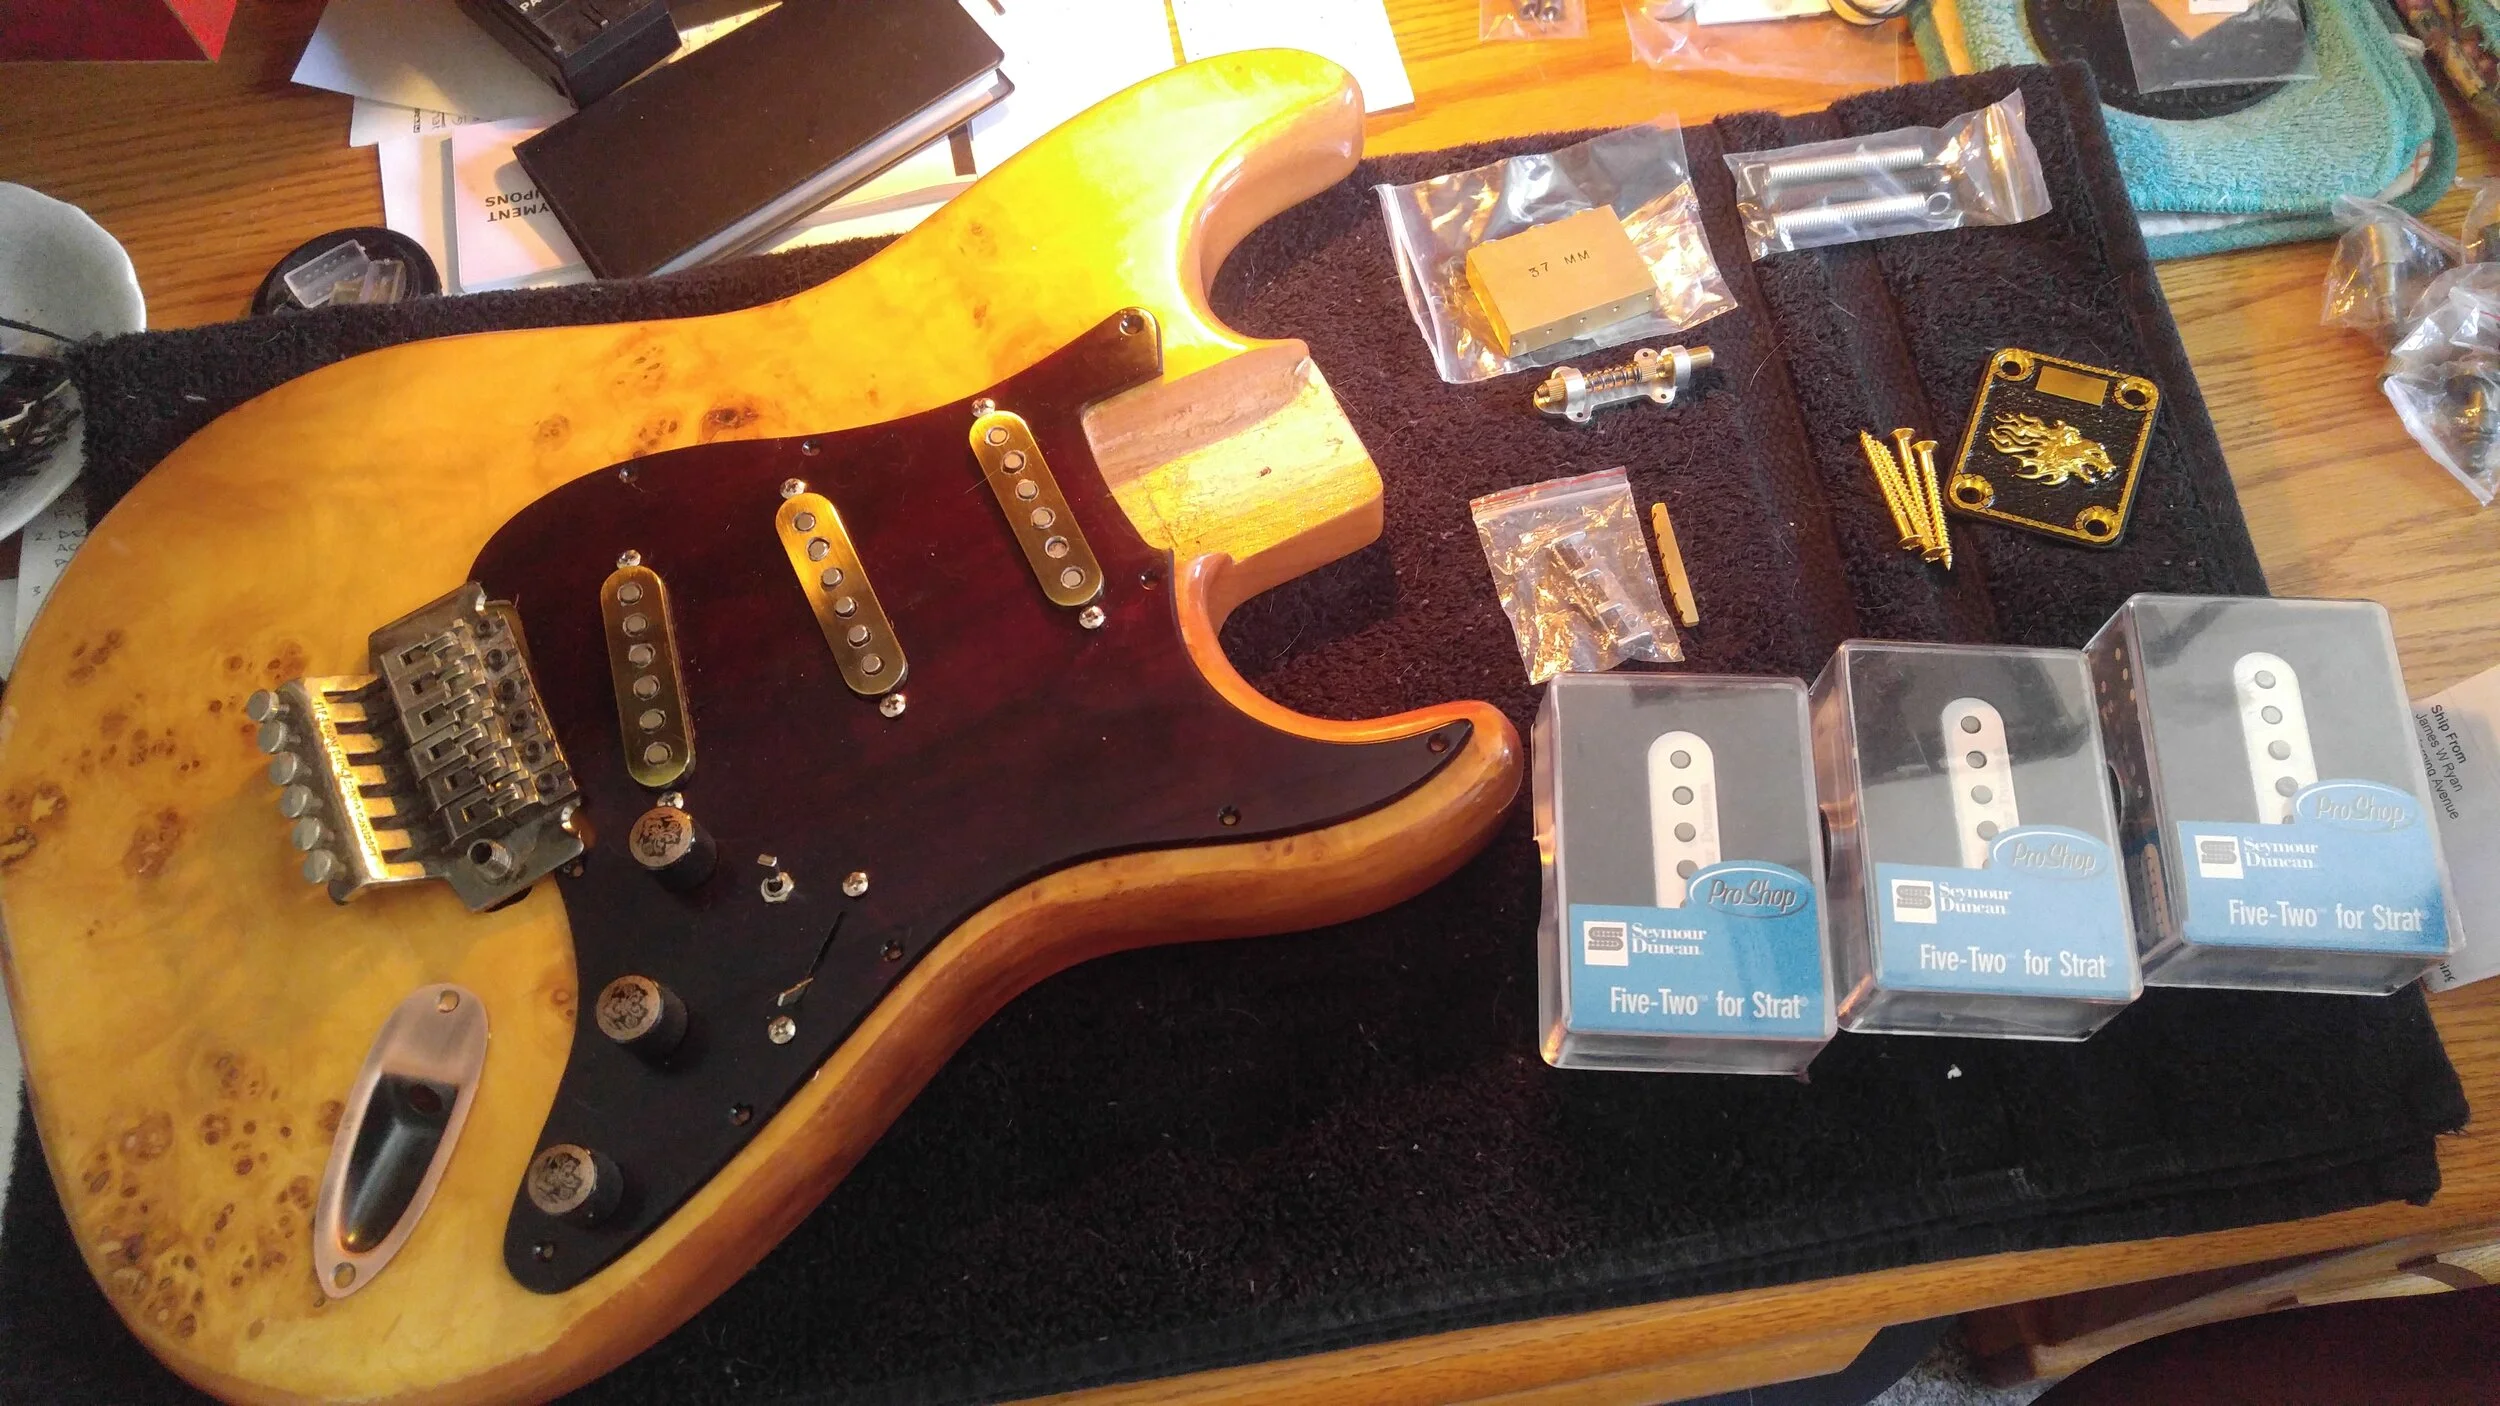
Loose test fit of some of the components, including brass knobs and pickup covers, copper output jack, old Floyd Rose tremelo, brass replacement block for tremelo, Trem Blocker unit for tuning stability, custom brass neckplate, wood pickguard and a matching set of Seymour Duncan Five-Two pickups.
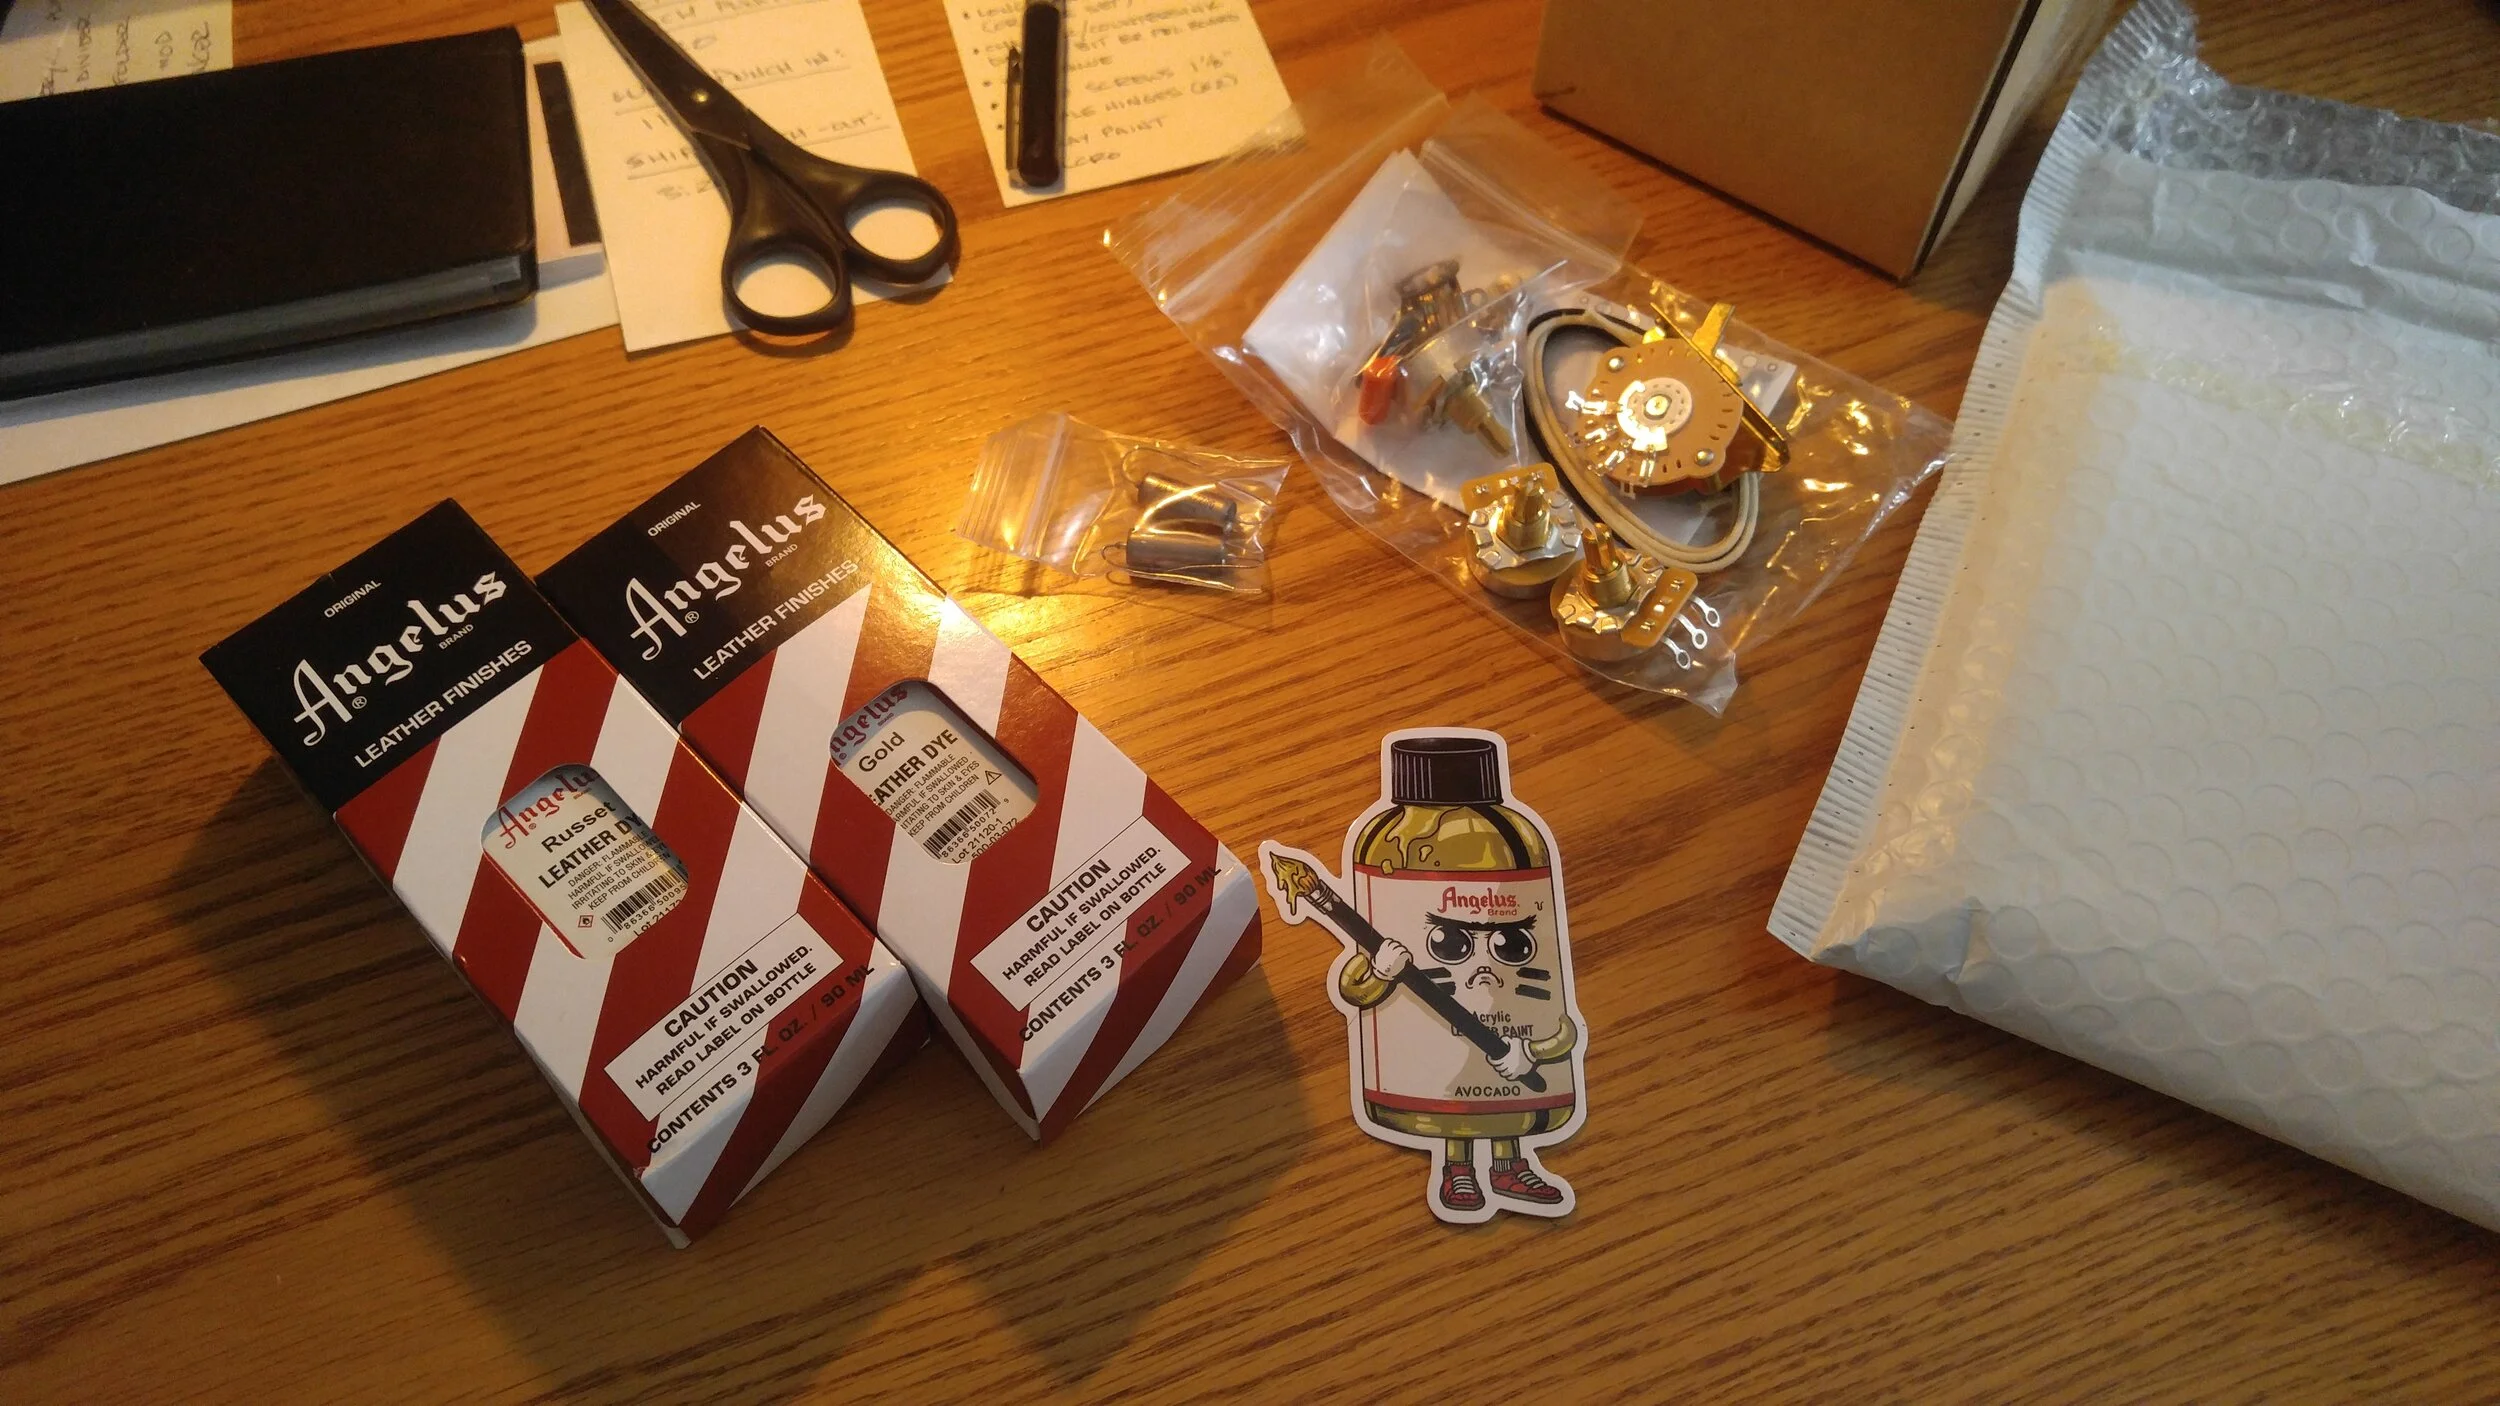
Angelus dyes for the neck, and full wiring kit, with Russian oil-in-paper capacitors for the tone pots.
Before I do anything, I first have to shield the pickup cavity and output cavity, as well as the backside of the pickguard, shown below.
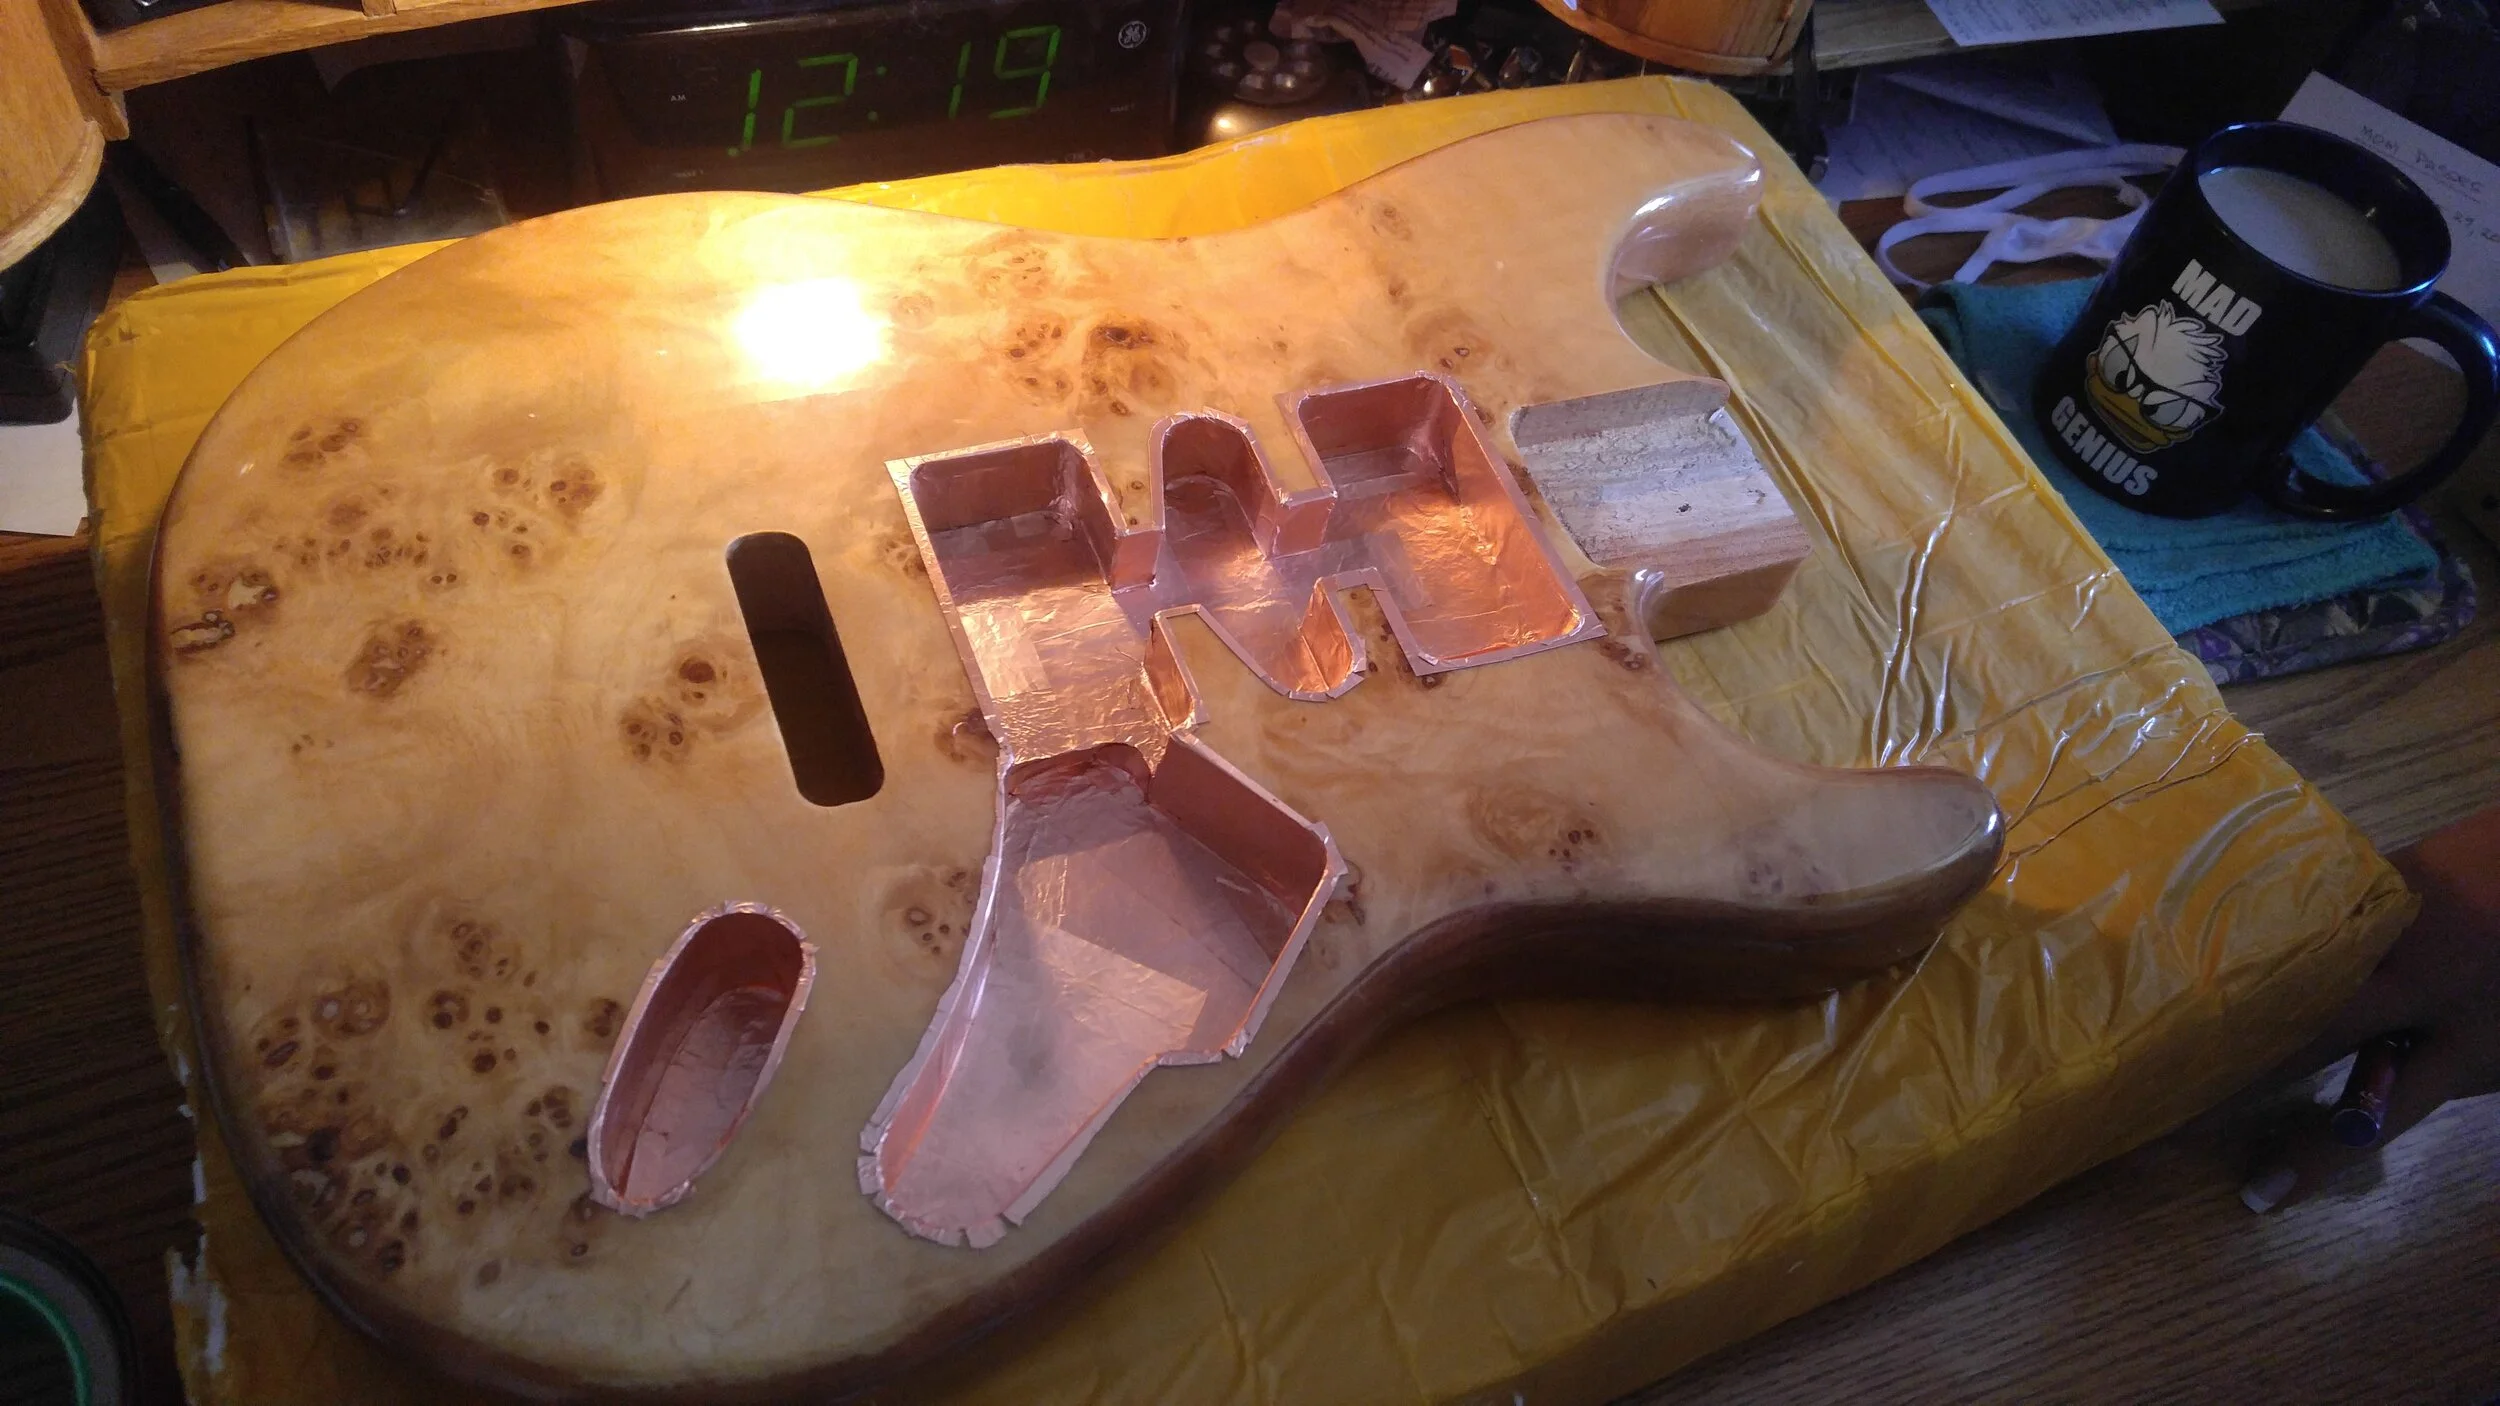
All necessary cavities outfitted with copper shielding tape.
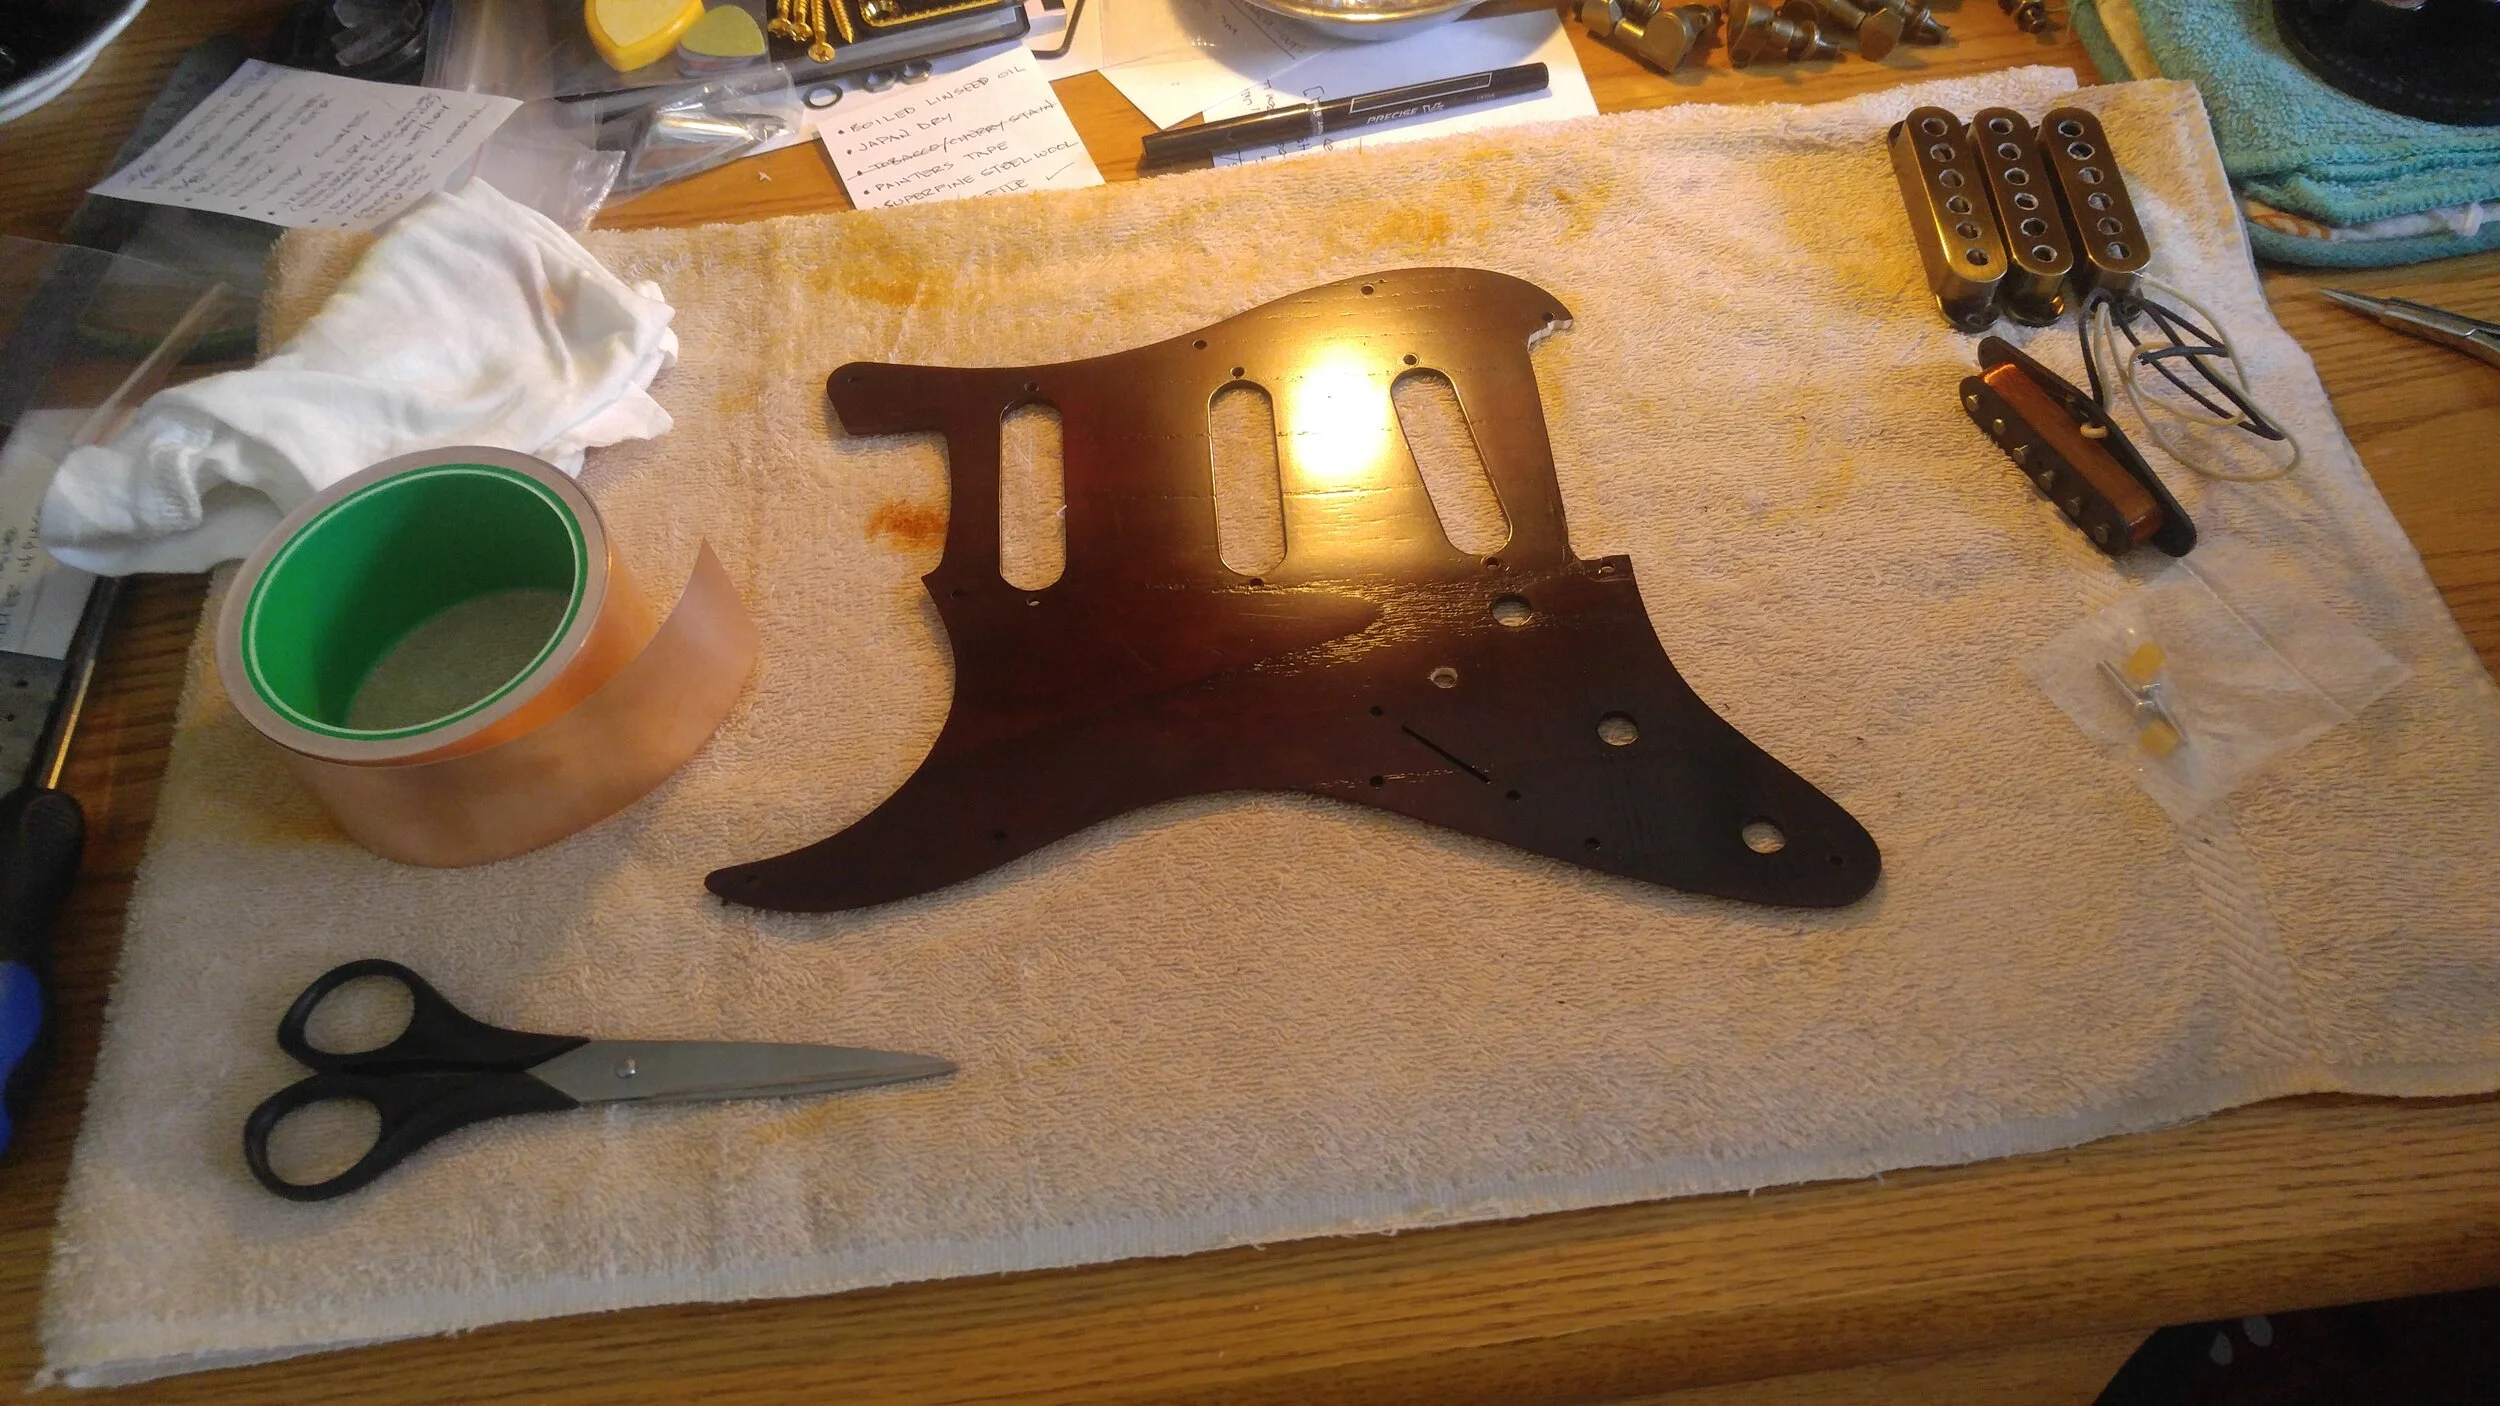
Preparing the pickguard for shielding tape.
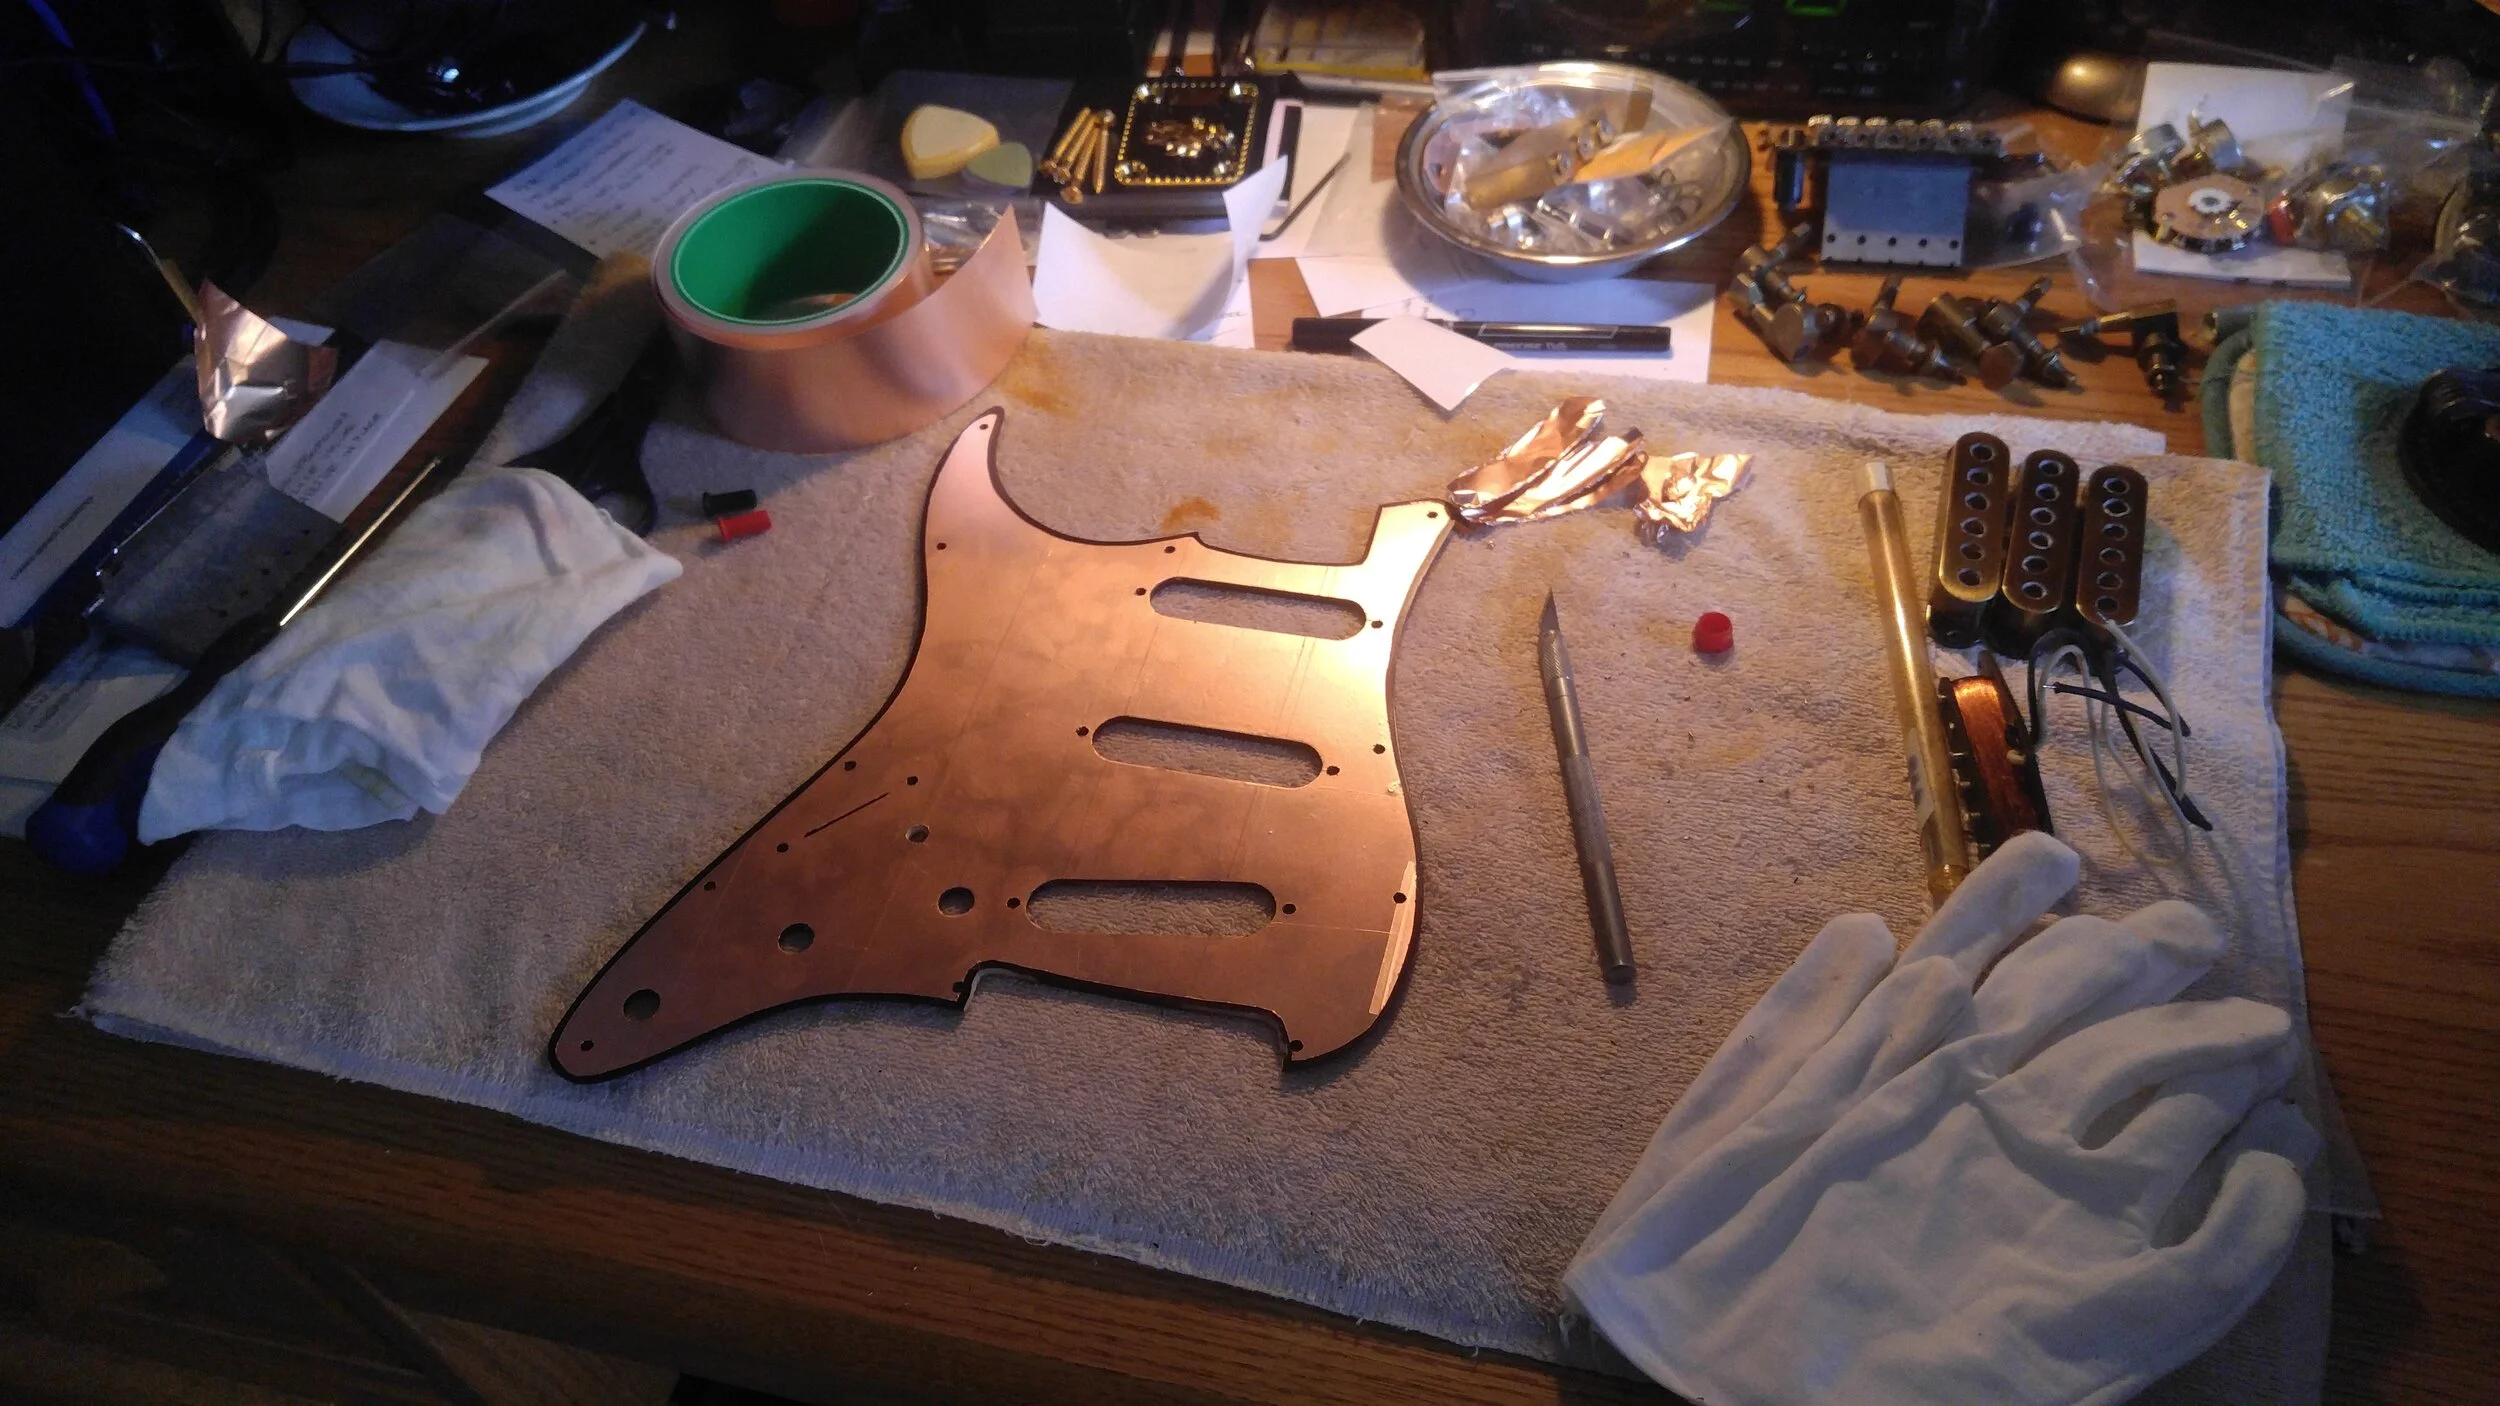
Pickguard shielding complete.
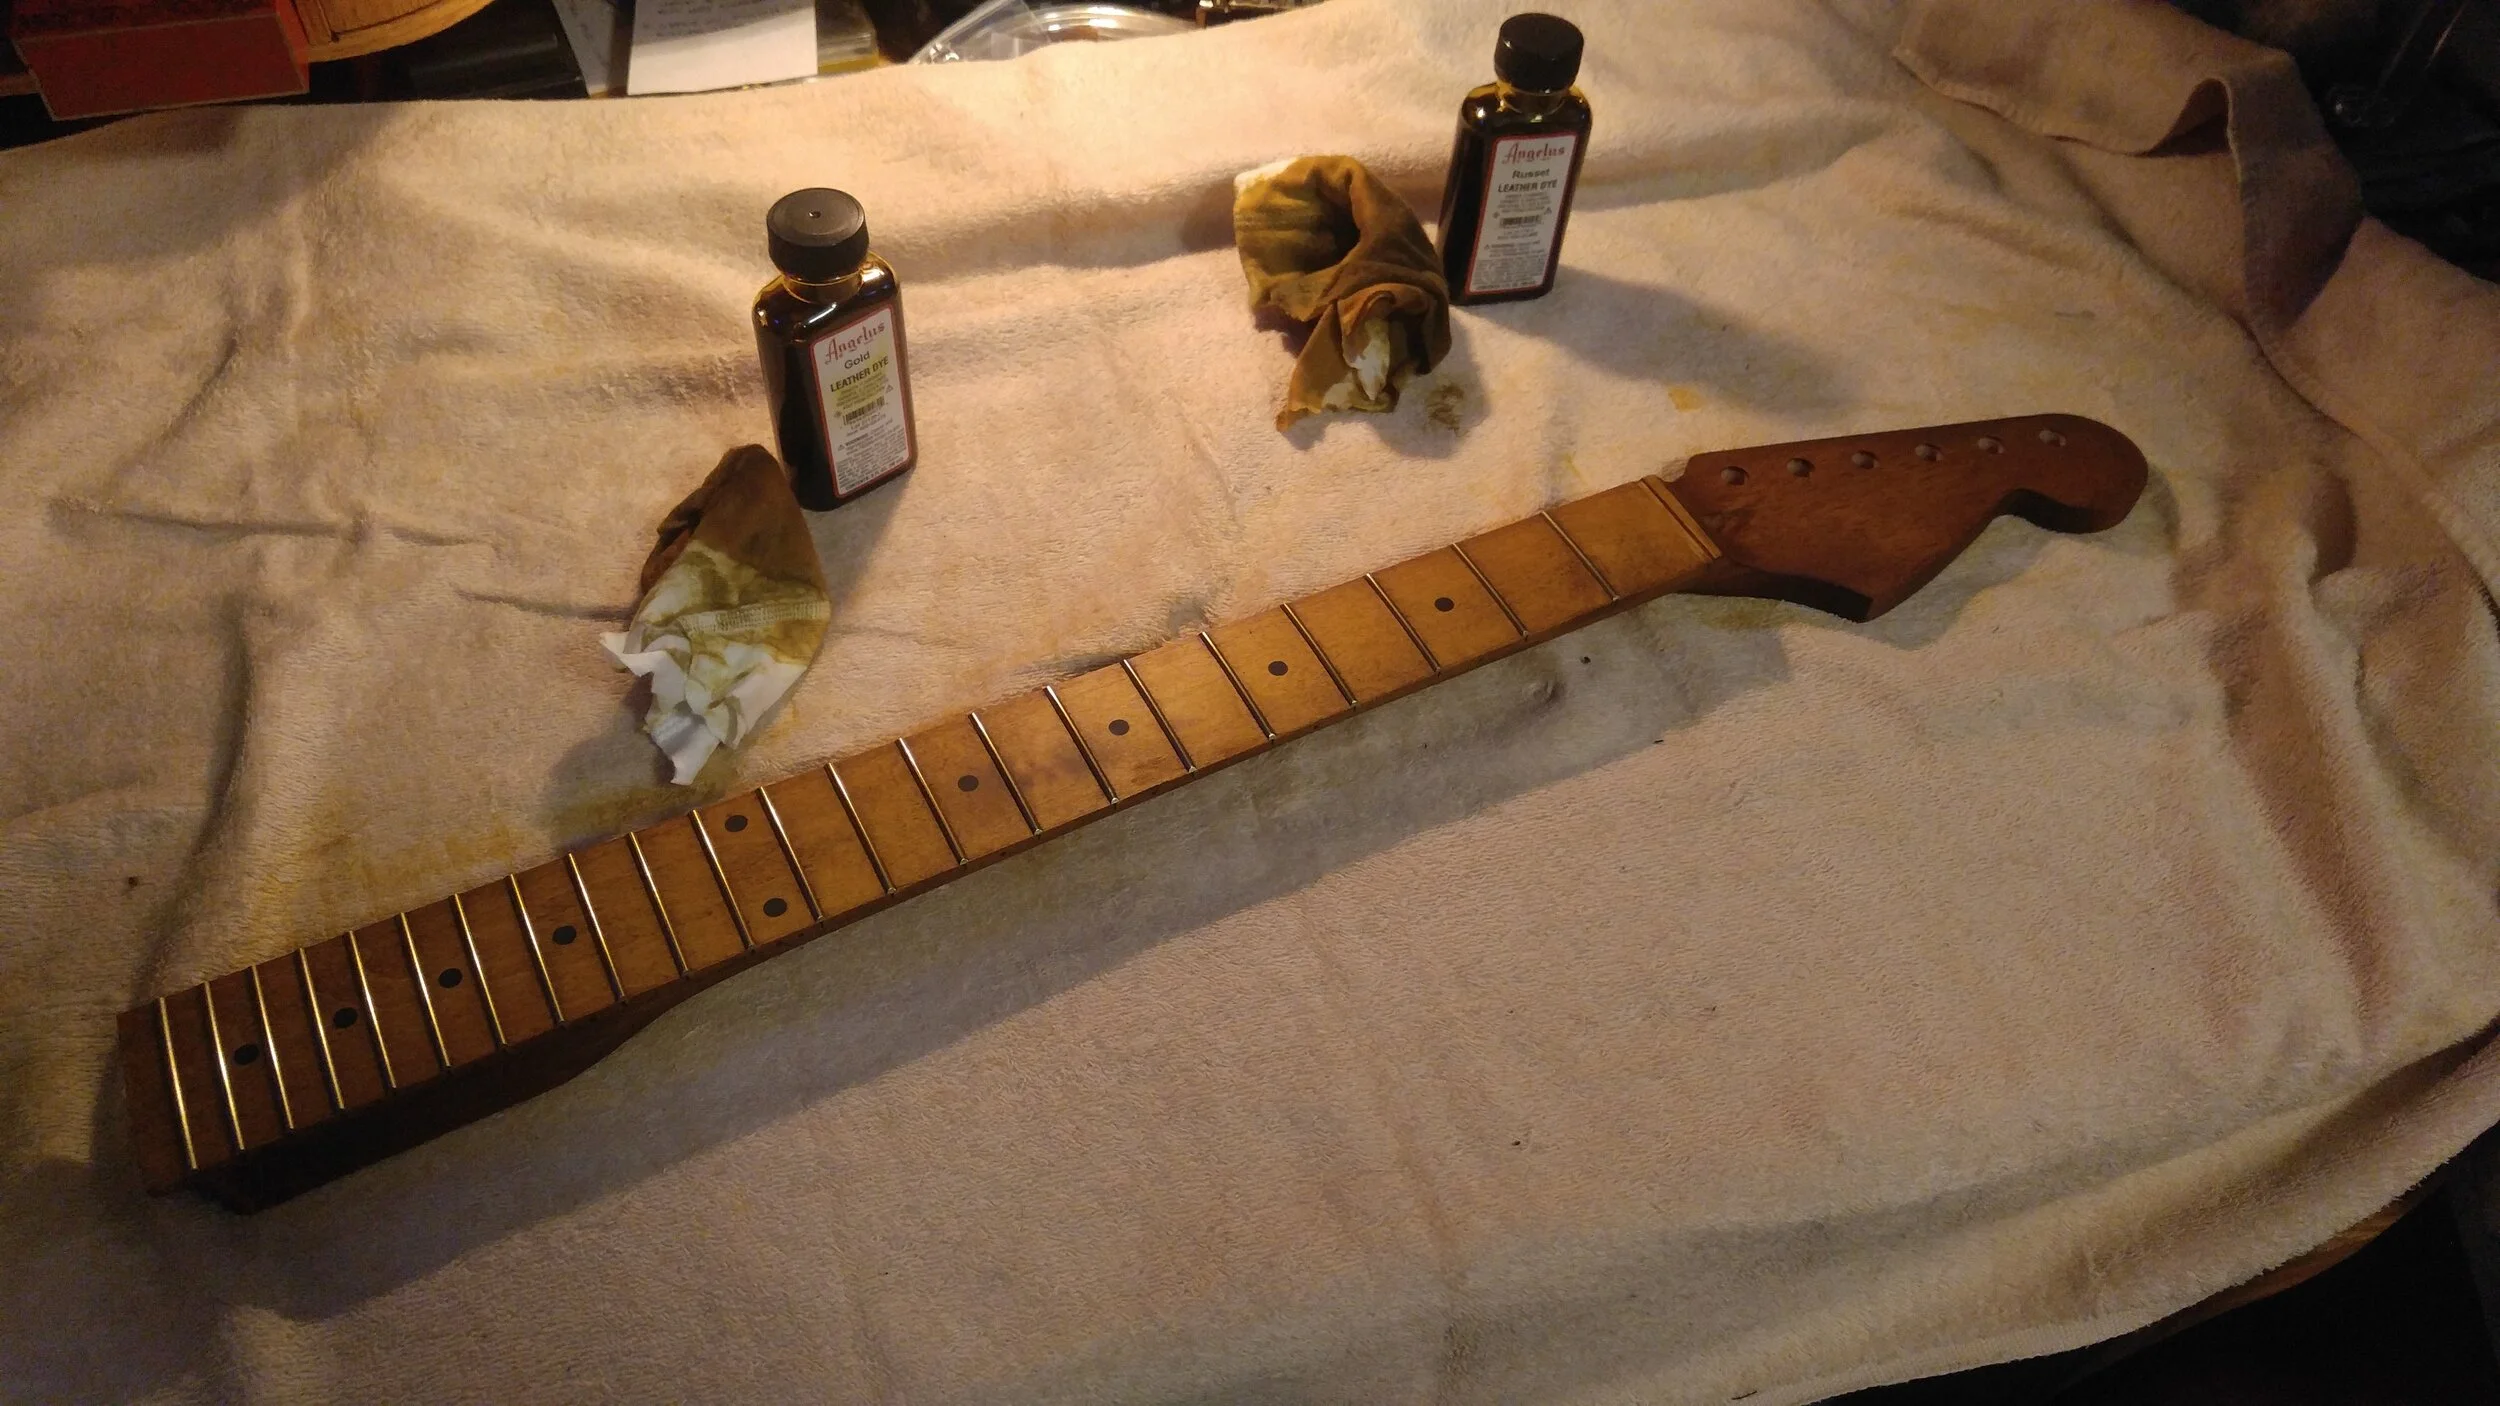
The next step is to begin staining the neck. I started with a Russet base, followed with a coat of gold to bring out complimentary highlights. The idea is to loosely resemble a burning ember.
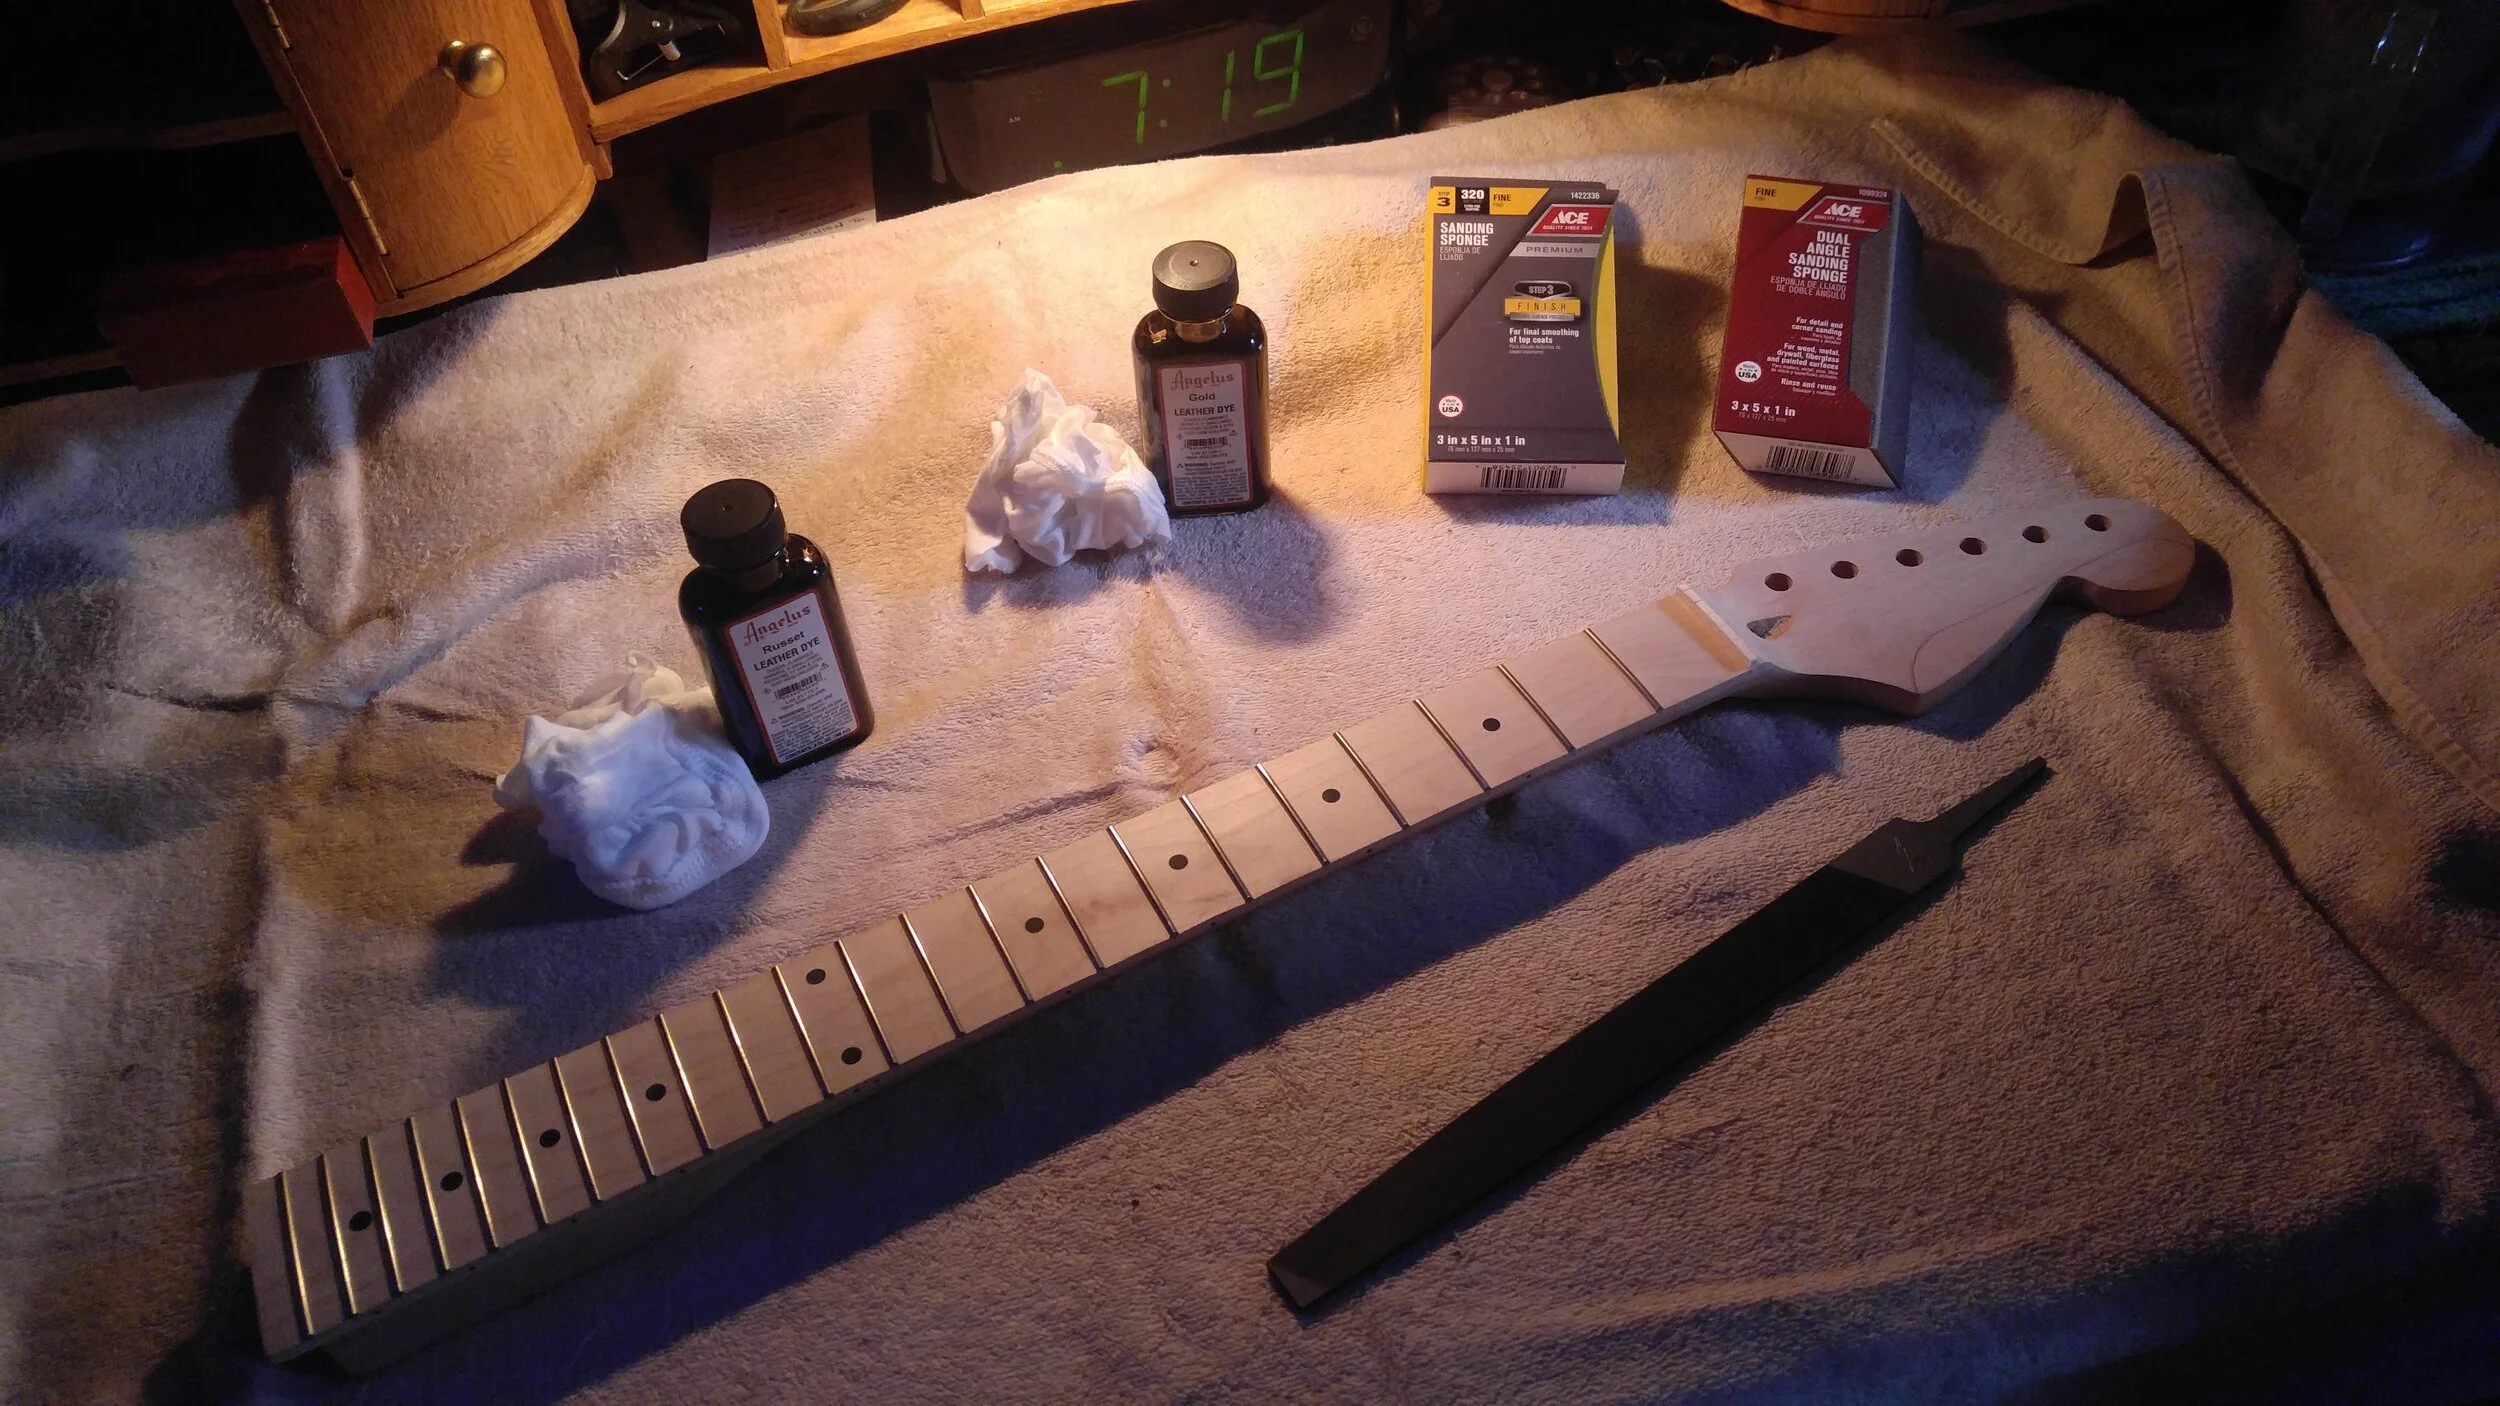
Raw, unstained neck, fret edges filed down.
First application of Russet stain, soon to add a second gold layer.
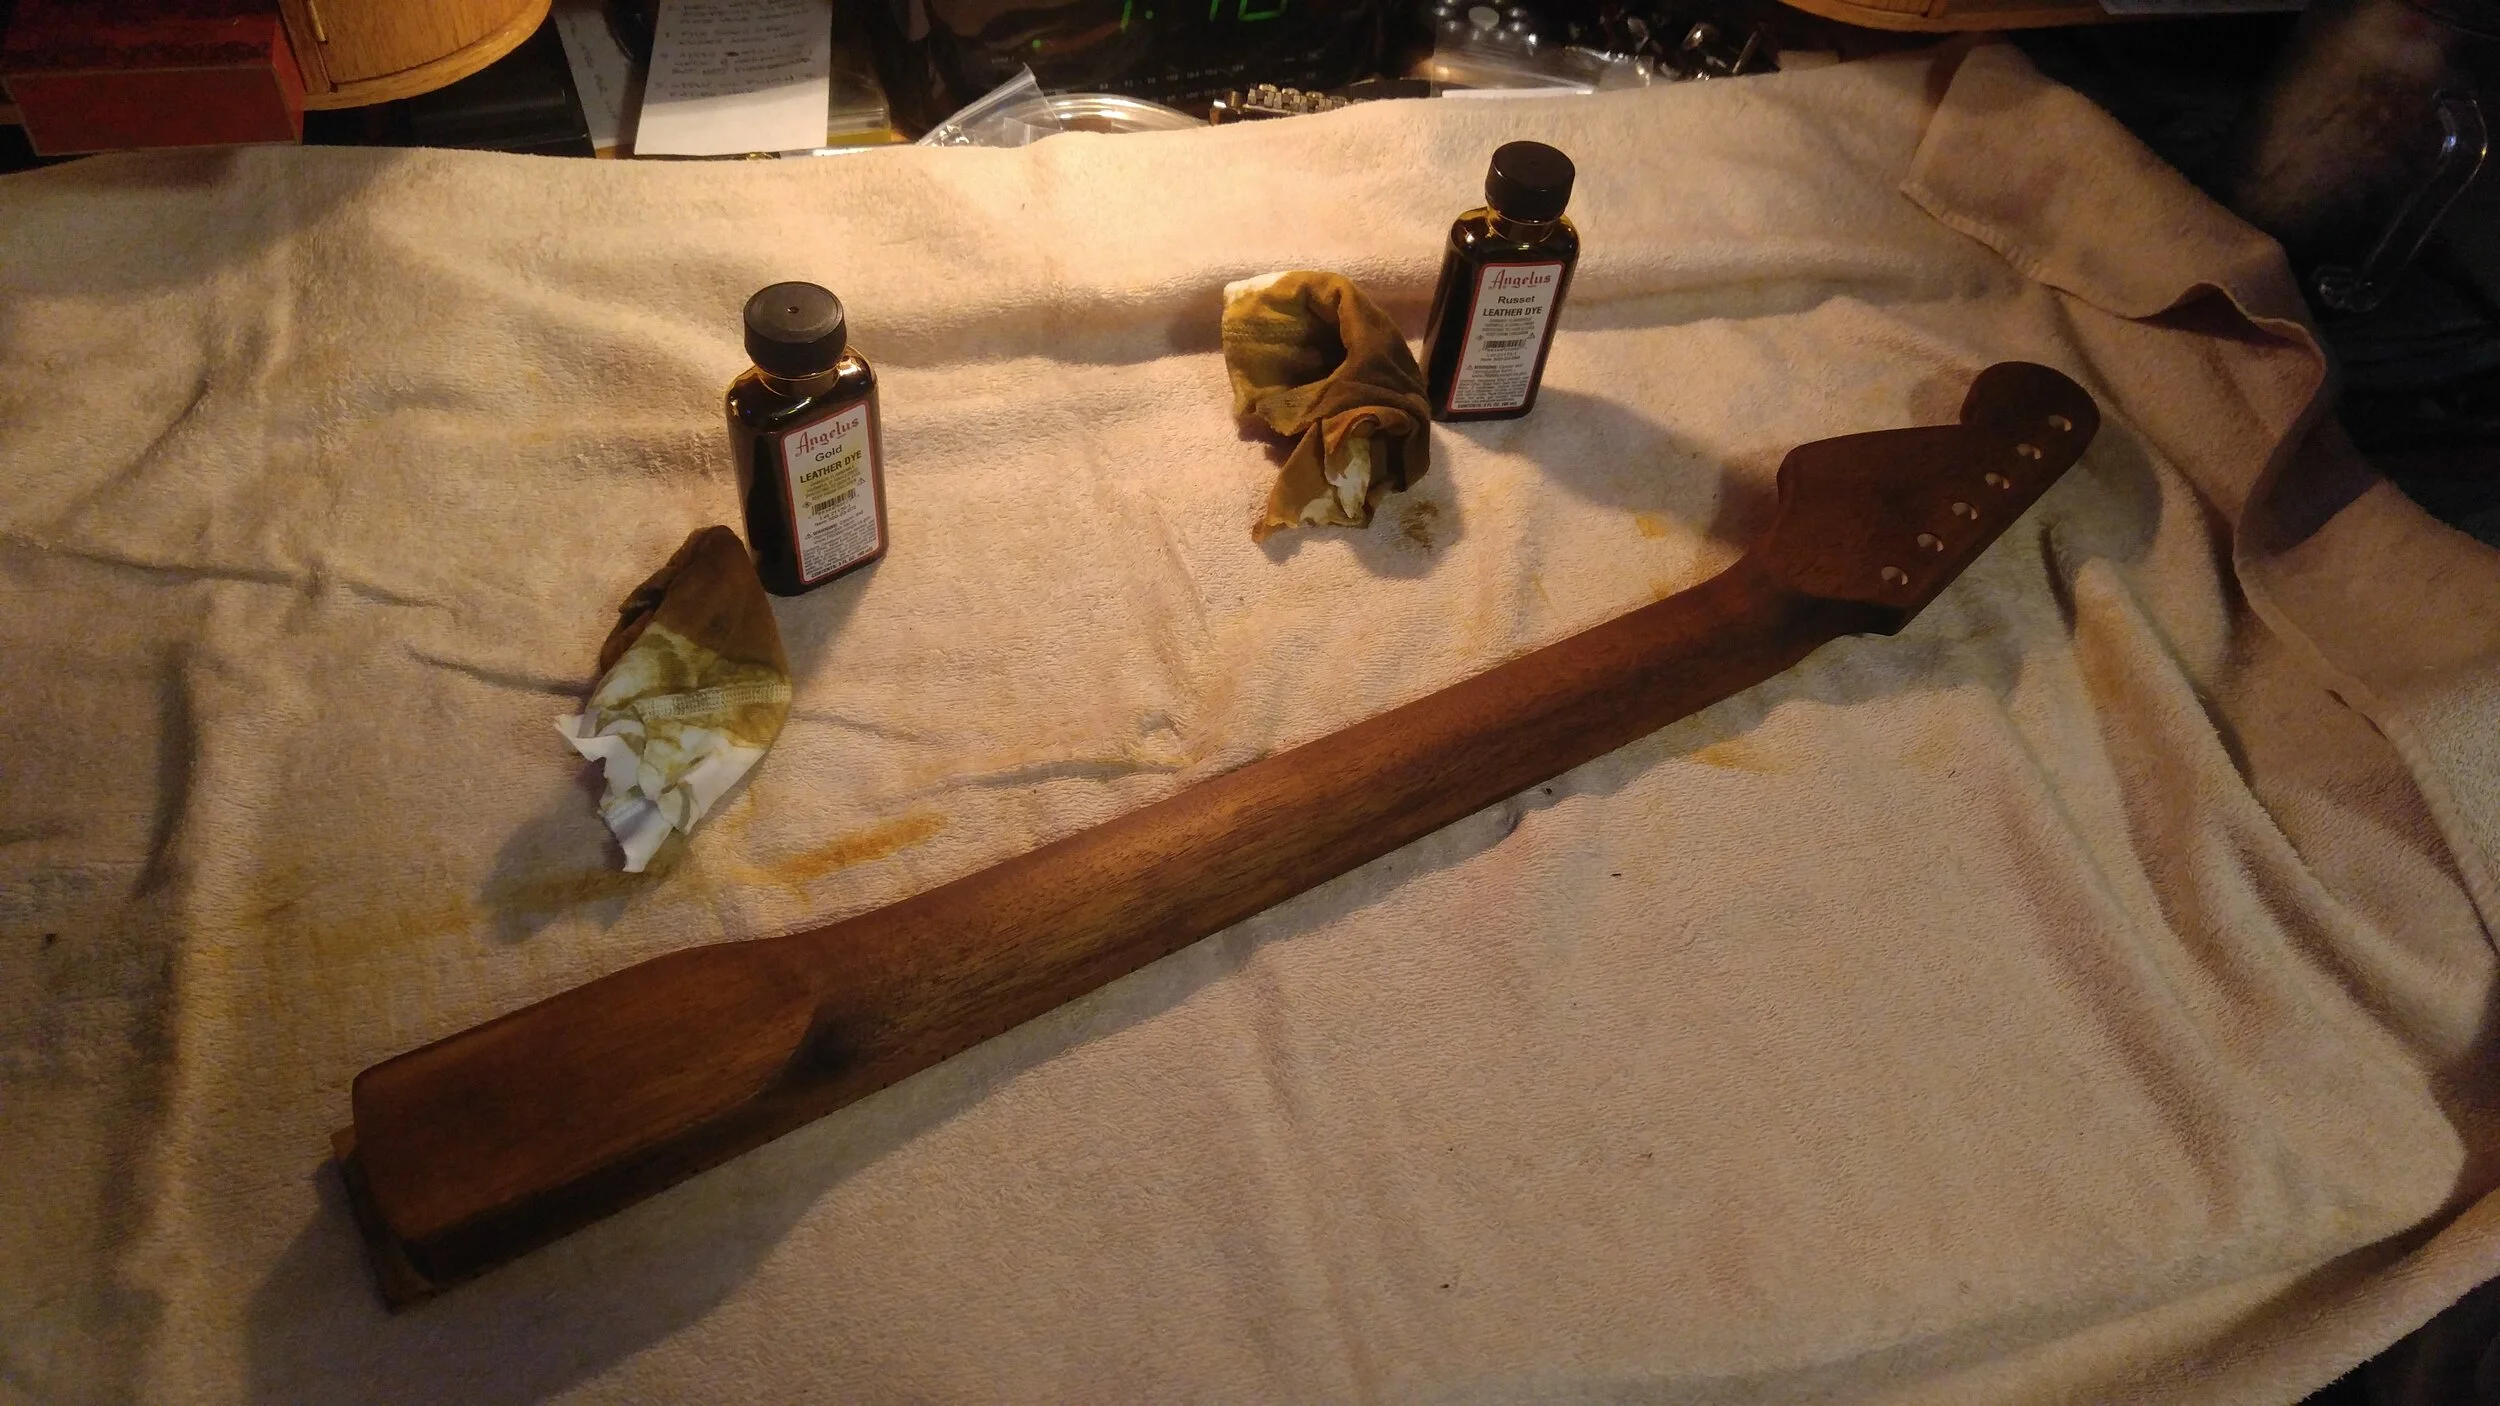
Backside of neck, stained.
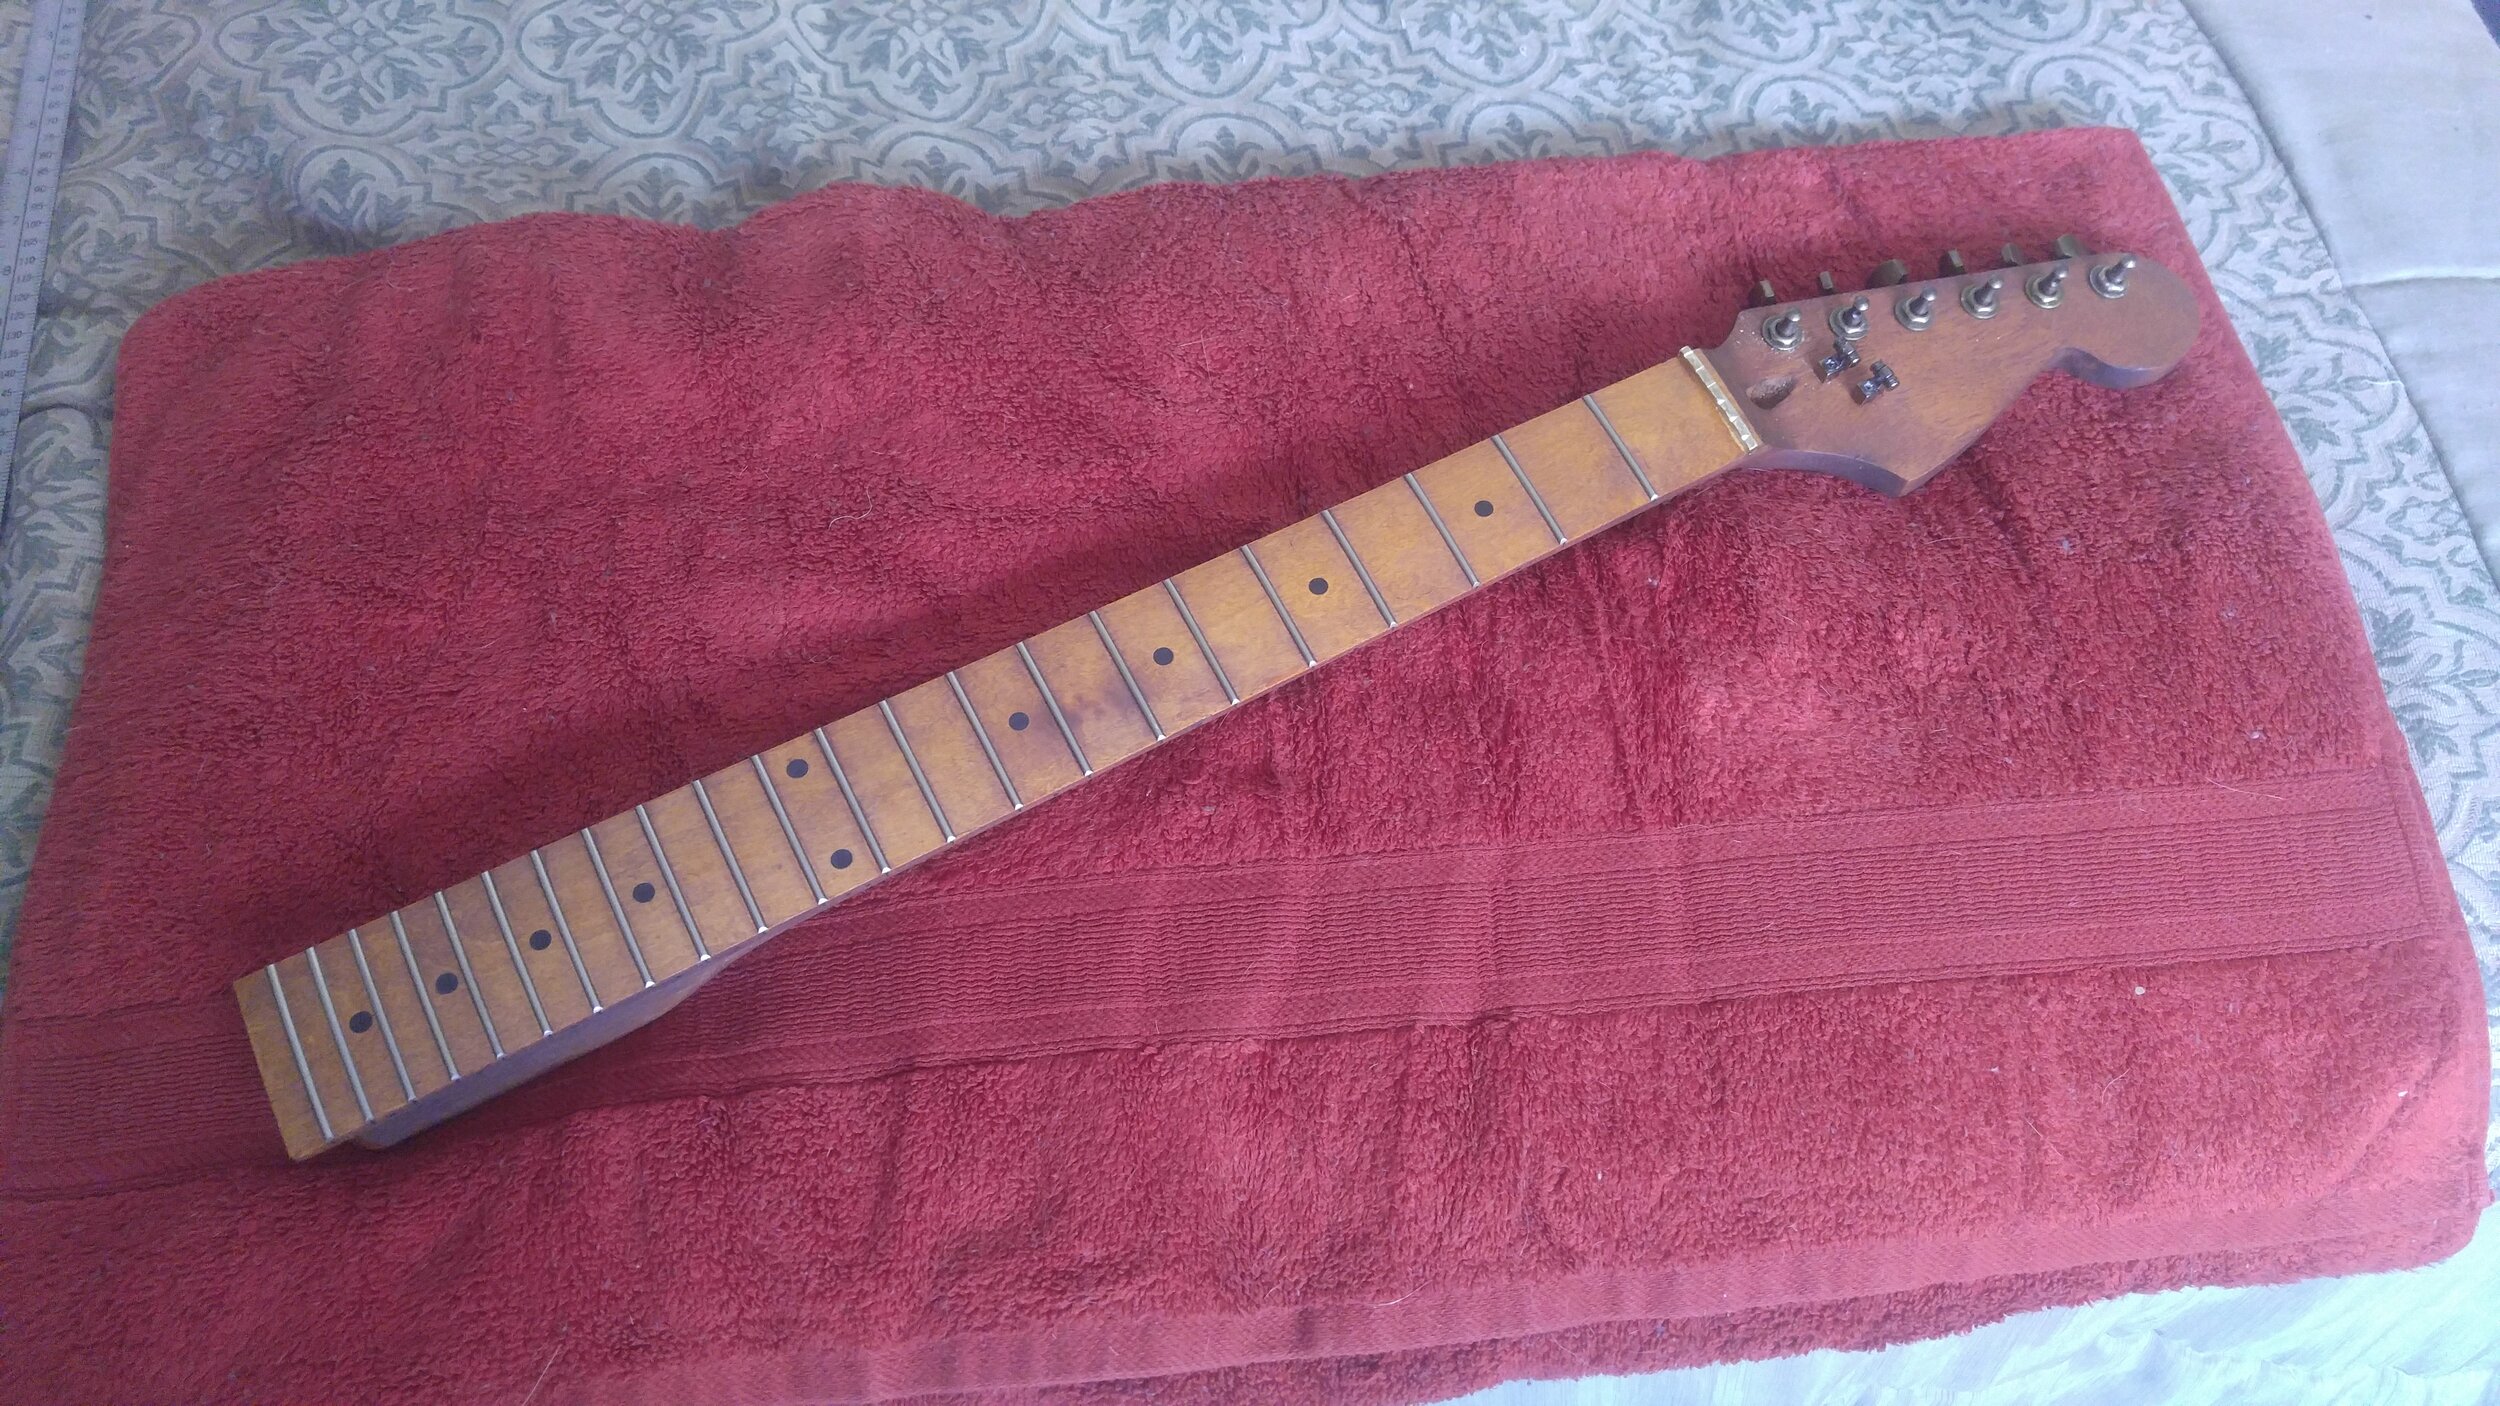
Staining complete, hardware installed.
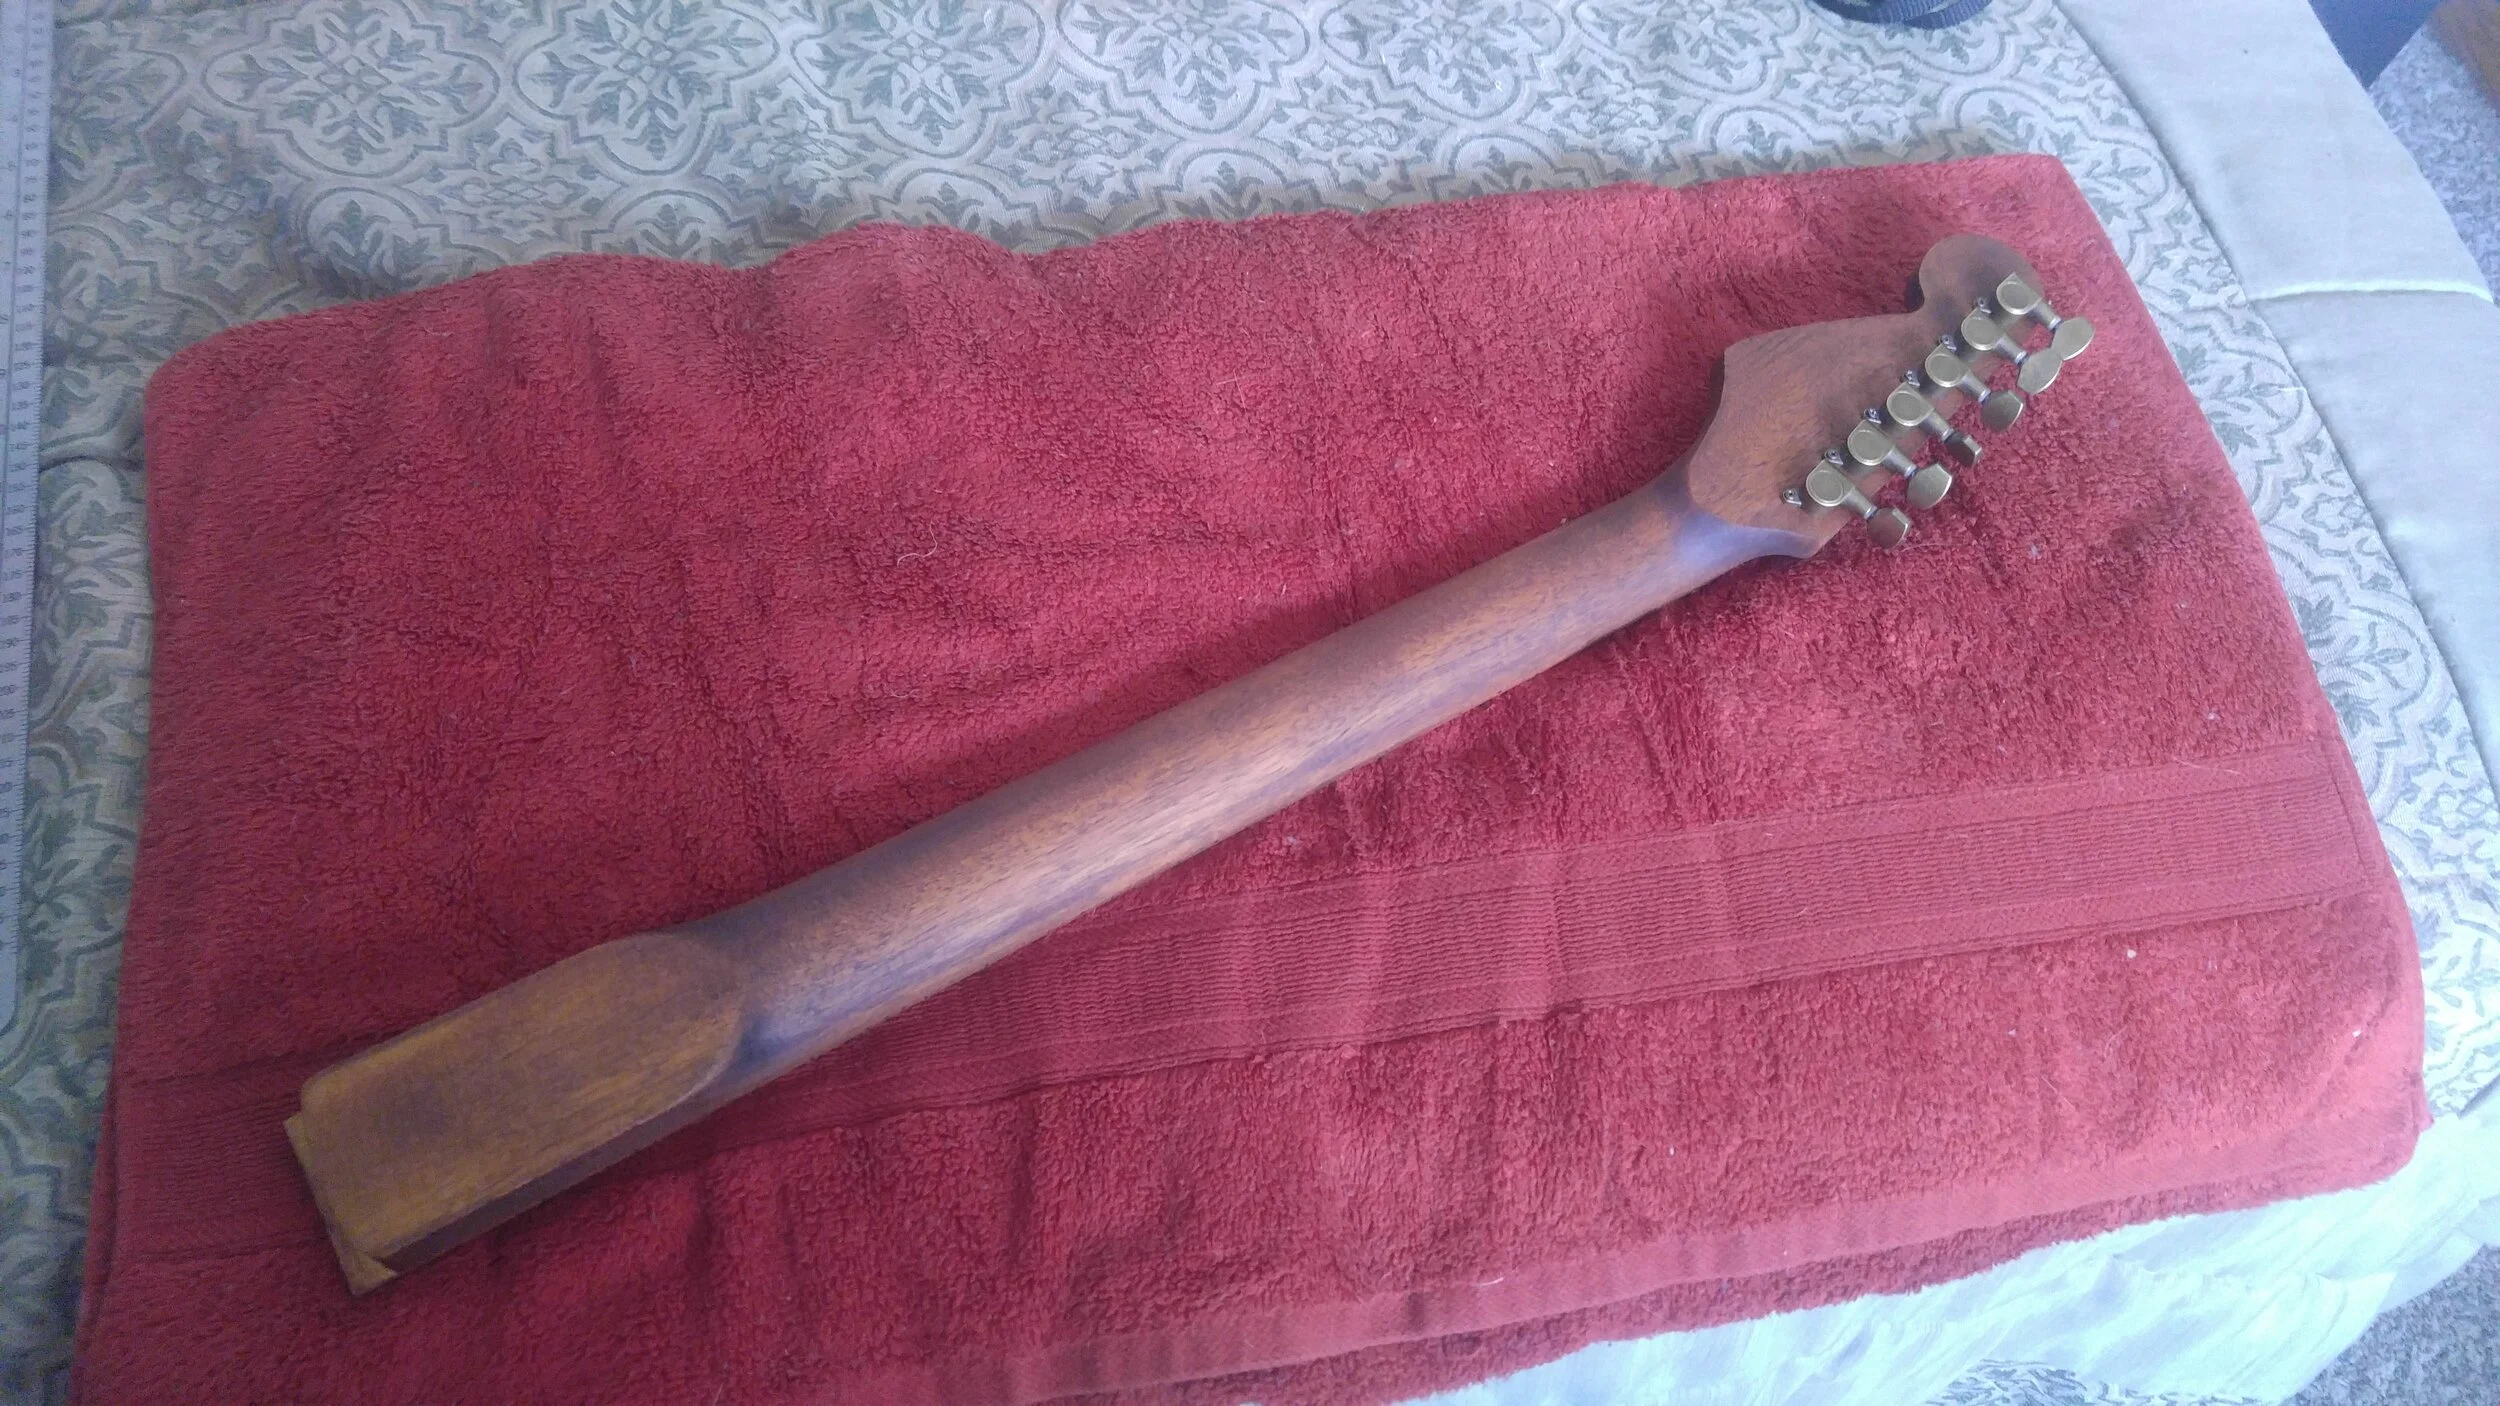
Staining complete, backside of neck.
Next up: wiring. Doing a combo mod with dual capacitors for the tone pots, and an added toggle switch for an expanded 7-way pickup combination.
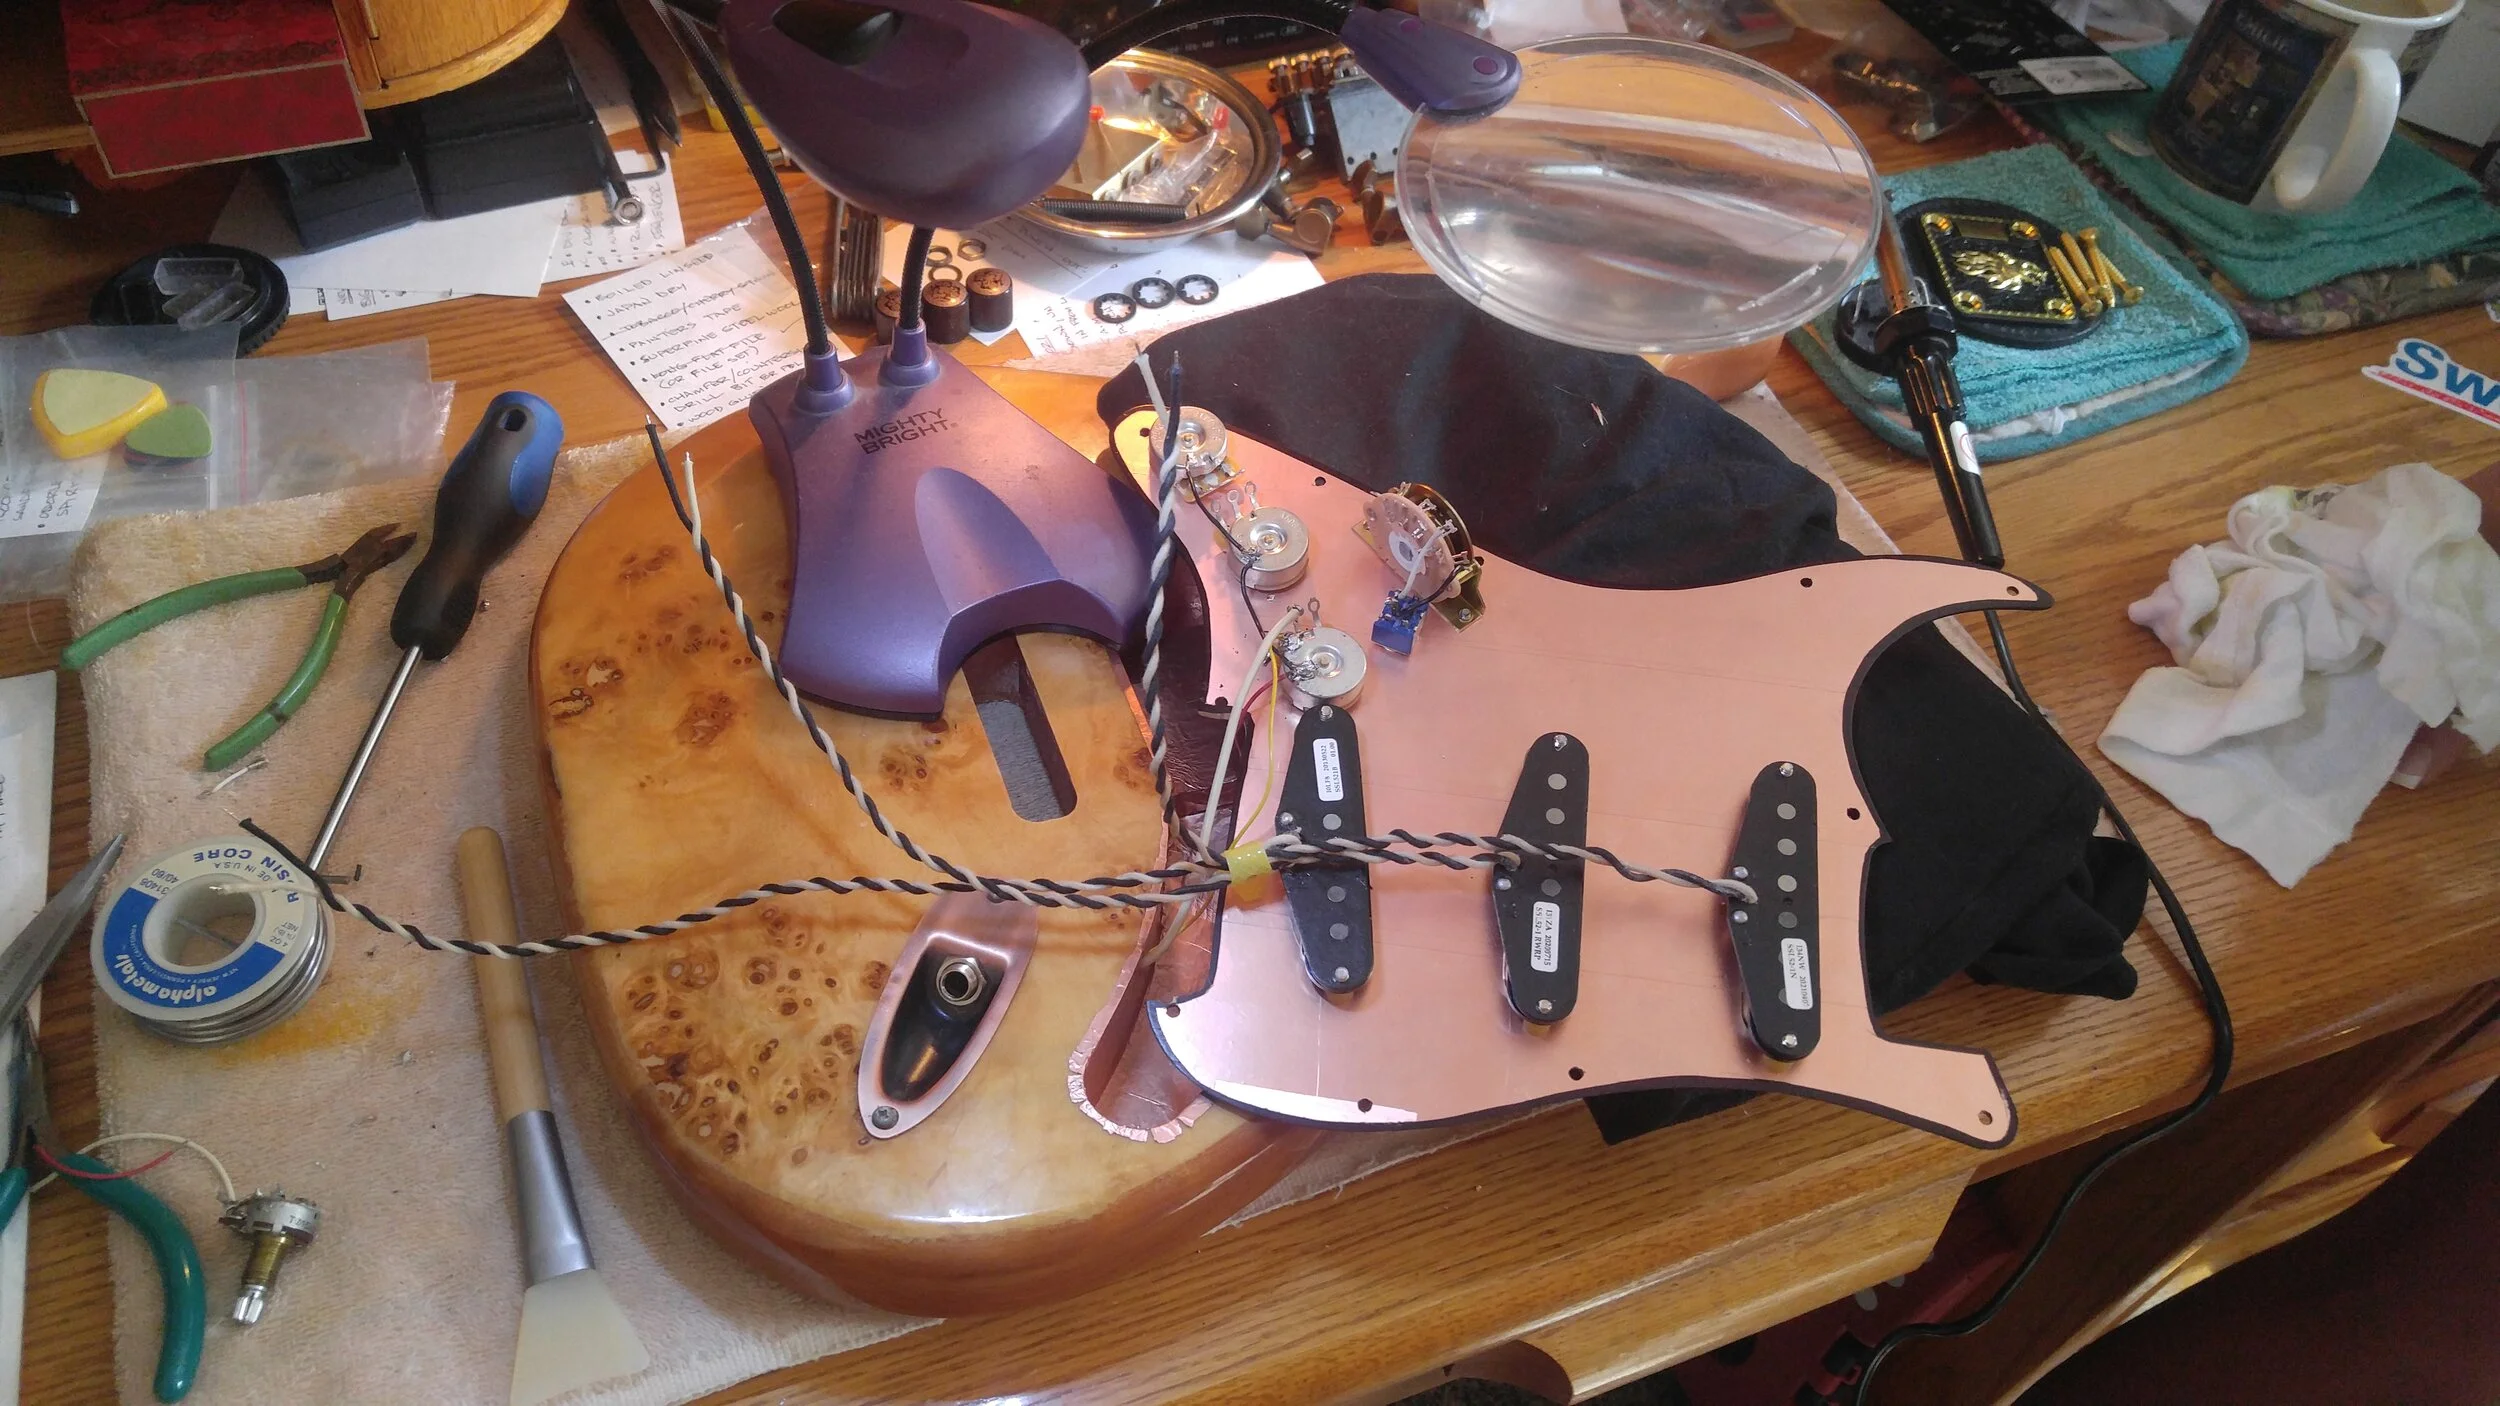
Preliminary wiring/grounding.
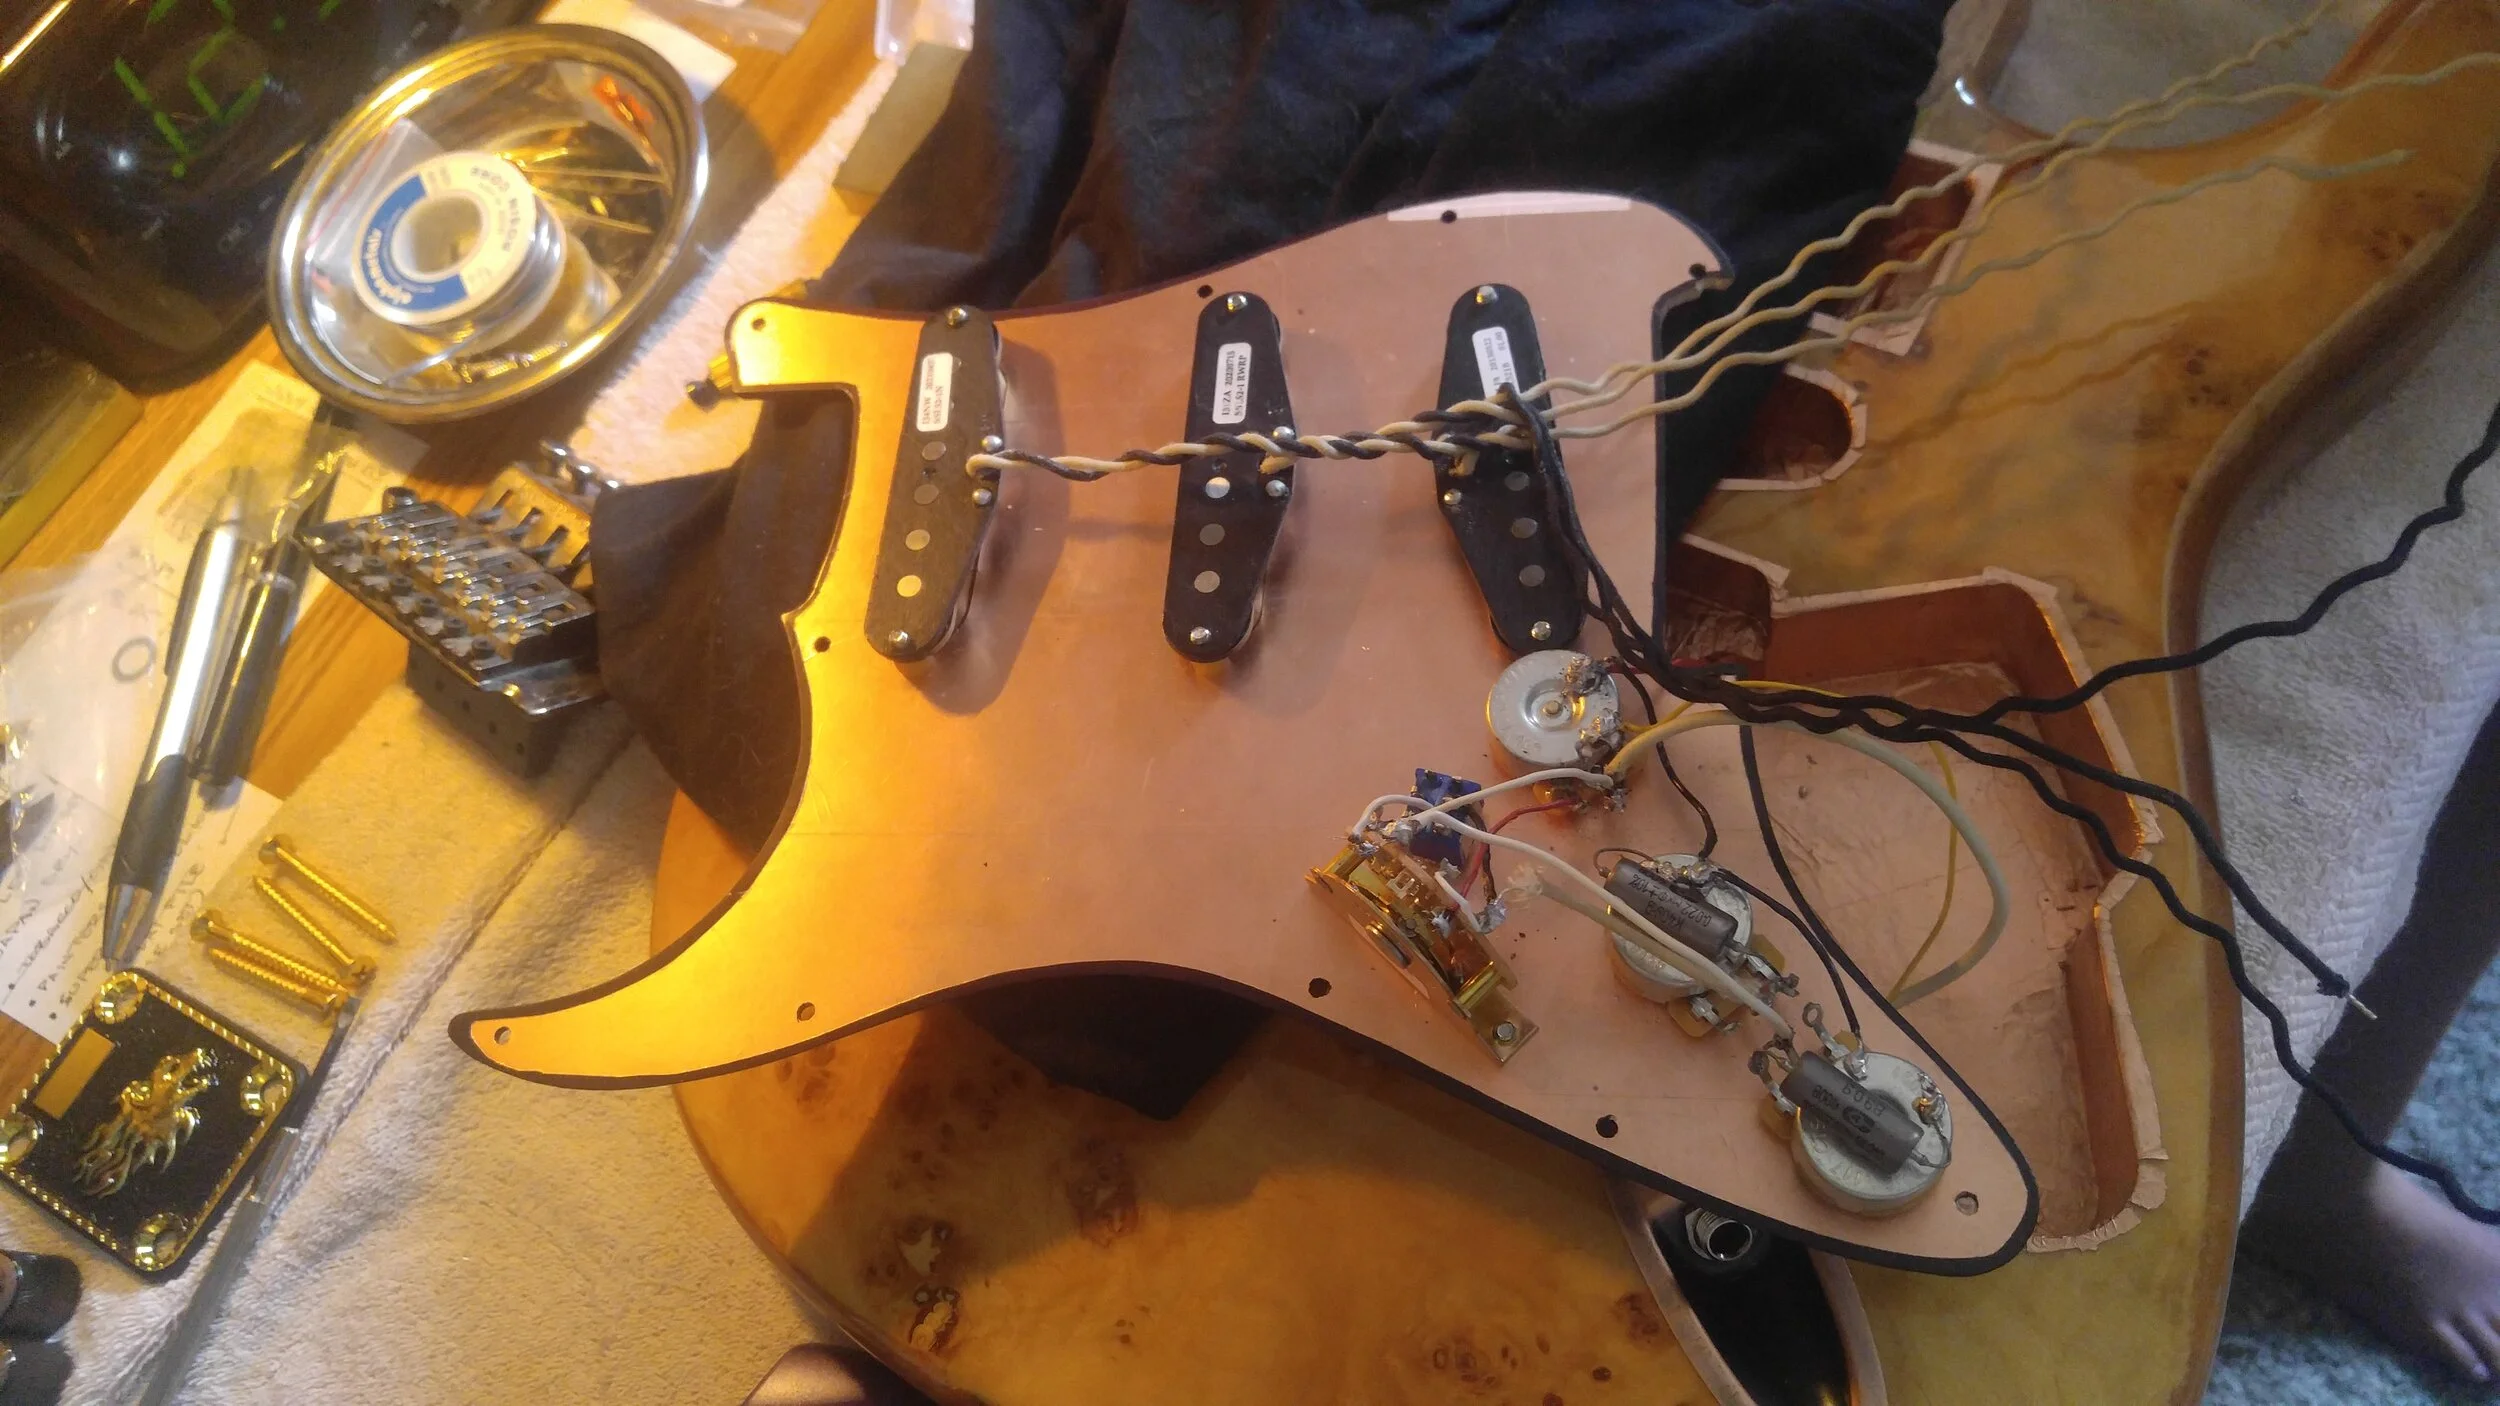
Wiring nearly complete. Caps installed. All that remains to be wired are the pickups. And, given this particular set of mods, it’s actually the easy part.
Next step is to begin fitting the Floyd Rose tremelo. I begin by replacing the factory springblock with much thicker and denser brass unit. Then I begin calculating bridge position and height, and neck break angle. Lastly, I install a brass nut on the neck.
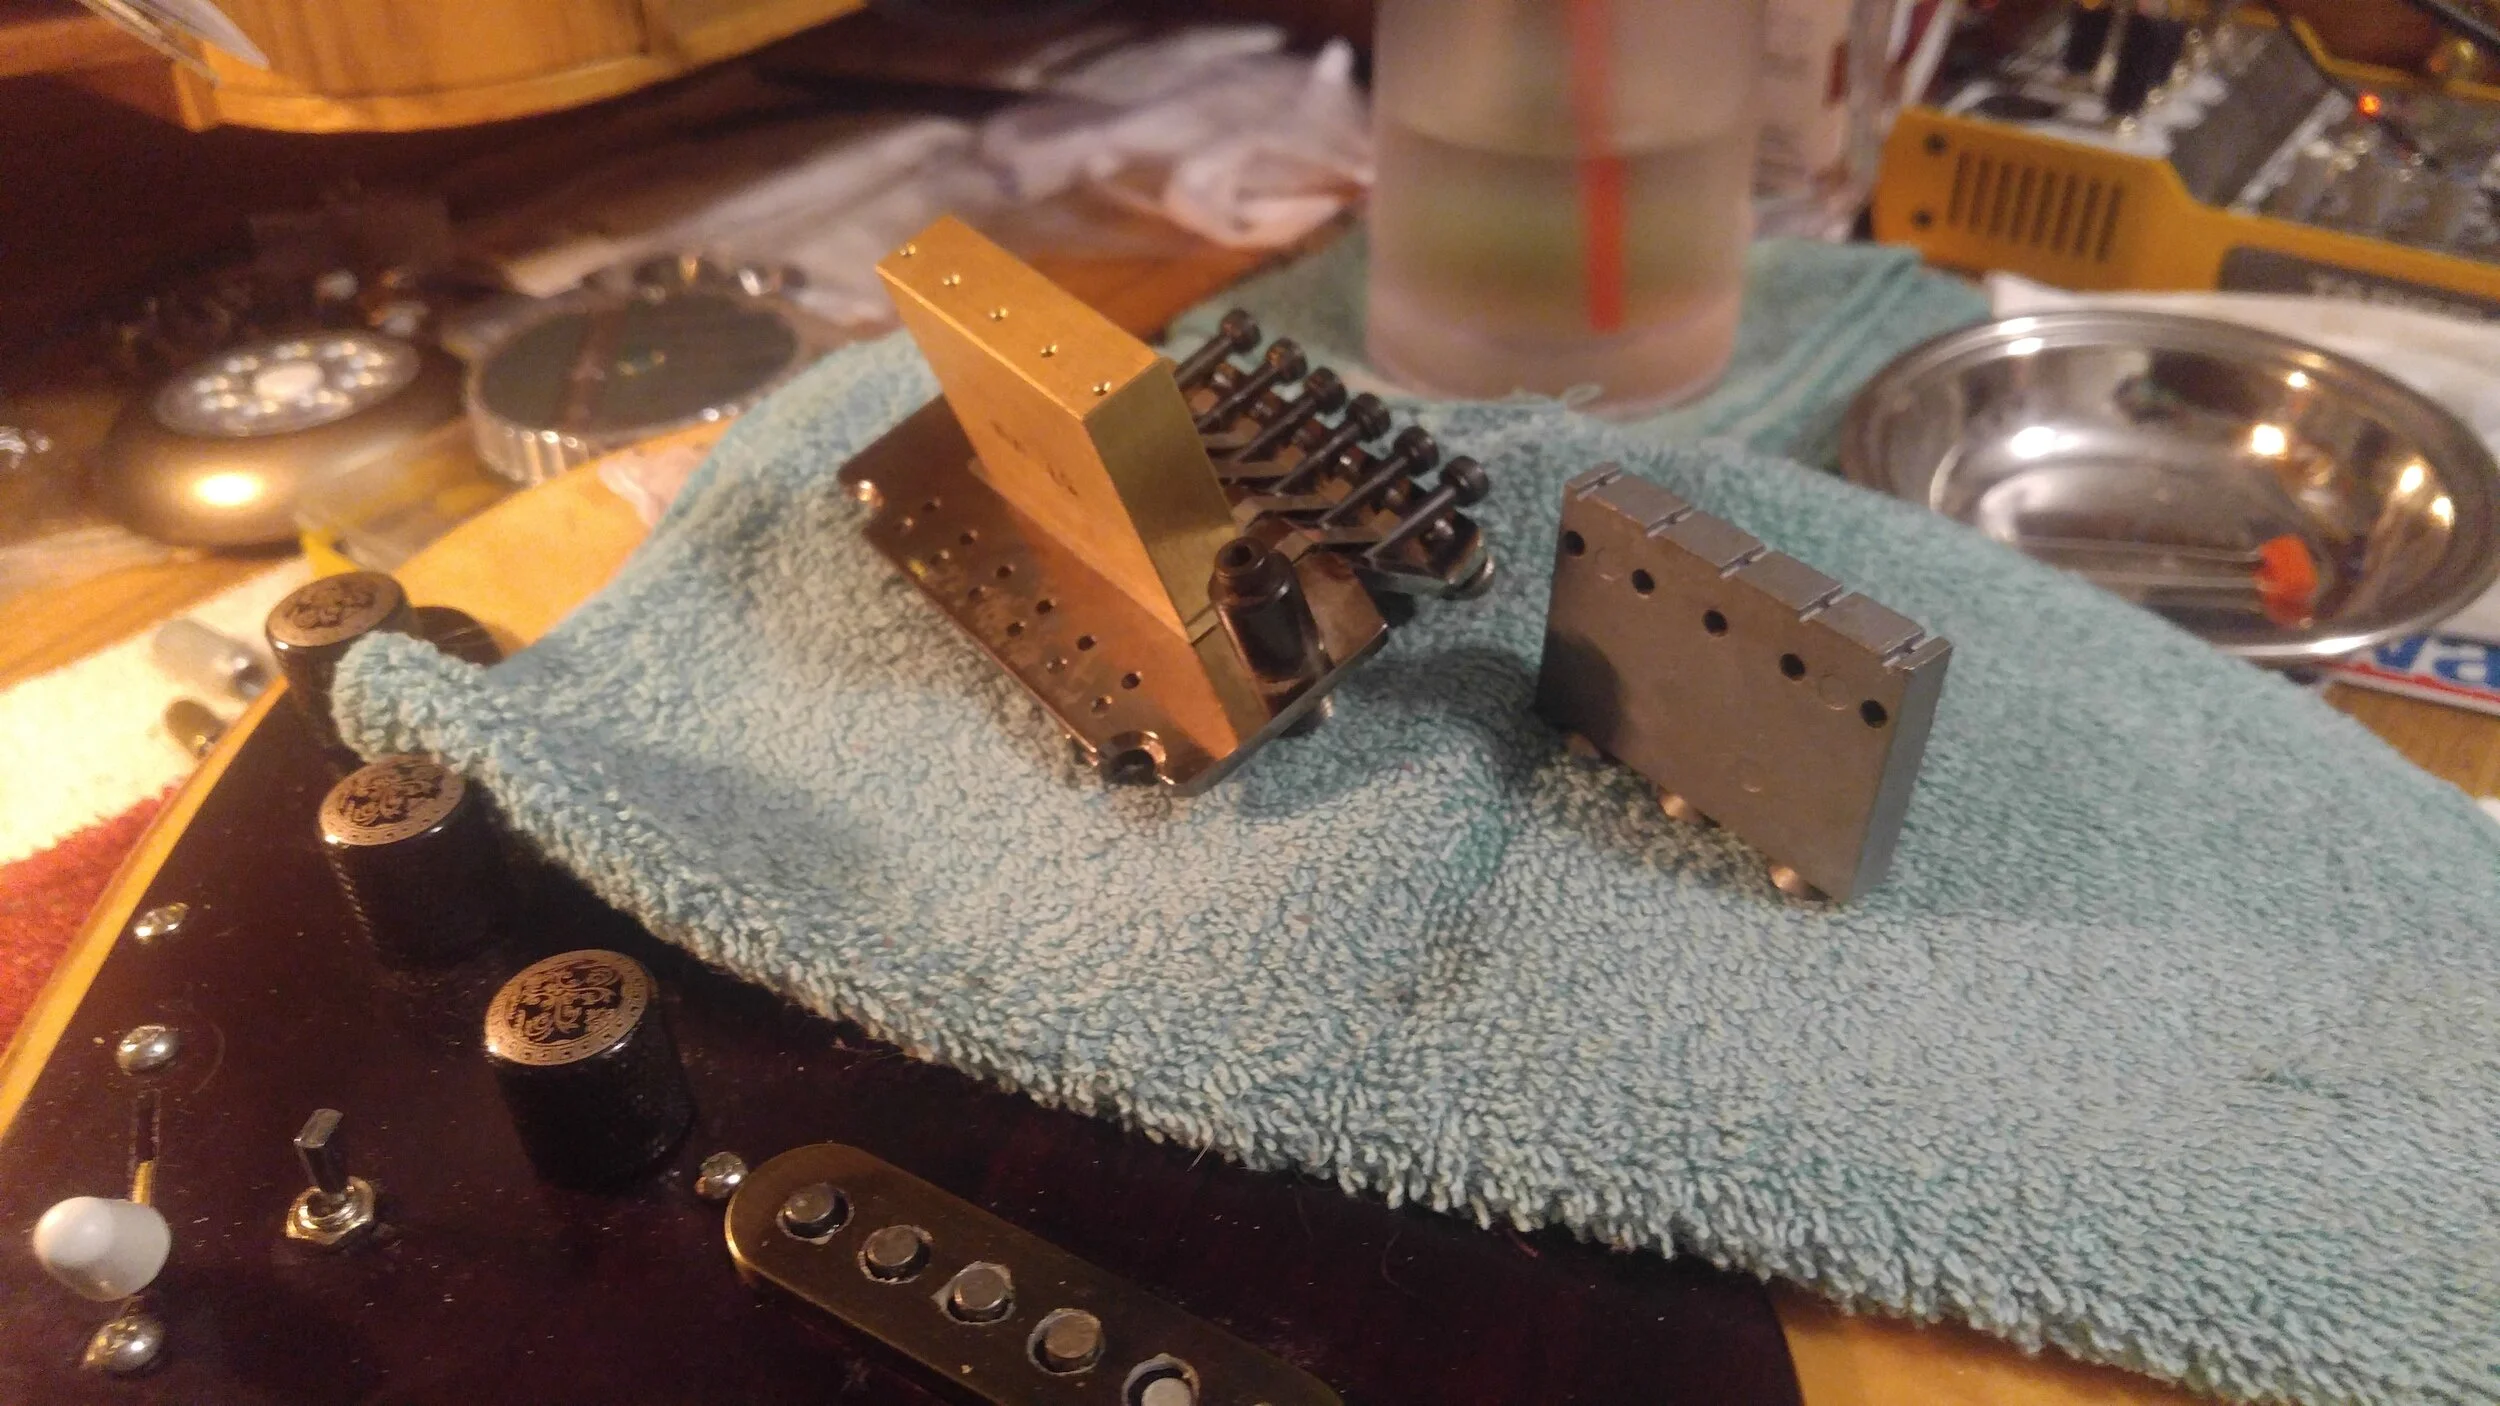
Closeup of brass tremelo block replacement, and original factory unit.
Drilling out holes for tremelo posts. No 2nd shots on this part.
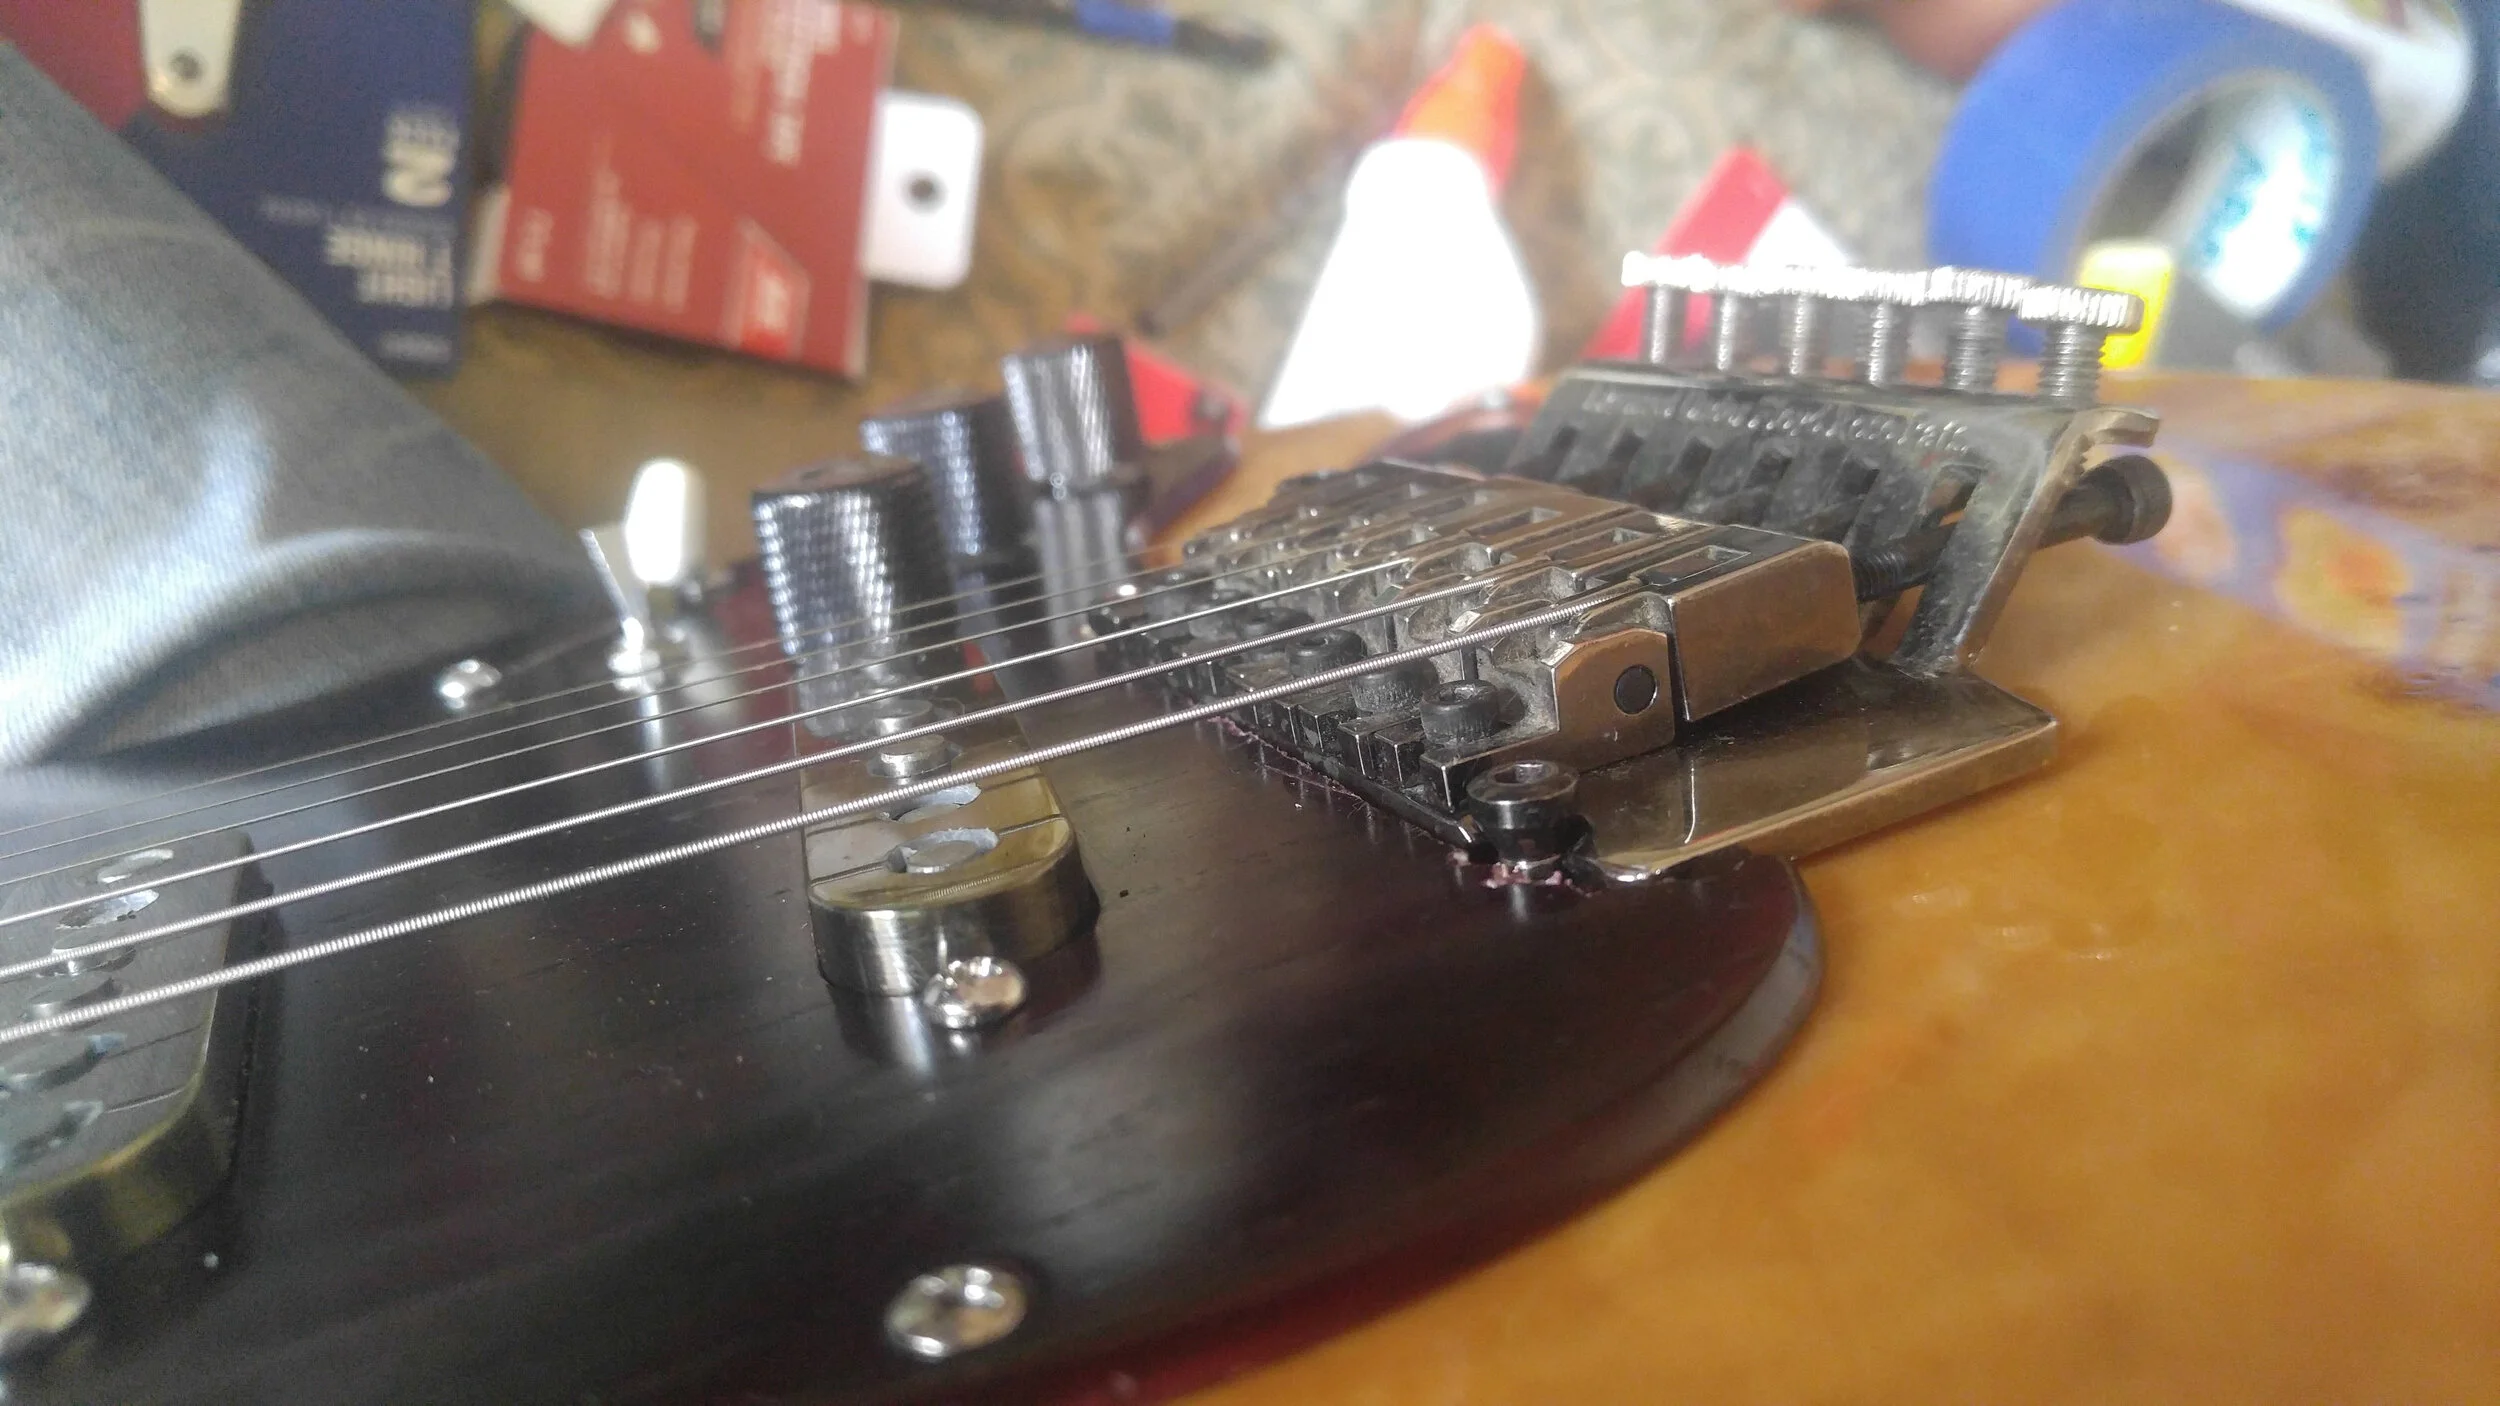
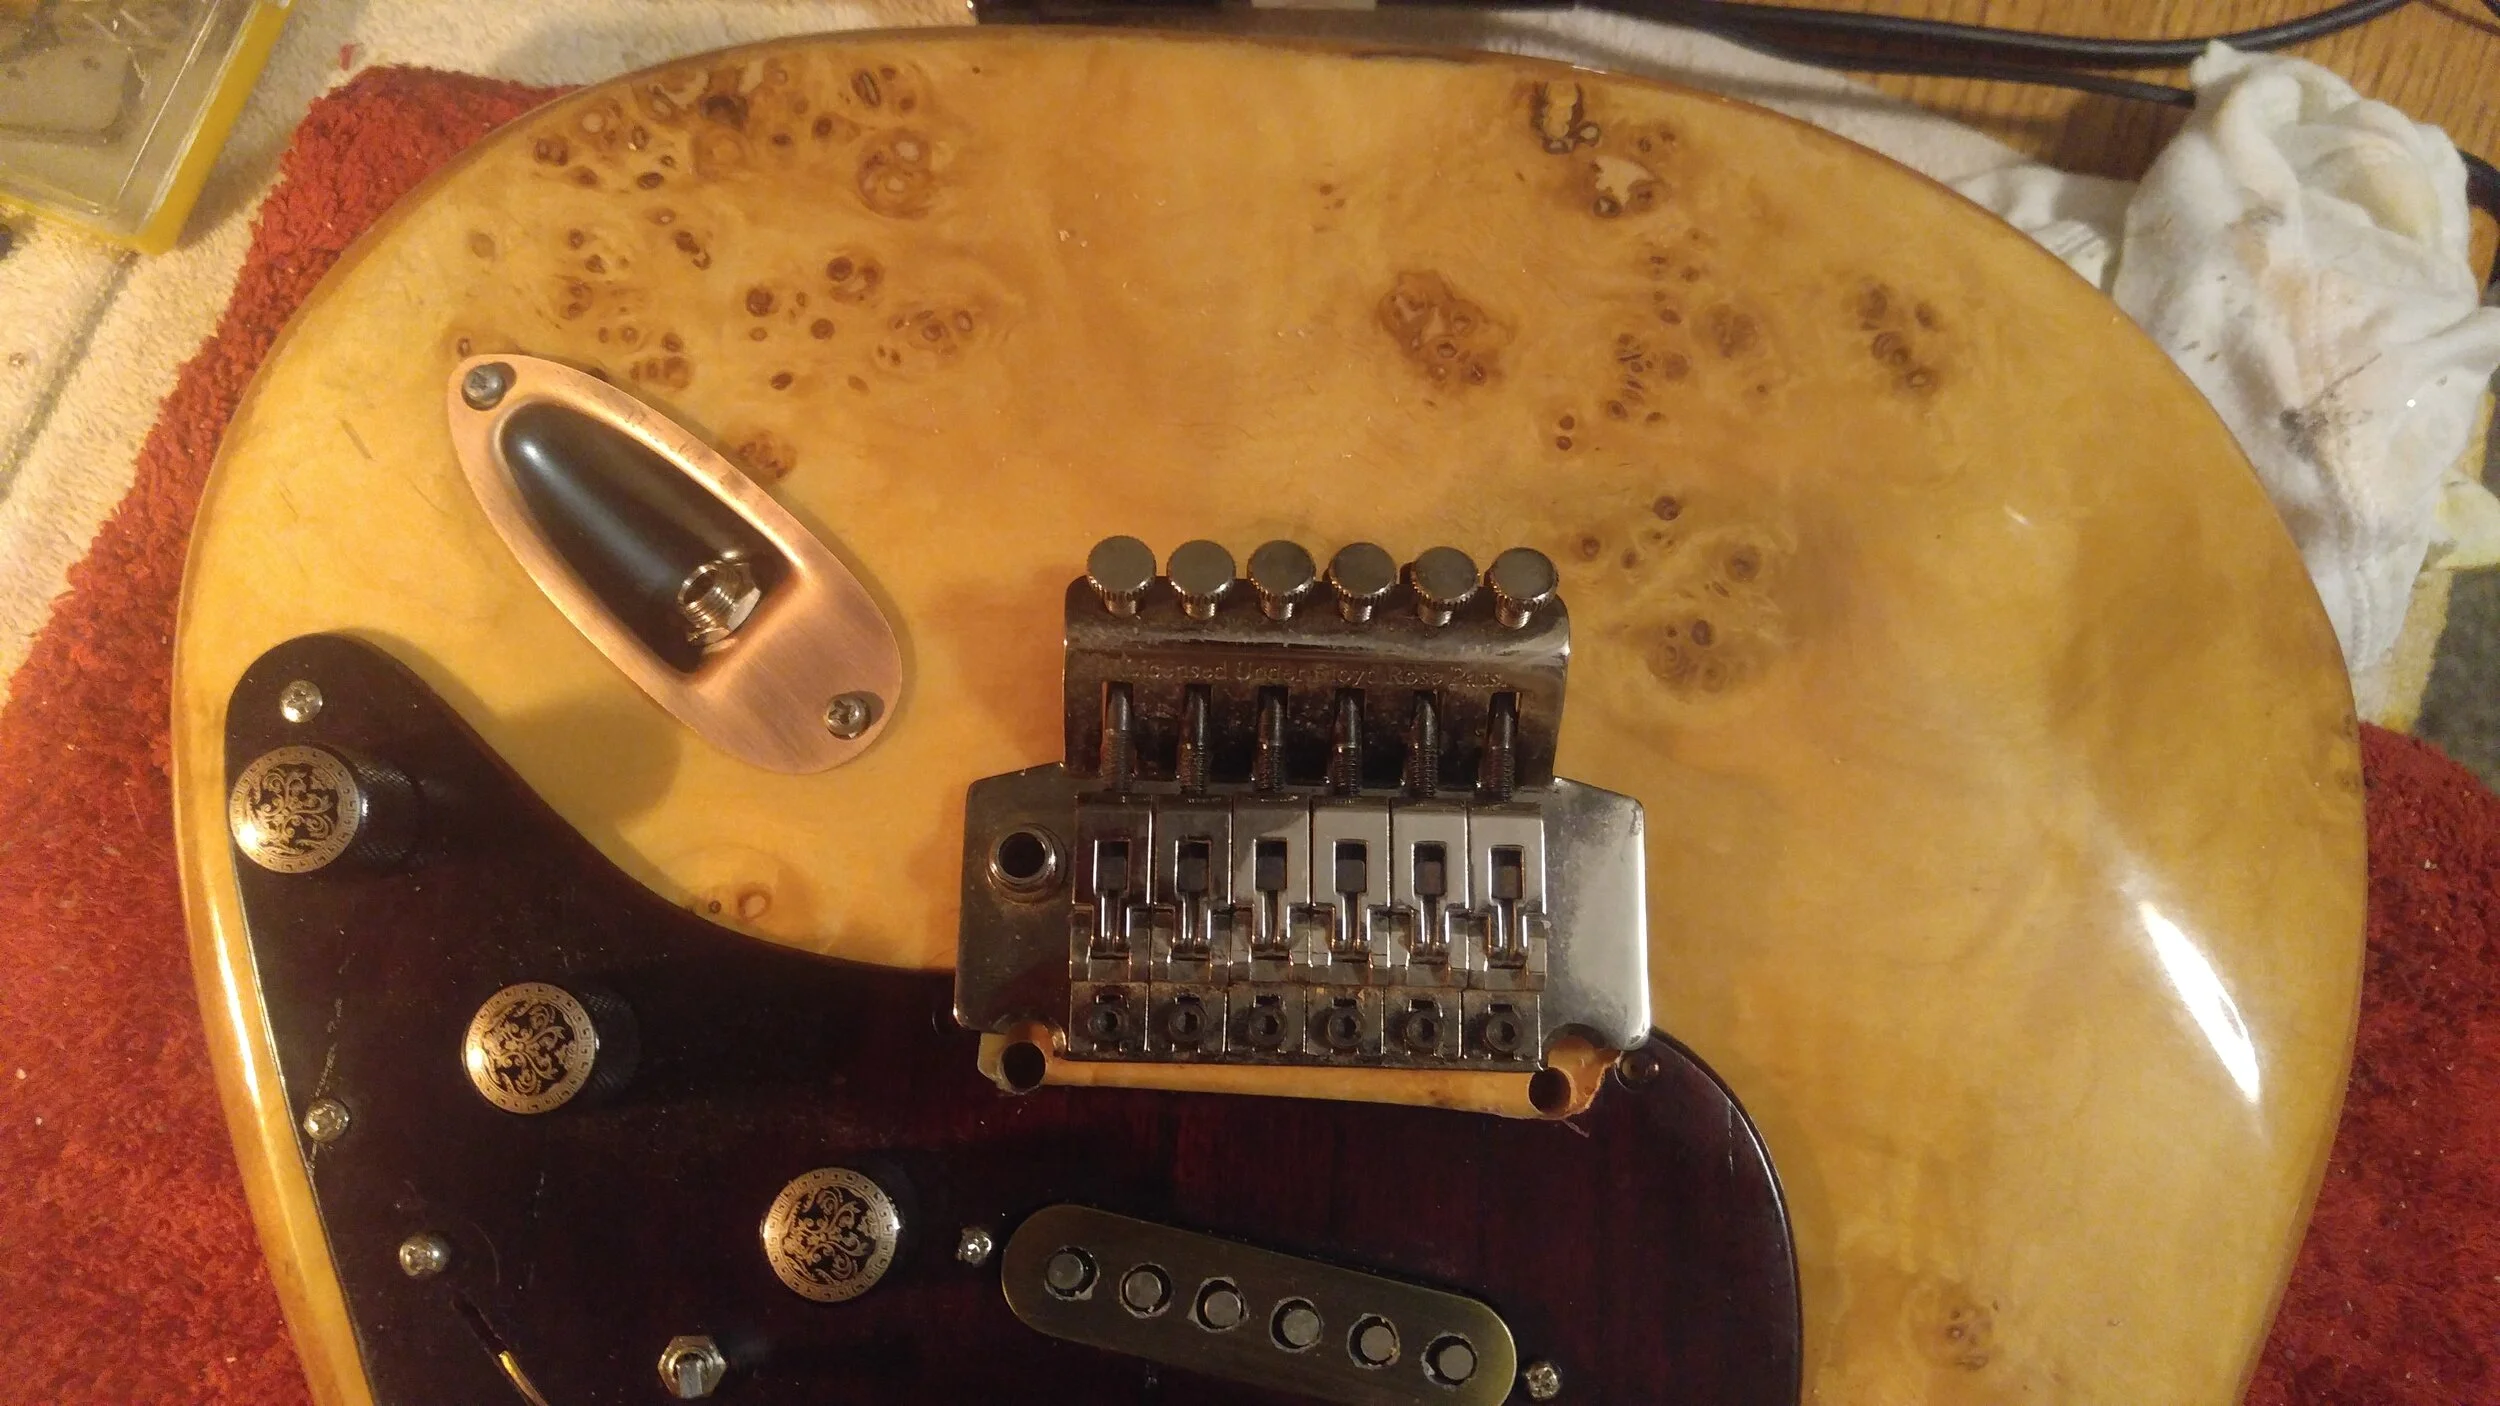
Closeup of bridge, now installed.
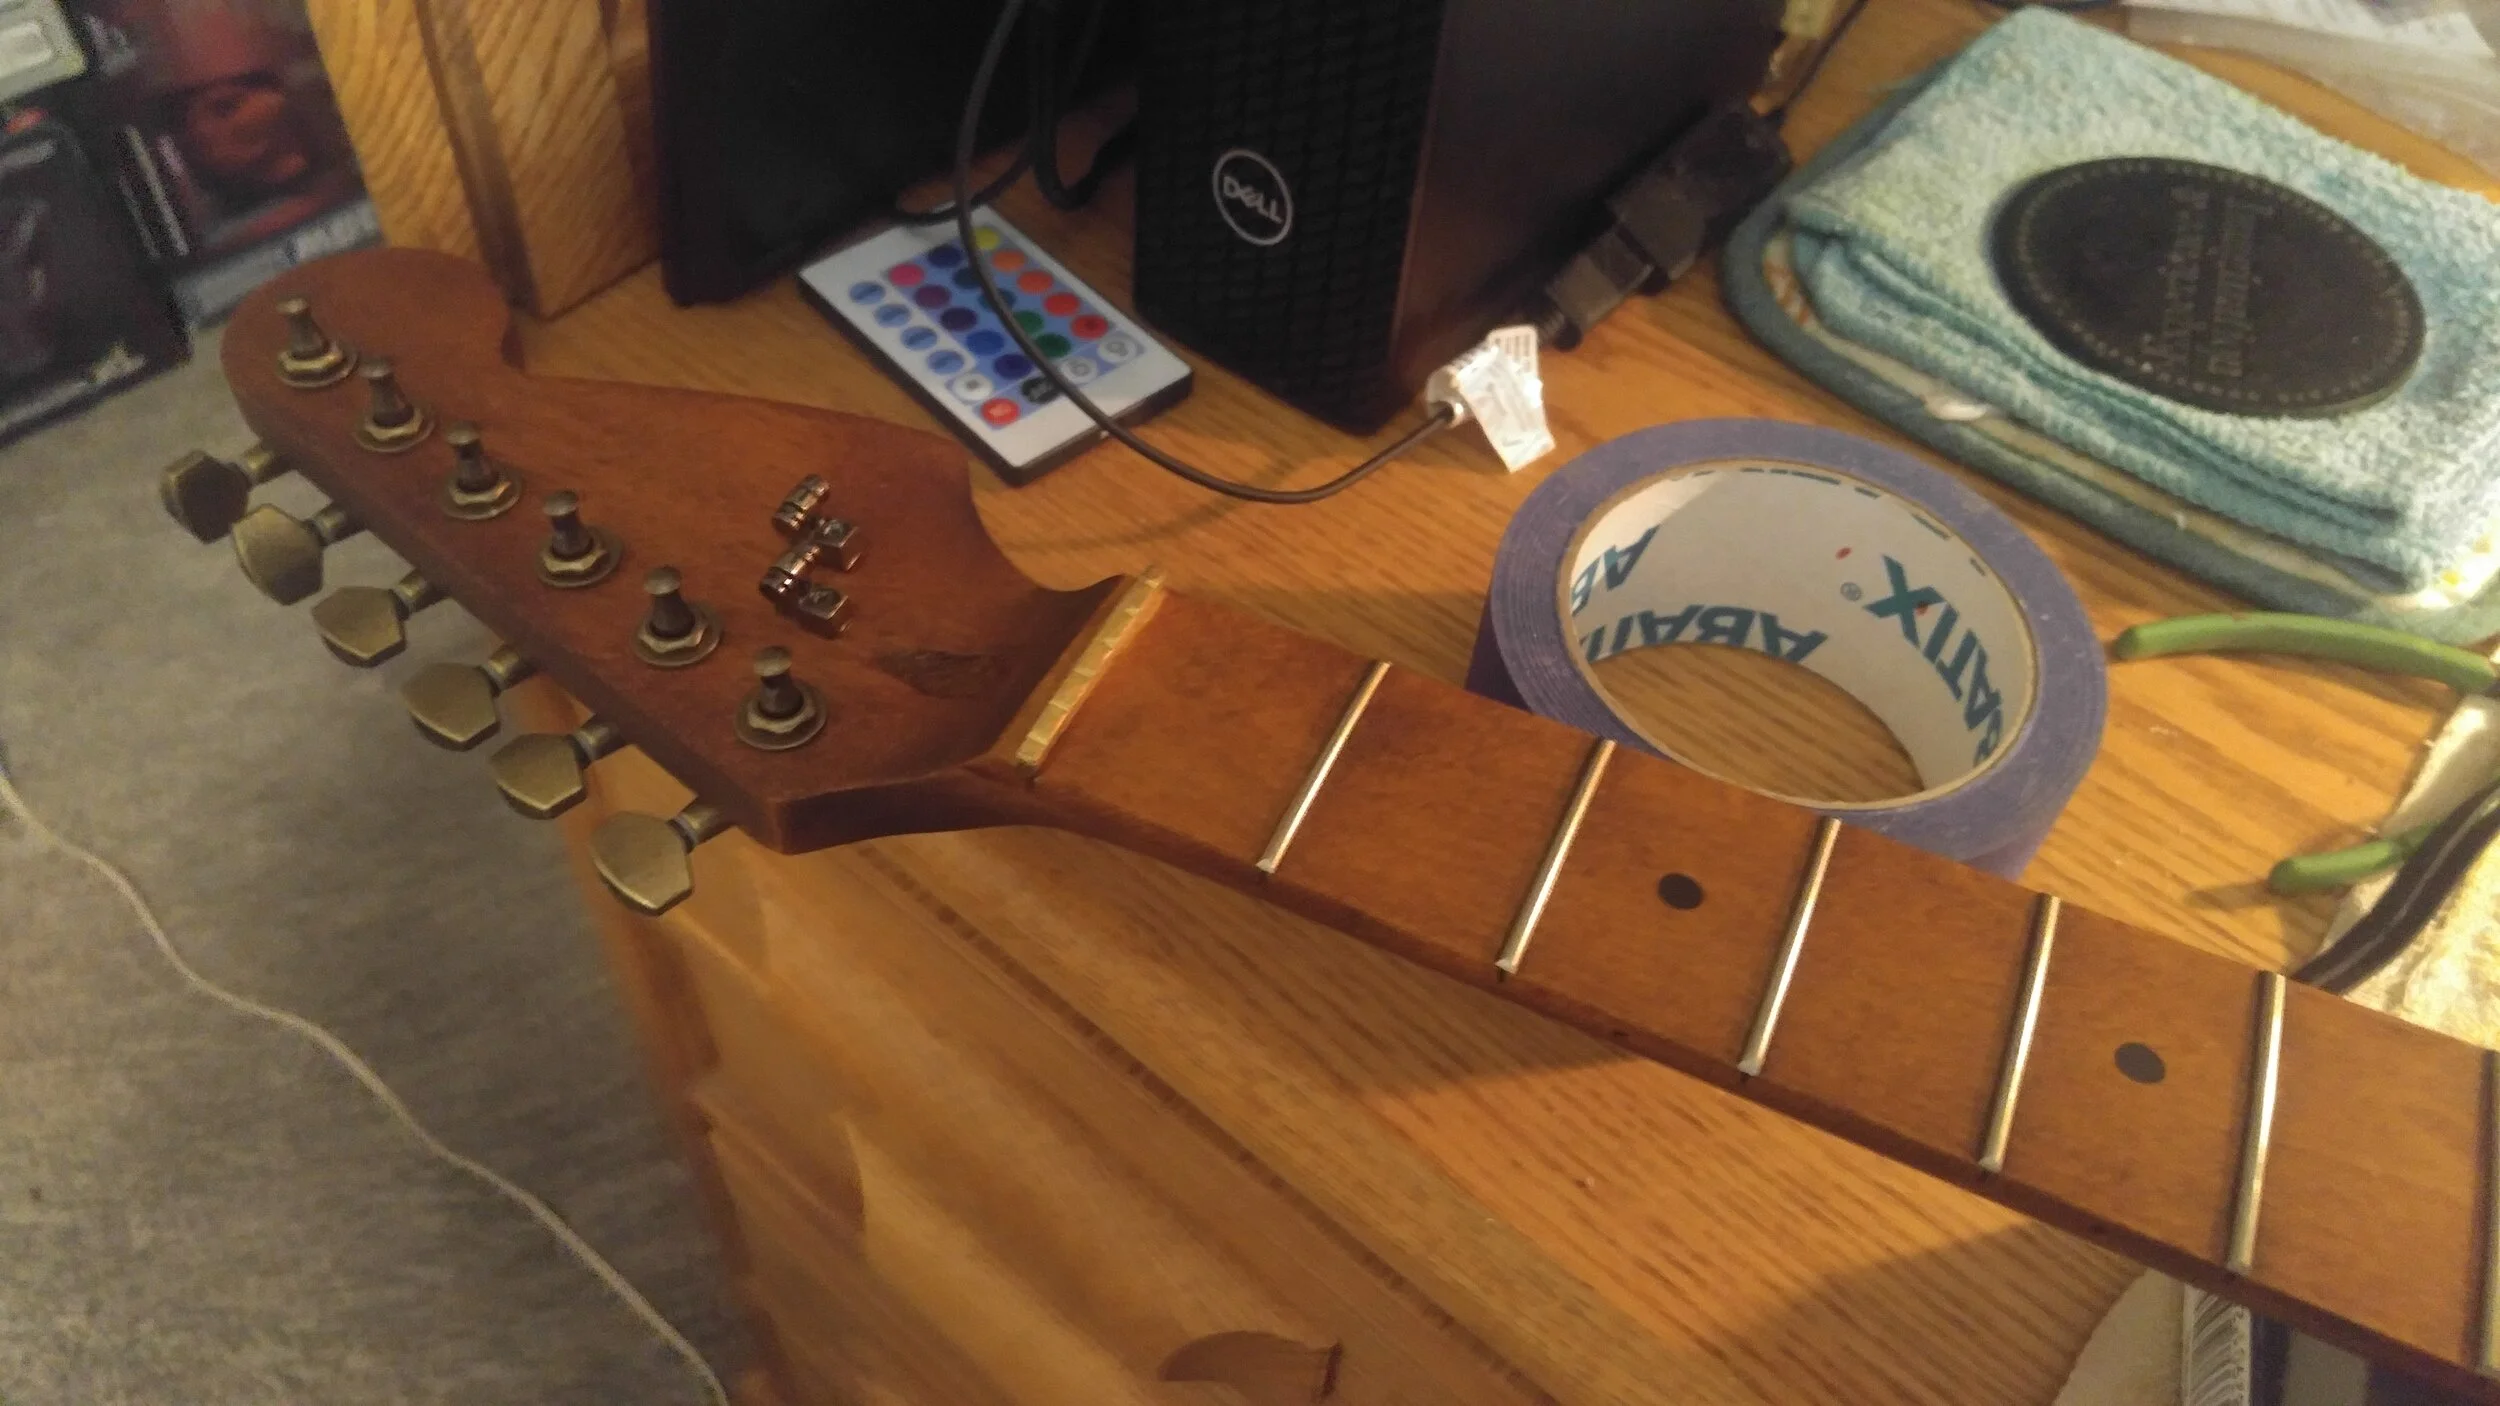
Closeup of headstock, with brass nut installed. As well as aged brass tuners.
Lastly, a final assembly, with first set of strings followed by audio test.
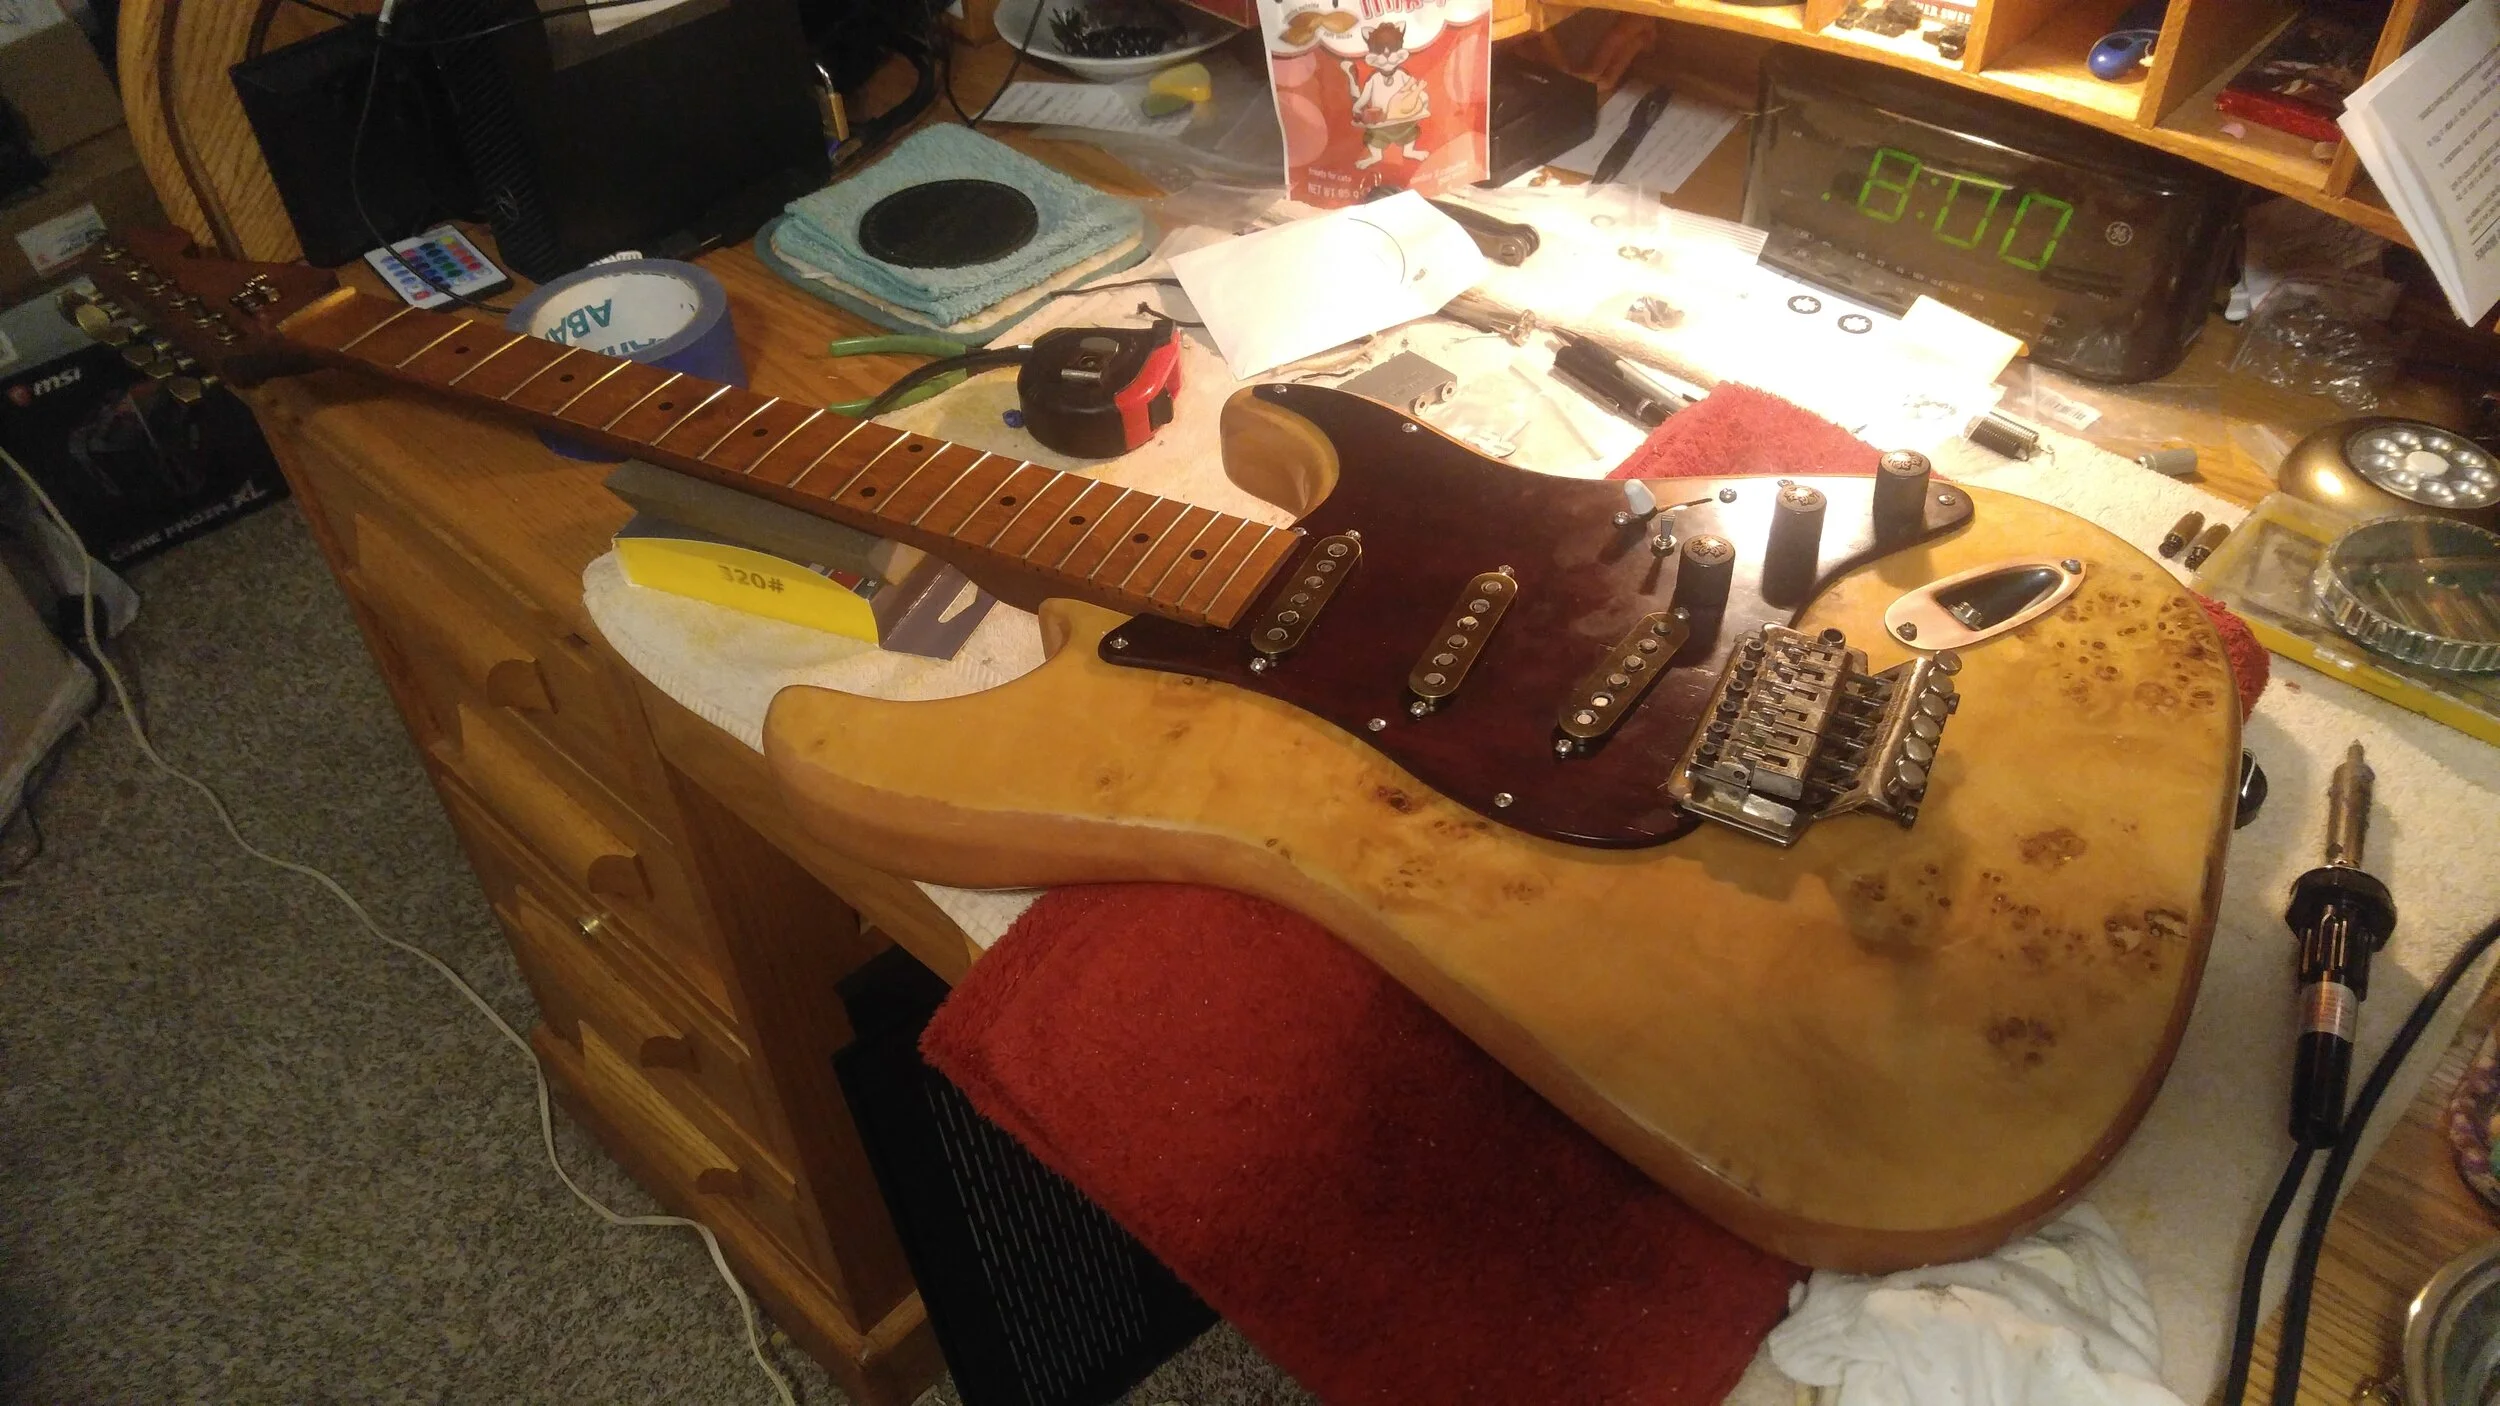
Initial test fitting.
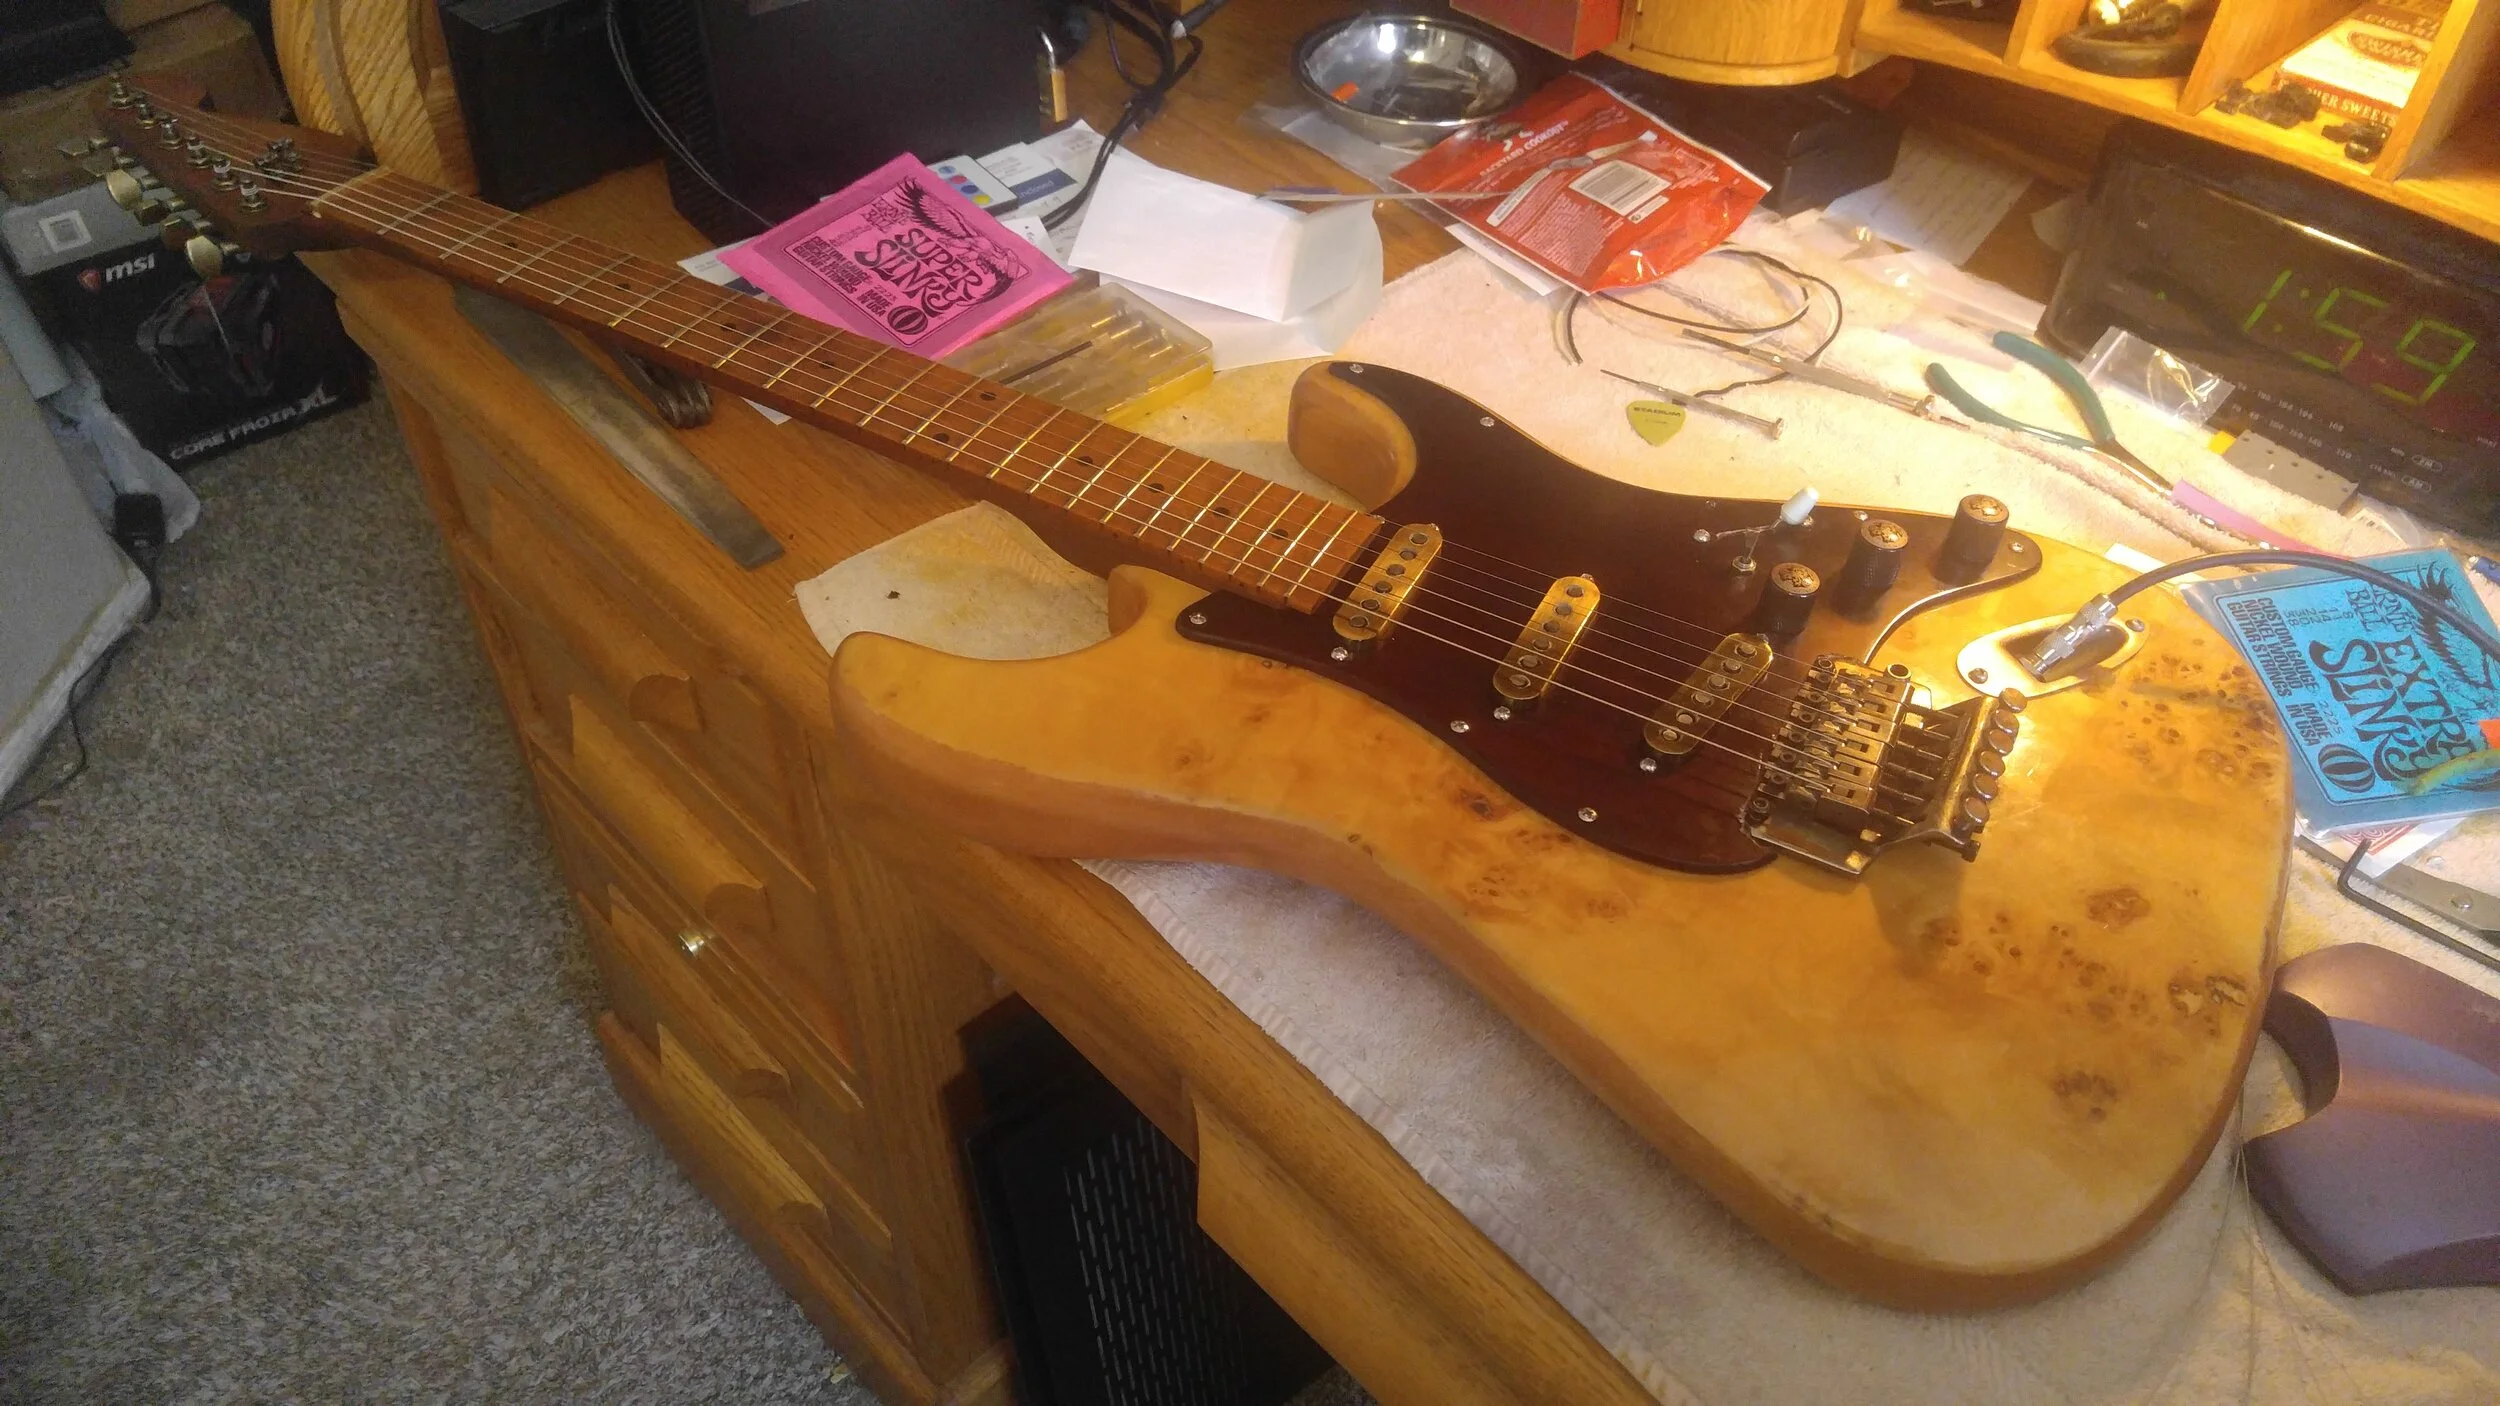
First stringing and audio test.
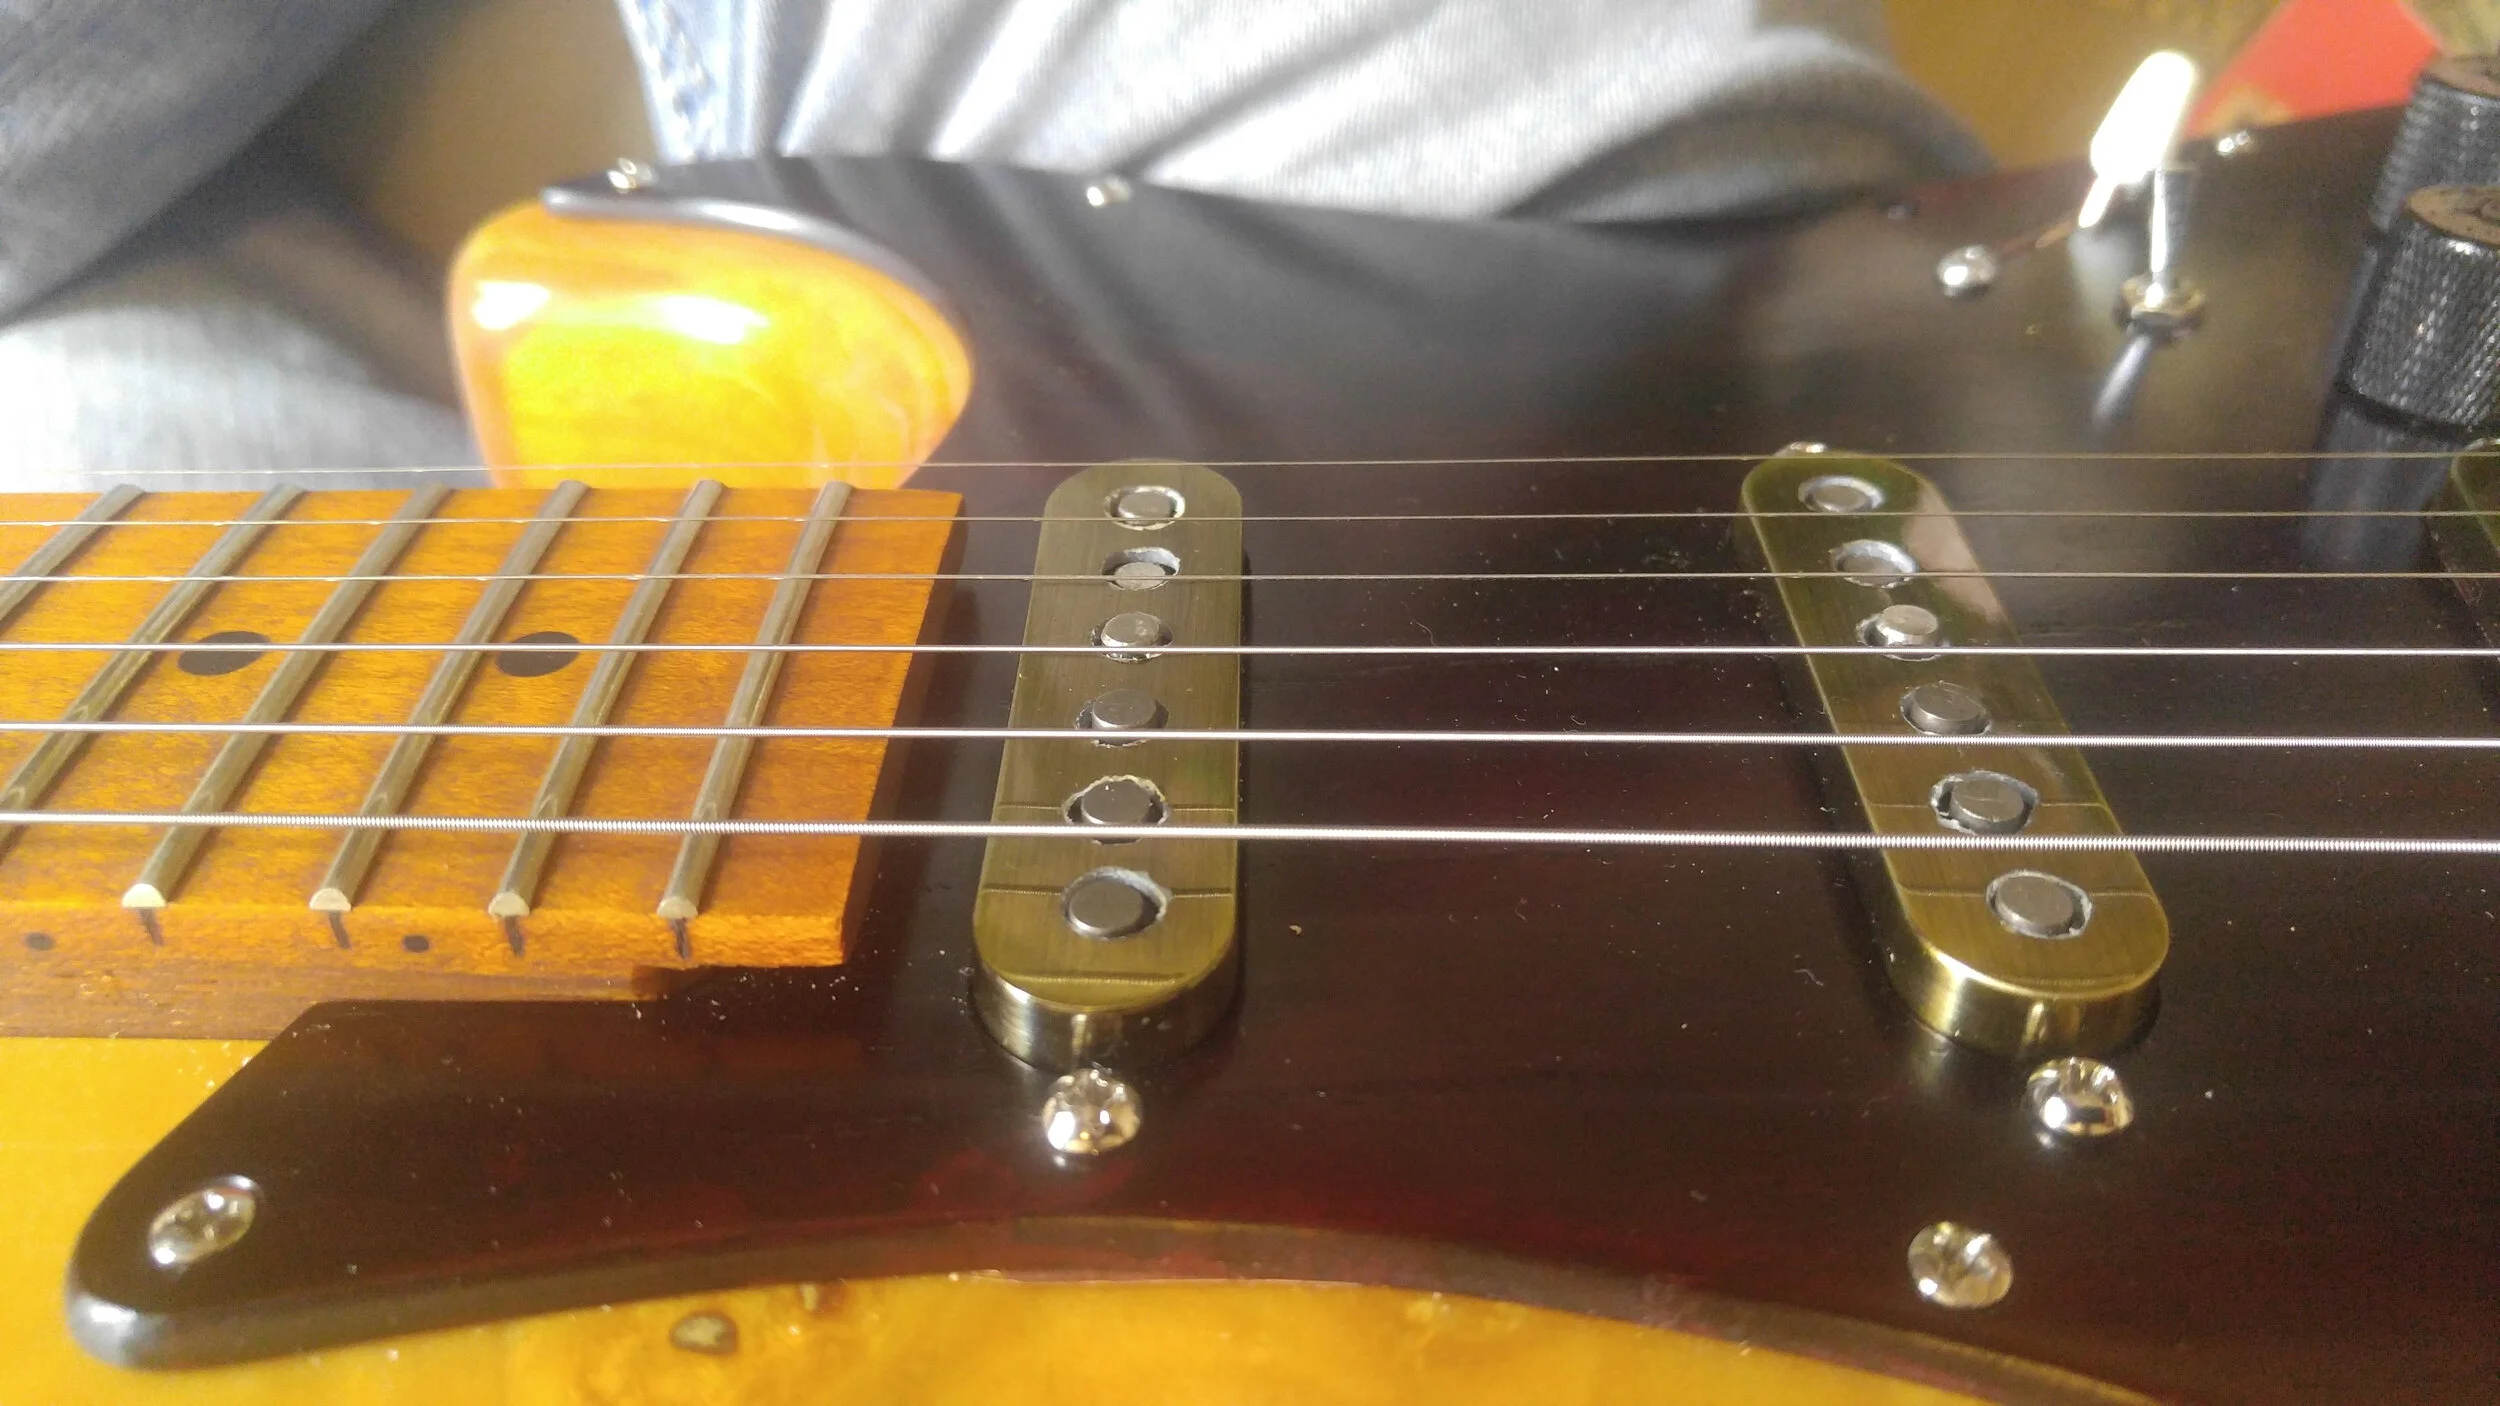
Closeup of initial string action. A subsequent professional setup will see everything dialed in and ready to play.
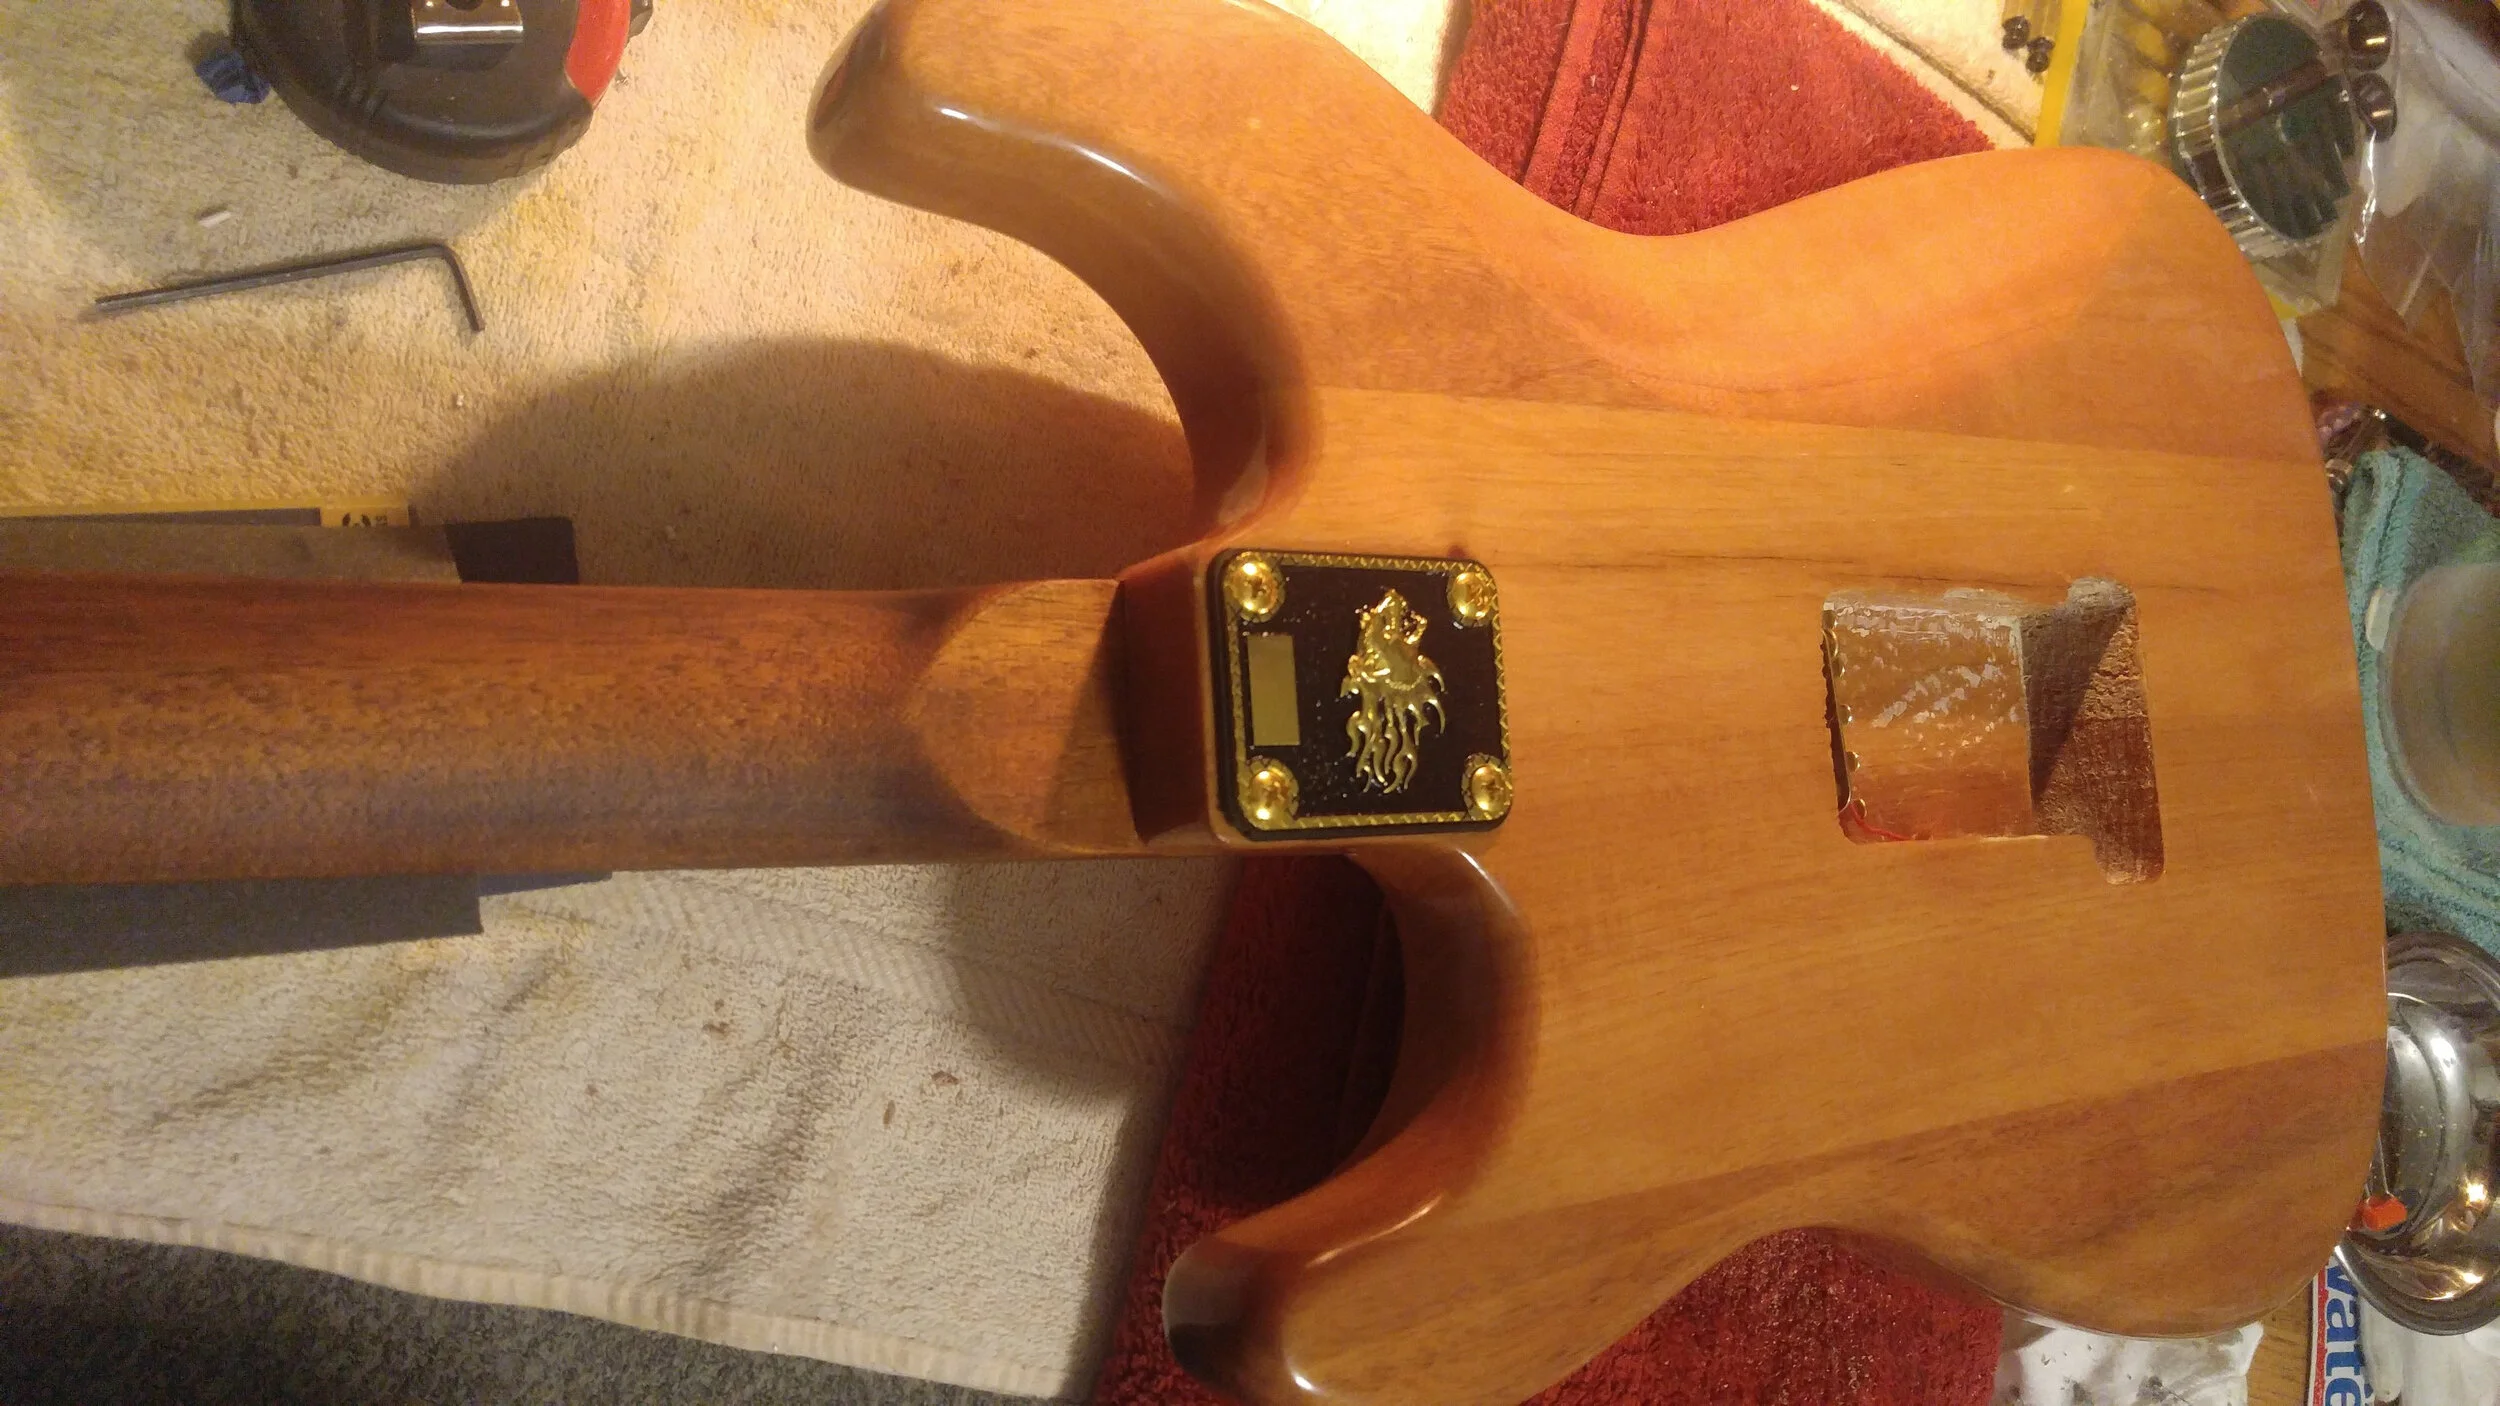
Closeup of custom brass neckplate.
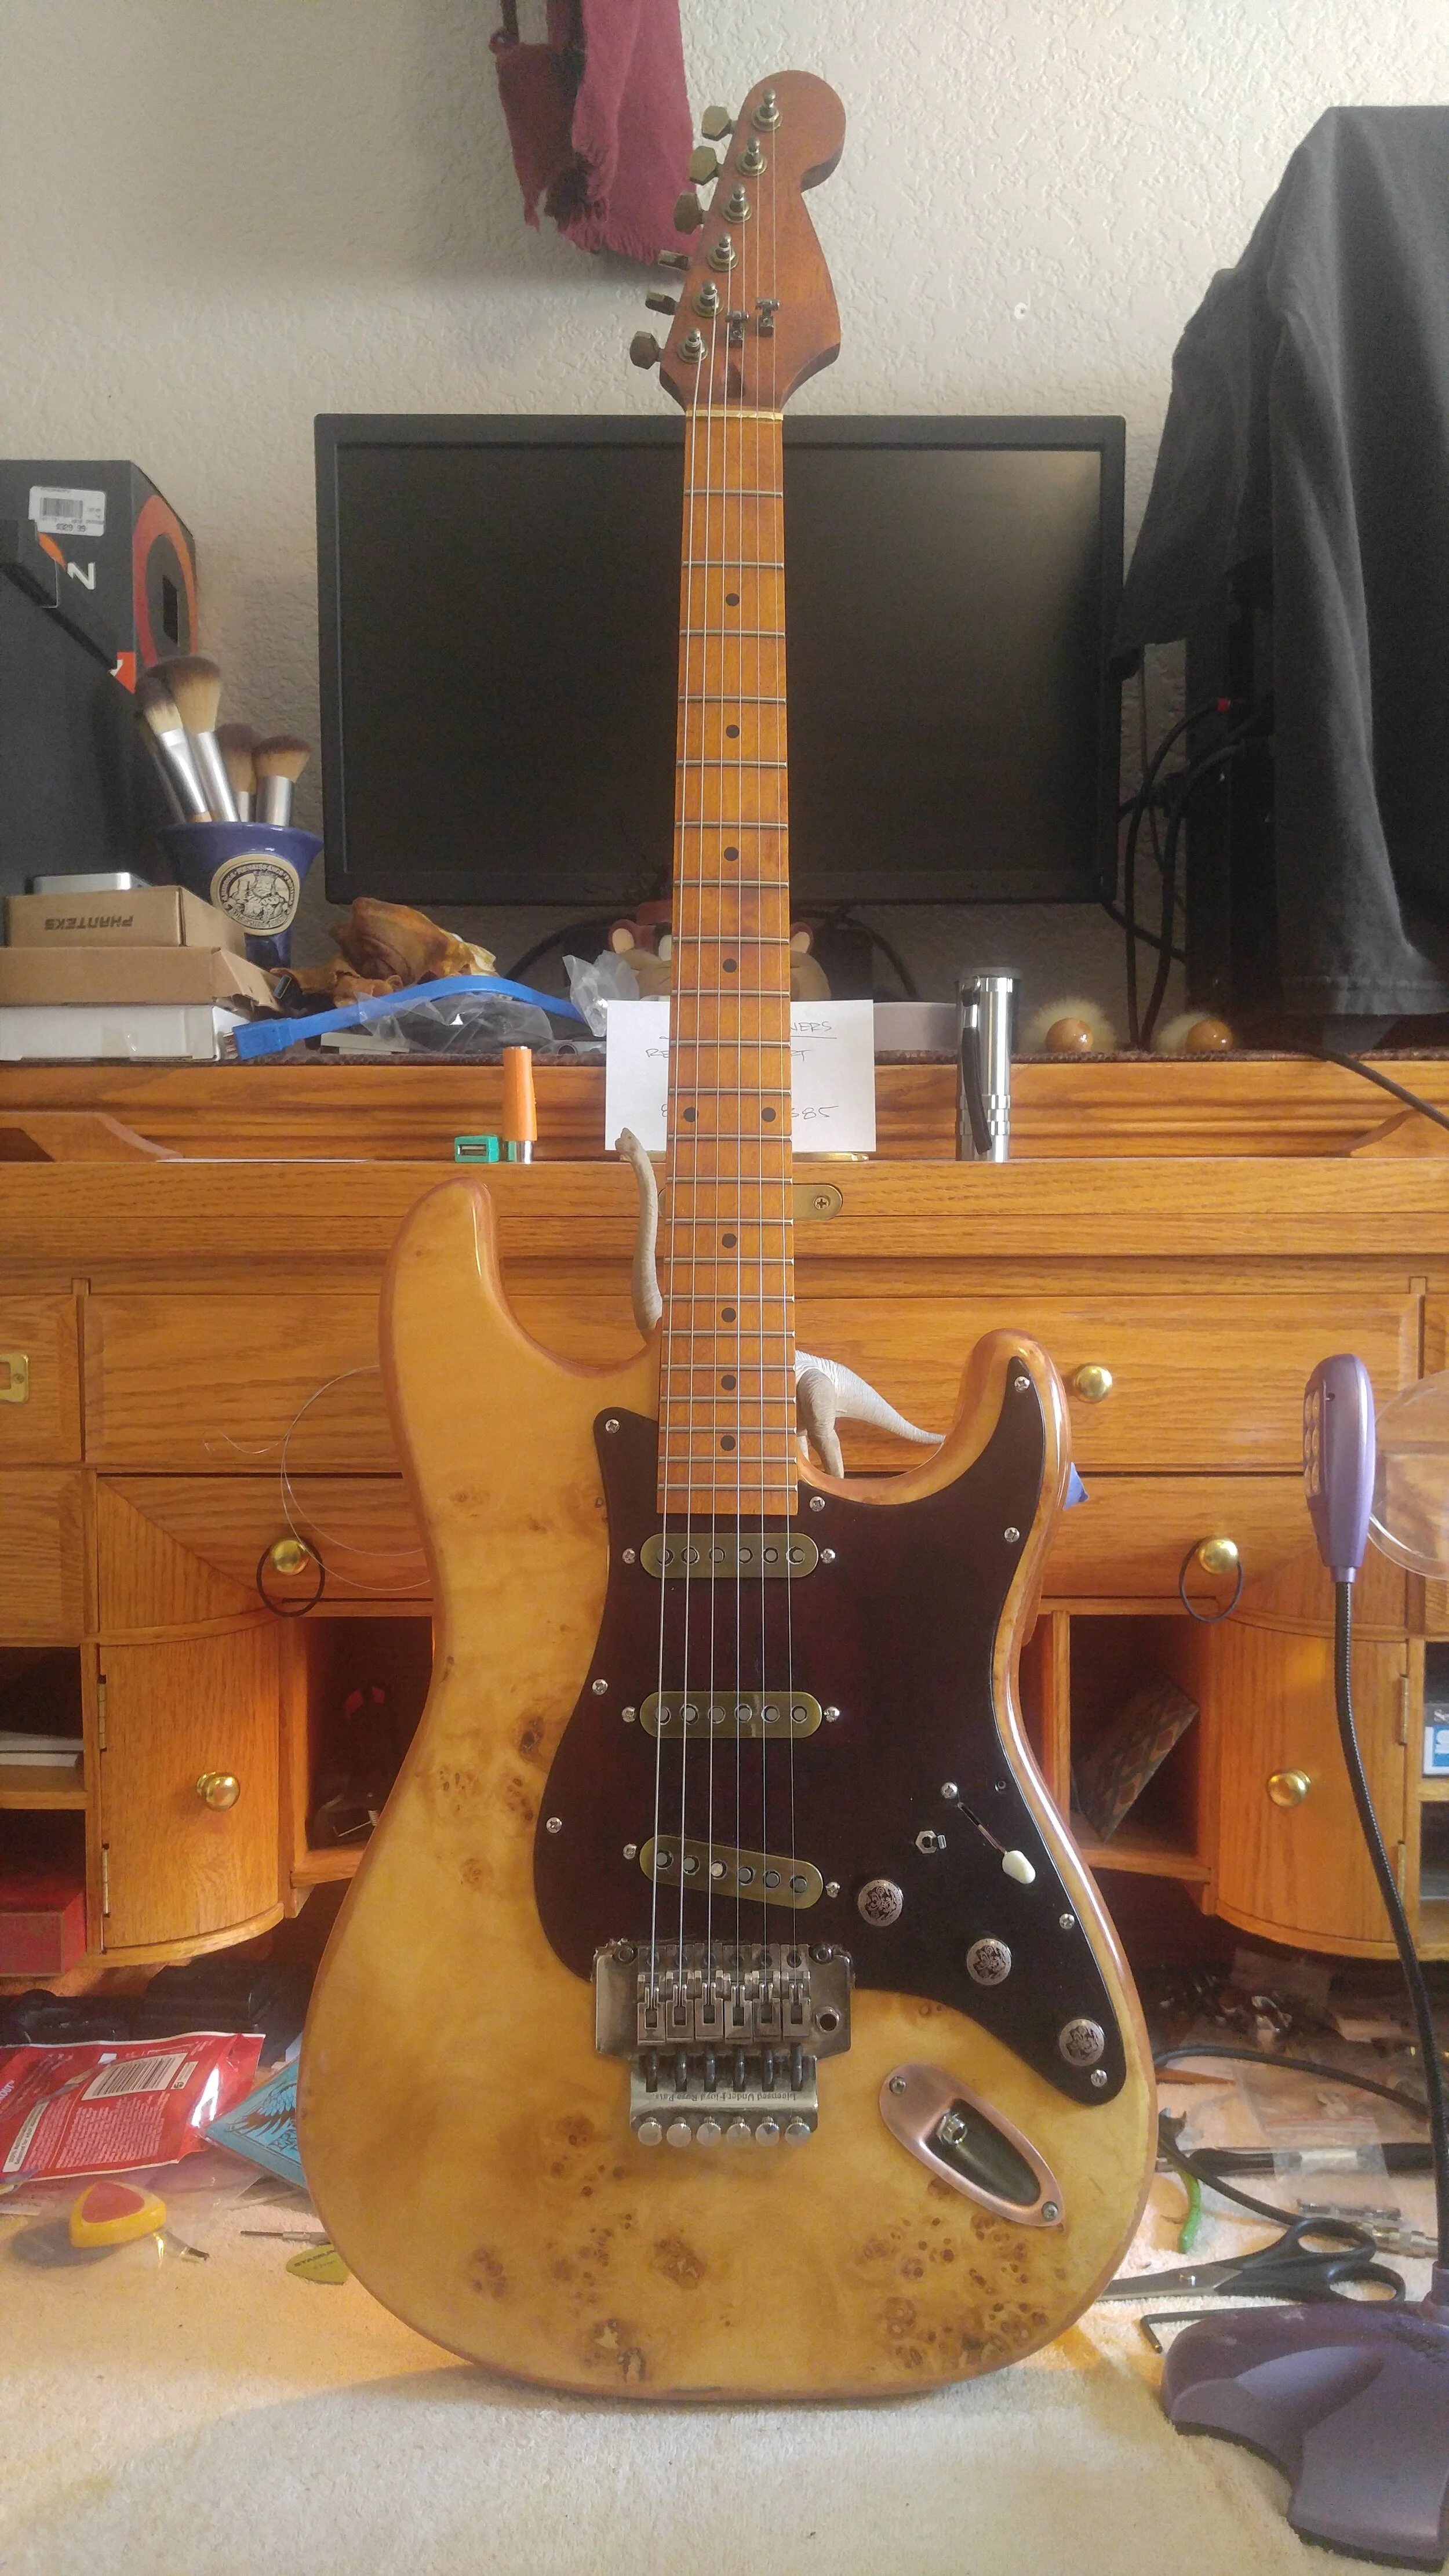
Official beauty shot of completed guitar, awaiting final setup at a pro shop here in town.